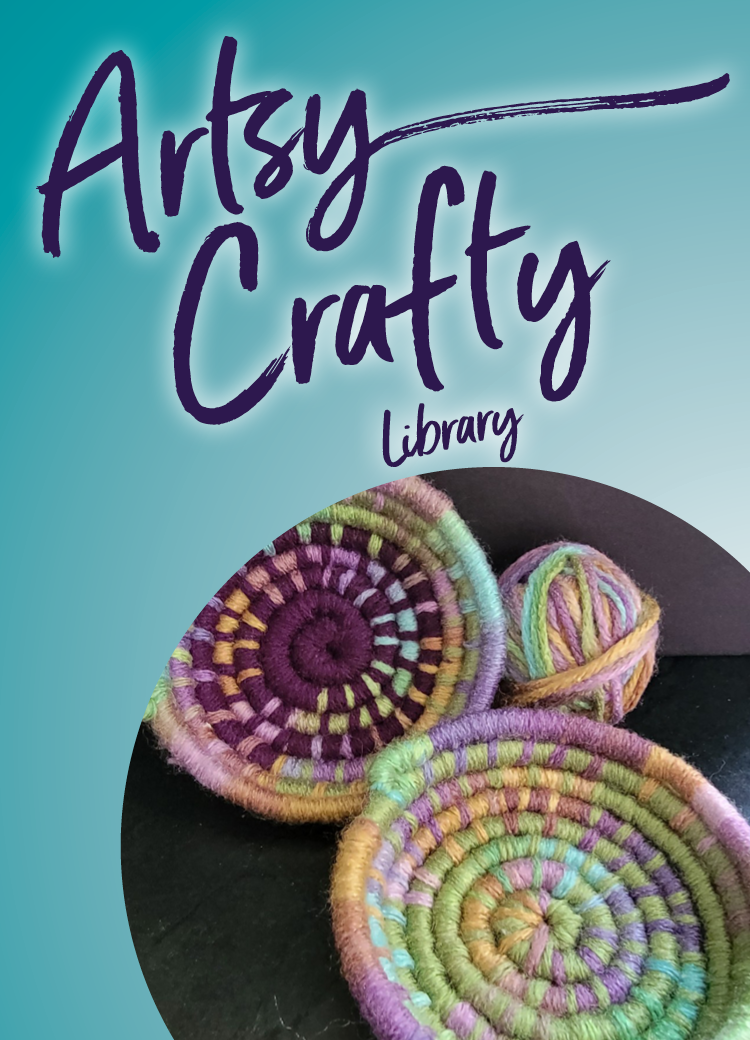
Artsy Crafty Library: Unique coiled yarn baskets
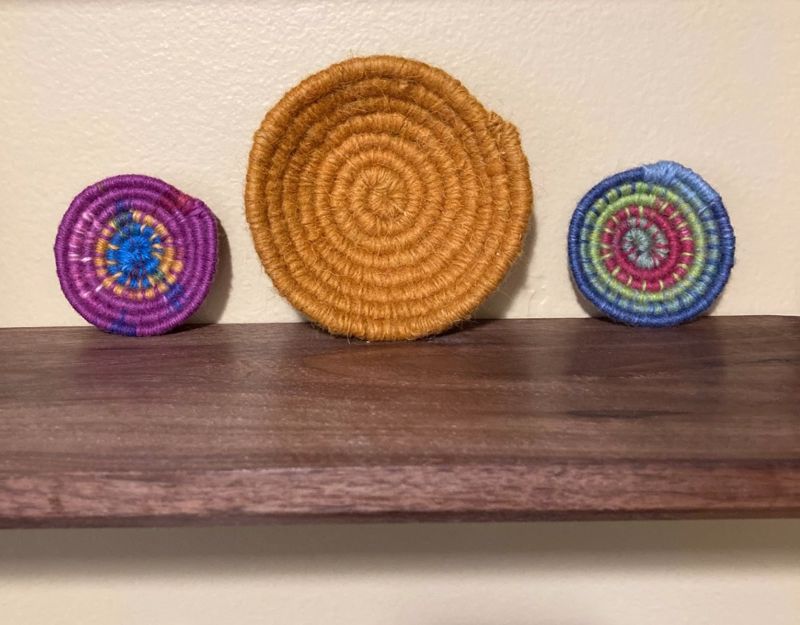
Coiled basketry is an ancient technique that traditionally uses plant materials. You can apply the same techniques using yarn and piping cord, materials that are easy to find at fabric stores.
Making coiled baskets is a great way to use up small amounts of yarn in your yarn stash. It's also a good project for those skeins of yarn you just can't pass up, but aren't big enough for a scarf or hat. I purchased a small skein of hand-dyed wool yarn in New Mexico and made a basket out of it. Now it sits on my bookshelf as a reminder of my trip, not tucked away in a closet with the rest of my yarn.
Supplies needed
- approximately 20 yds. of medium weight/worsted weight yarn
- 54” of 1/4" cotton piping cord (round boot laces can be used instead of piping cord if you want to use lighter weight yarn)
- yarn needle (metal is preferred because it's sturdier, but plastic will work)
- scissors
Step-by-step
-
Cut one end of the cord at an angle.
-
Thread a 1-2 yard piece of yarn through the needle.
-
Tie the end of the yarn on to the cord about 1.5” from the tapered end with a knot to prevent it slipping off.
-
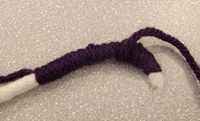
Wrap the yarn toward yourself as far as you can until the yarn starts to slip off of the tip of the cord, then wrap backwards a couple of times to create a secure end.
-
Form a tight circle by coiling the end of the cord against the yarn-wrapped cord.
-
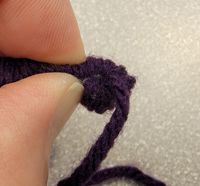
Wrap the yarn tightly around the coil a few times so that the tapered end is trapped.
-
Use the yarn needle to stitch through the middle of the coil and wrap the yarn around the coil a few times. The beginning of the coil is called the “point of movement.” It can be tricky to get the center of your basket started. Don't get discouraged! If you're not happy with your first attempt, simply unwrap it and start again.
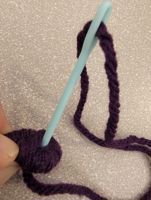
-
Continue to coil the yarn wrapped portion of the cord around the center, stitching through the center of the coil to secure the first rows.
-
Once the center of your coil is secure and you reach the bare area of the cord, wrap the yarn around the bare cord 5 times.
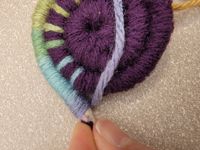
-
After every 5 wraps you will secure the coil to the basket with a figure-eight stitch from the top (working) coil to the coil beneath it. To make a figure-eight stitch, use the yarn needle to draw the yarn between the previous 2 coils.
-
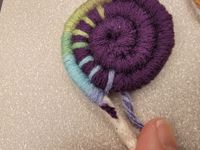 Bring the yarn back up and around the working coil in a figure-eight and continue wrapping. As you’re wrapping, make sure to keep the end of the cord free from tangling with your length of yarn.
A few more steps
Adding new yarn
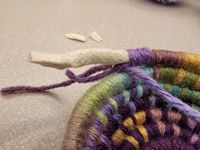 When you get to the end of your length of yarn, lay the final 1”-2” length of the yarn against the unwrapped portion of the cord. Lay about 1.5” of the end of the new yarn along the coil and then wrap the new yarn around both of the loose ends 5 times. Complete a figure-eight stitch to secure it, and continue as before.
Shaping the basket
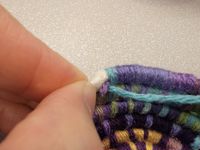 After working around the point of movement several times, start shaping the coil into a basket. You can shape the coil by laying the working coil slightly over the top of the coil beneath it.
Finishing the basket
To finish the basket, cut the end of the cord into a taper. Repeat figure-eight stitches to the end of the cord to secure it to the coil below. Pass the needle back along the stitching under the wrapped yarn to secure the end of the yarn and trim if needed.
We have some good books on basket making using yarn and a variety of natural materials. My favorite is Practical Basketry Techniques. Check out the list below for more resources.


