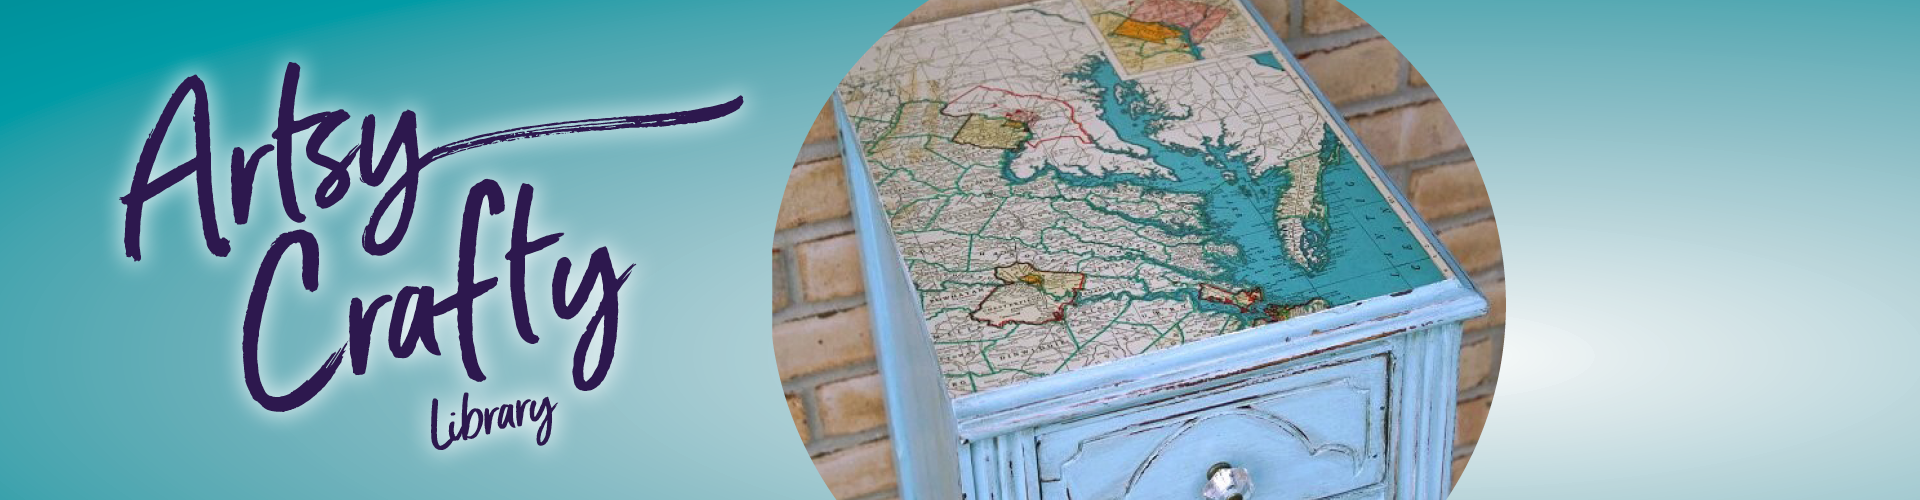
Artsy Crafty Library: Making marvelous map art
Maps So Marvelous
While printed maps may be almost an anachronism now, their pleasing graphics inspire many lovely art and home decor projects. Whether you have old maps lying around or digital maps that can be printed, there are numerous ways to incorporate them in an artsy crafty project.
Using maps in craft projects not only repurposes old or unused maps, it adds a personal and artistic touch to your home decor and gifts. Map crafts offer a unique way to celebrate your love for geography and travel.
My project ideas are versatile and can be tailored to various skill levels and styles. Let's start your cartographic crafting journey.
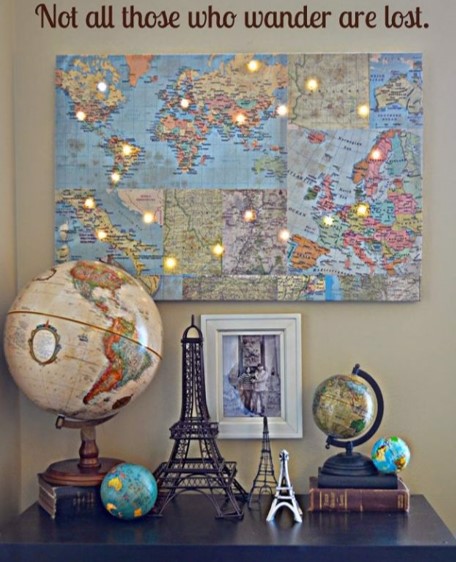
Map wall art
Materials needed
 Old maps or printed maps
- Canvas or wooden boards
- Mod Podge or glue
- Paintbrush
- Scissors
Instructions
1. Select maps that hold personal significance such as places you've visited, dream destinations, or your interests – history, constellations, ancestry etc.
2. Cut the map to fit your canvas or as close as you can. I use a full-coverage spray paint on the sides and borders of the canvas when map pieces are smaller than a standard-size canvas.
3. Apply a layer of Mod Podge or glue to the canvas surface and carefully place the map on it.
4. Smooth out any bubbles and apply another layer of Mod Podge over the top to seal it.
5. Let it dry completely before hanging.
You can create a gallery wall with different-sized canvases for a striking visual impact. Or use a world map and mark places you’ve been or plan to visit with pins or stickers. On my example pictured above I added twinkling lights poked through holes I made at places I've traveled.
Map book covers
Materials needed
- Maps
- Plain notebooks or journals
- Mod Podge or glue
- Scissors
- Clear adhesive book cover or contact paper
Instructions
1. Measure the notebook cover and cut the map slightly larger than the cover, which will leave extra for folding over the edges.
2. Apply Mod Podge to the notebook cover and place the map on it, smoothing out bubbles.
3. Fold the excess map over the edges and glue down.
4. Cover with clear adhesive book cover or contact paper for durability.
You can personalize the notebook with maps of places relevant to the notebook’s intended use like a travel journal with photos, ticket stubs and pamphlets from a journey.
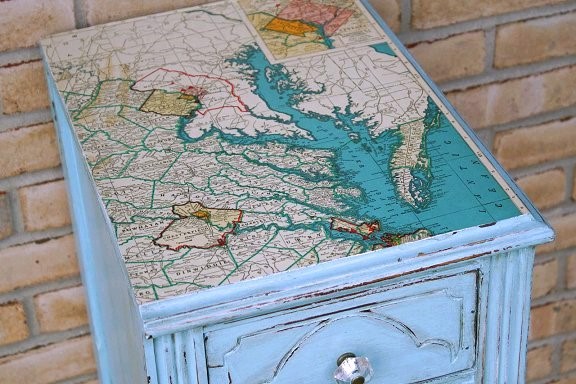
Map furniture decoupage
Materials needed
 Maps
Maps- Furniture piece (e.g., table, dresser)
- Mod Podge or decoupage medium
- Sandpaper
- Scissors
- Clear varnish
Instructions
1. Sand the surface of the furniture lightly to help the adhesive stick.
2. Cut the maps to fit the areas you wish to cover.
3. Apply Mod Podge to the furniture surface and place the maps on top.
4. Smooth out bubbles and wrinkles, then apply another layer of Mod Podge over the top.
5. Once dry, seal with clear varnish for protection.
Consider using maps for drawer liners as a subtle touch. Create a feature piece by covering a single item of furniture like a coffee table or sideboard.
More ideas
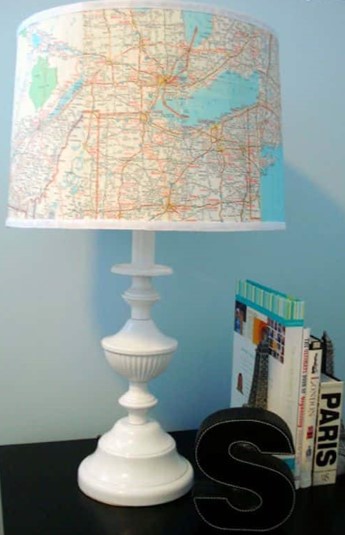 You can do so many things with maps. Here are a few more ideas. Cut 10"x10" squares from a map and create unique origami pieces. Use maps to make magnates, gift wrap, envelopes, coasters or lampshades using the techniques I outlined above.
Consider visiting the Chandler Booktique at the library to buy discounted atlases or books featuring maps.