


Teen Art Club: Create Wall Art Using Found Items
Hey Friends! It's time for another art project. This week I will be teaching you to make wall art with mostly found items. Namely, sticks. What I love about this piece is that it's incredibly cheap and relies primarily on what you find in nature. It's also, as always, completely customizable to your style and needs.
Here's what you need
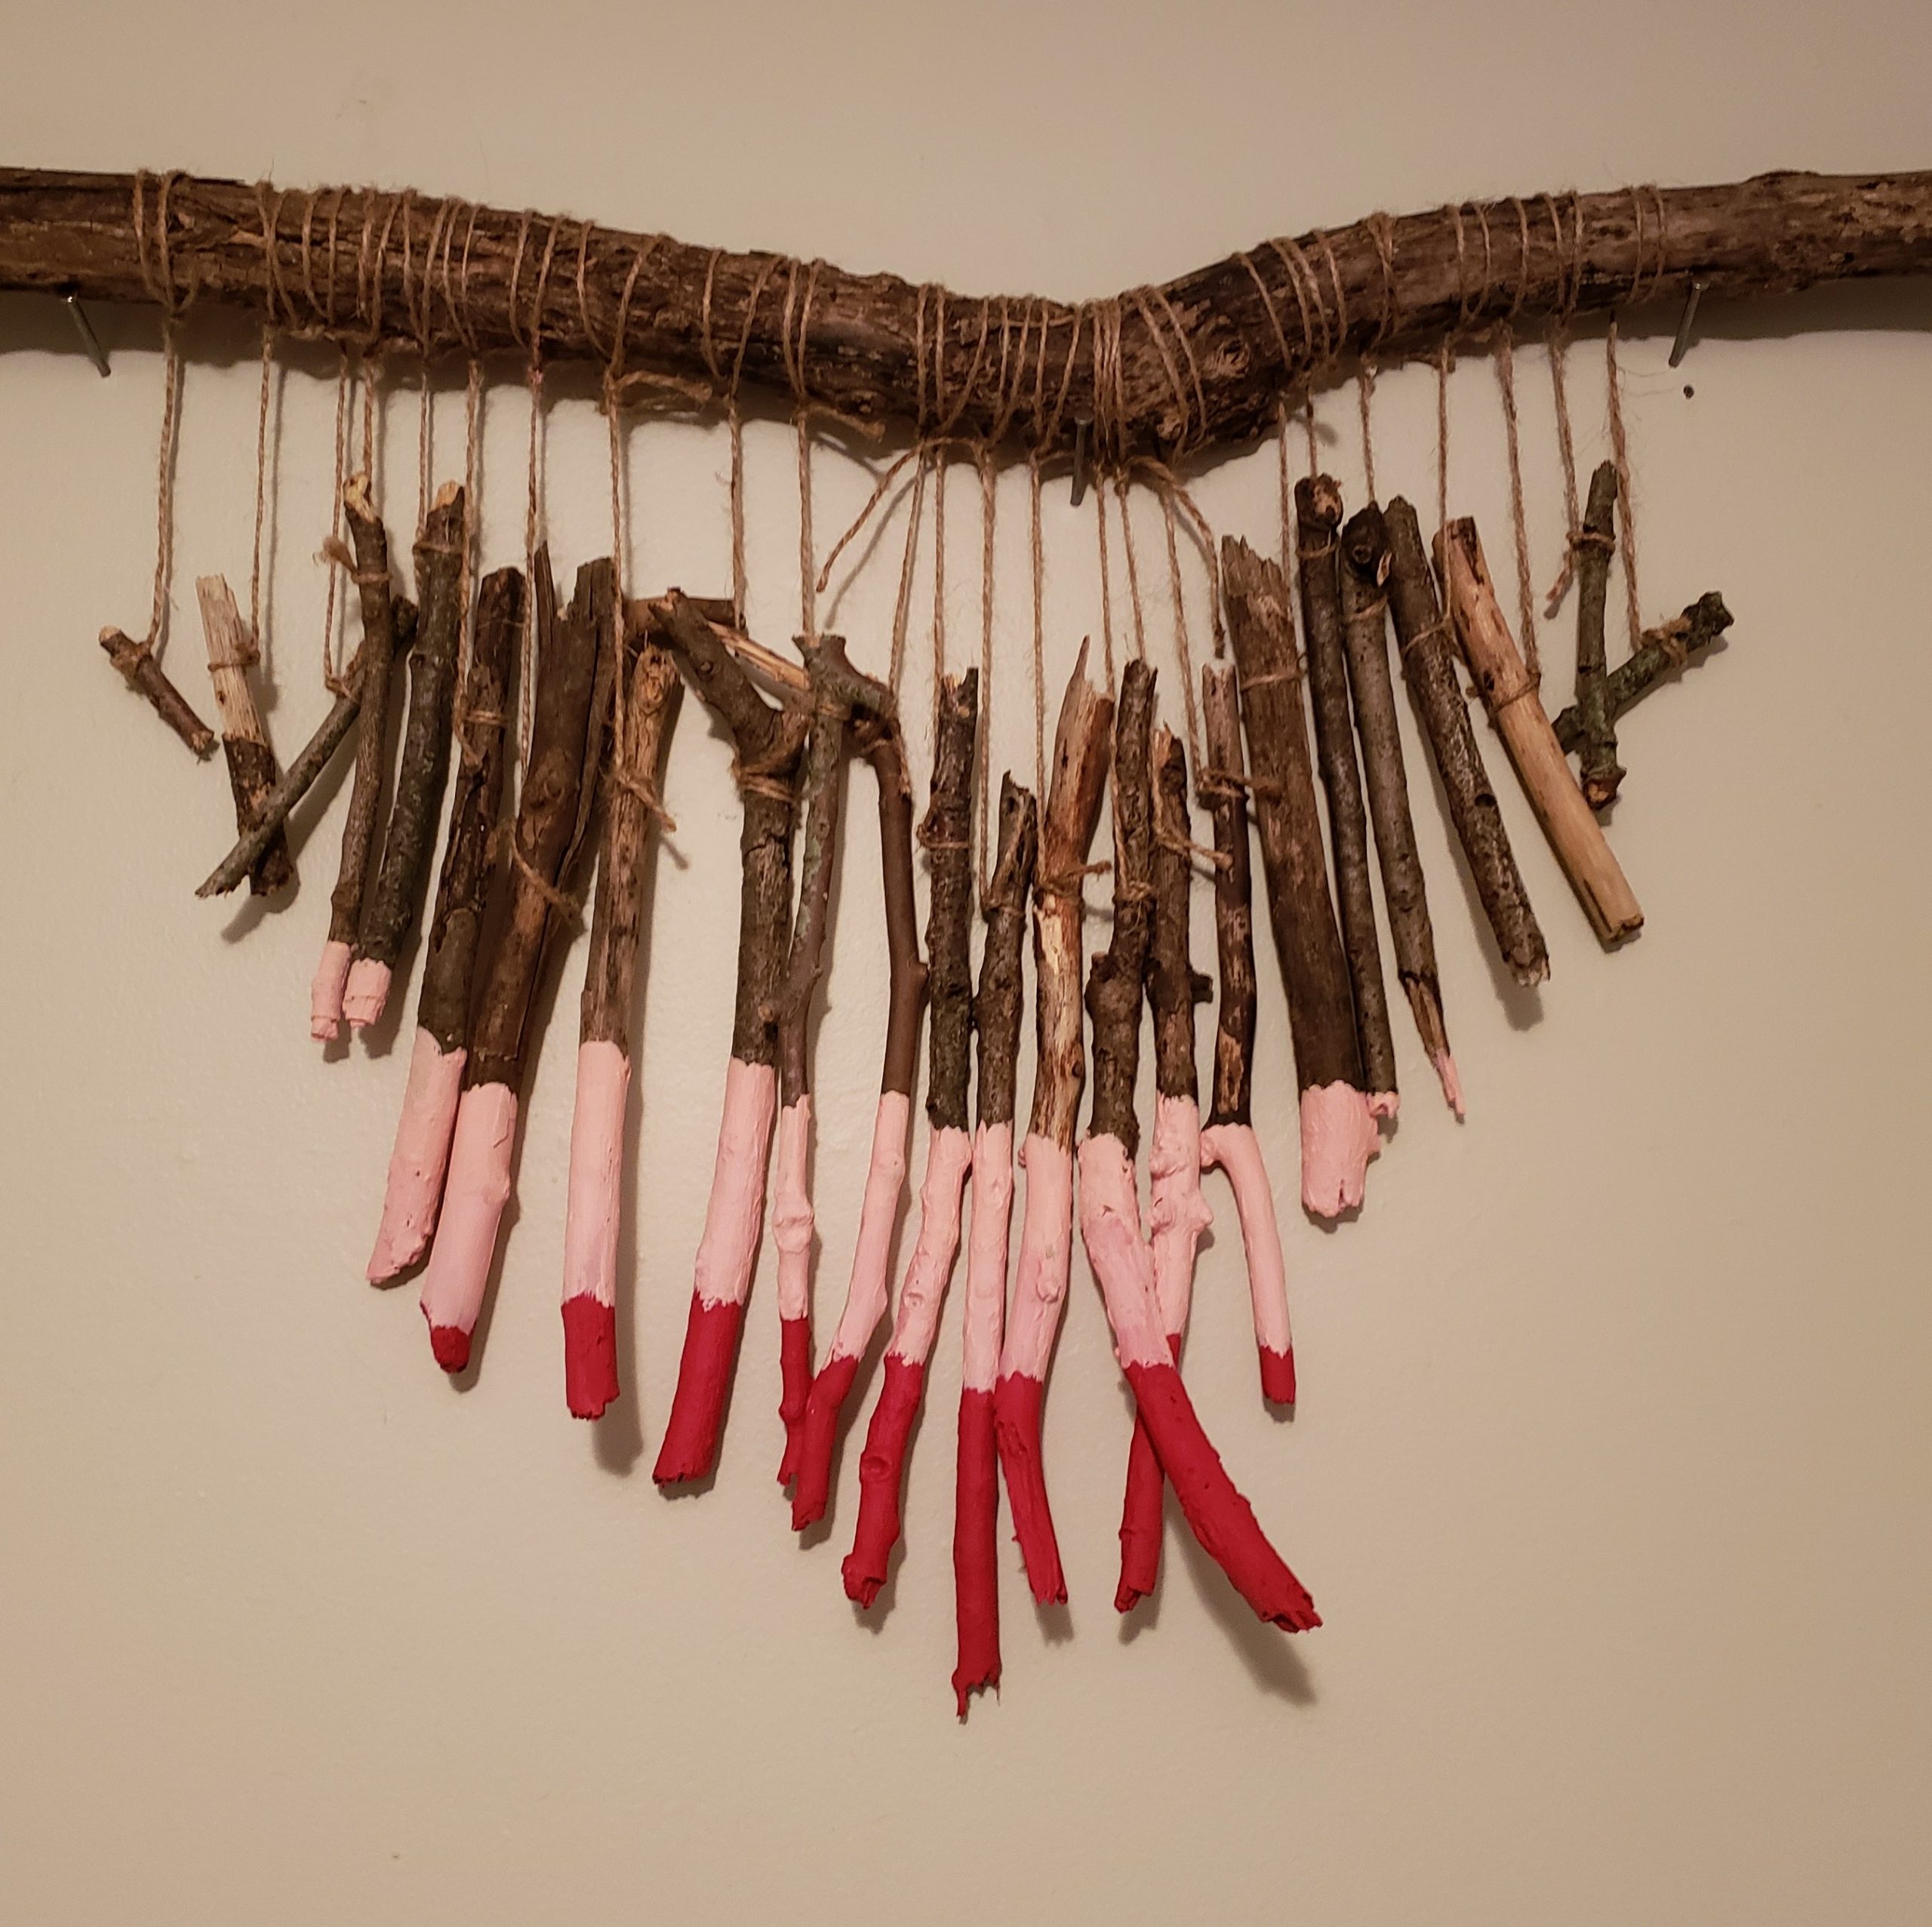
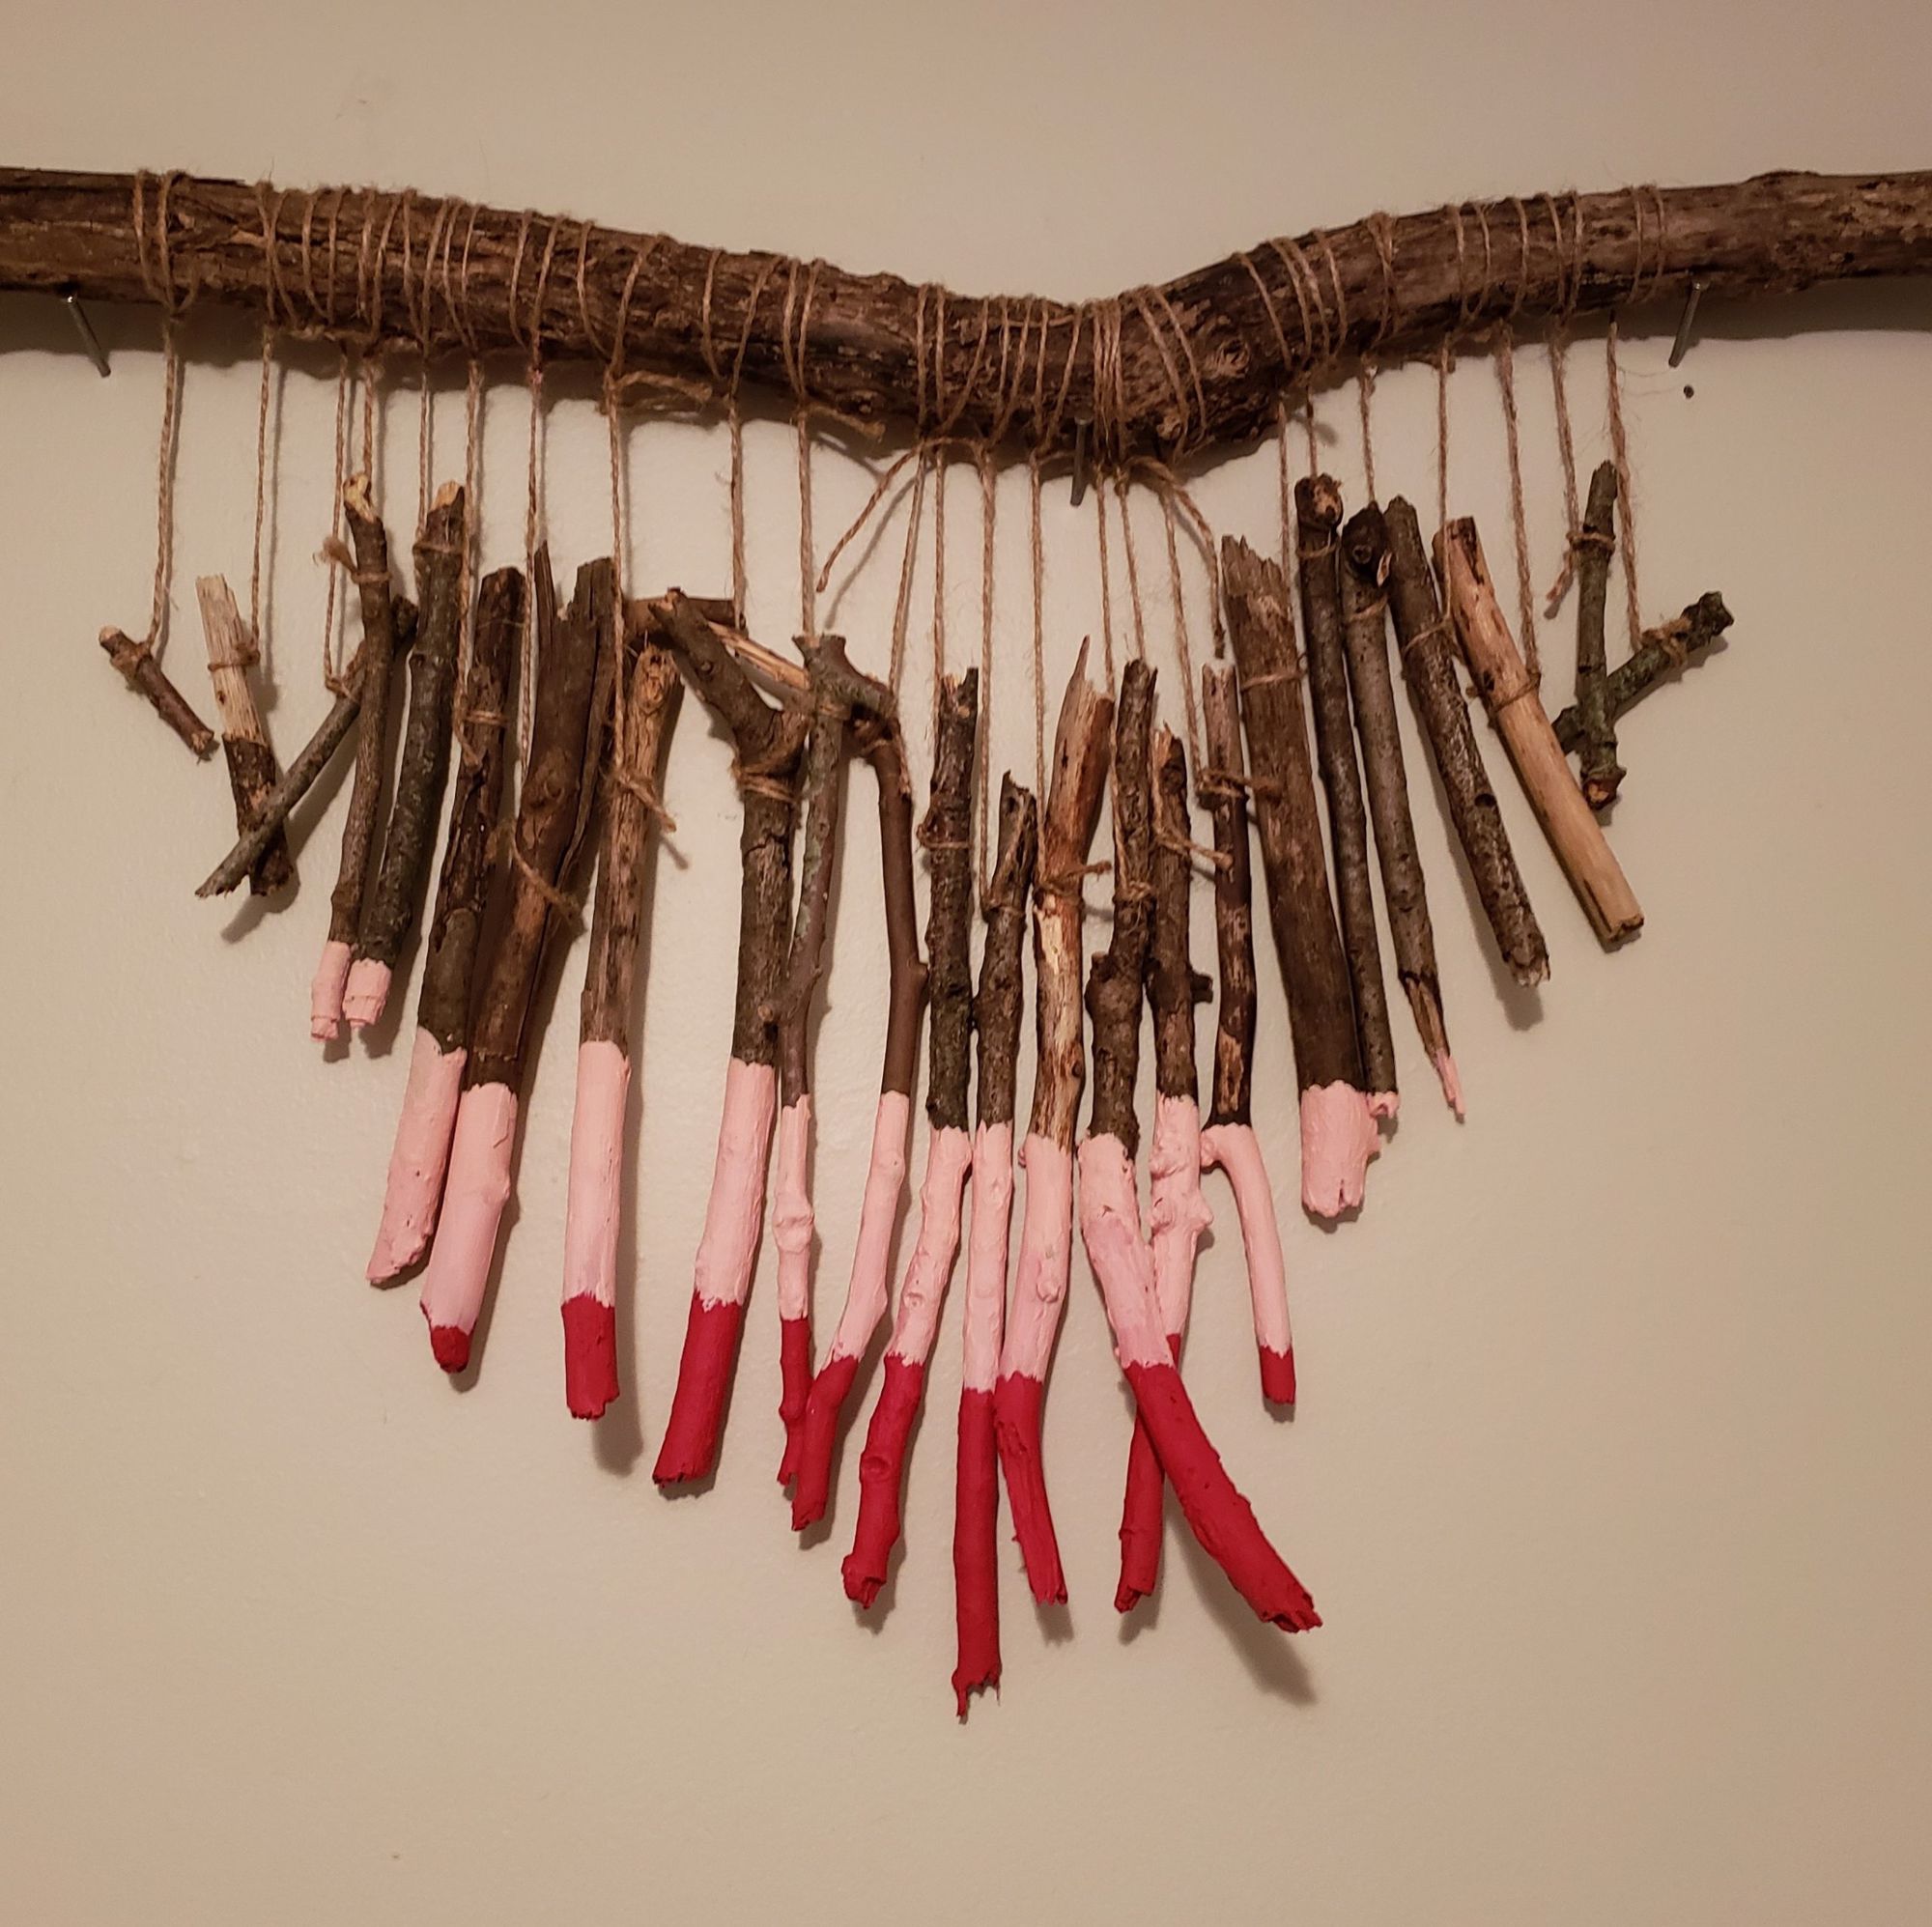
Here is my custom Wall Art. Yes, it is a heart. Yes, it does look a little wonky. So do the hearts I draw!
Sticks - lots of sticks. Different lengths and textures.
- One significantly larger stick to tie your smaller sticks to.
- Twine or something to tie your smaller sticks to your large stick. You could also use fishing wire or nylon string for a more transparent product.
- Acrylic paint - I used three colors but you can of course choose whatever number of colors you prefer.
- Paint brush(es)
- Scissors
- Cardboard
- An abundance of patience - this takes time
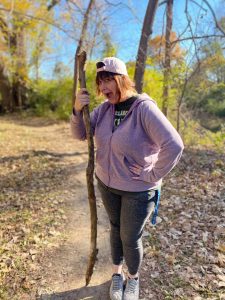 The first step in creating this masterpiece will be to divine a loose idea of what you want your finished product to look like. Think about where you are going to put this as it'll help determine the scale, or size, of your project. I chose my bedroom wall, which offered me ample space to go big. I also decided to go fairly simple with a heart design. With these structures in mind, I set out to the park to collect sticks. I first found my large stick (I fell in love with it – have you ever seen a stick so perfect? *swoon*) and then returned the next day with a bag to collect smaller sticks. Here's a hot tip for you: collect more sticks that you think you will need, because you'll probably need them. I had to go back – learn from my mistakes!
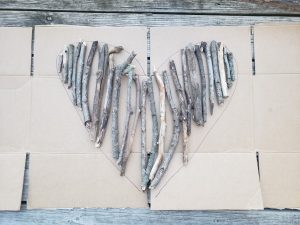 The next step, which may feel tedious but it is essential, is cleaning your sticks. Not cleaning your sticks will result in difficulties painting, dirty hands, and unnecessary yuck factor. It also helps remove any bark that's wanting to peel off. I used warm water and let them dry overnight. When your sticks are dry, you can begin to assemble them in the shape of your choice. This is where you'll first need the cardboard. Loosely draw your chosen shape on the cardboard, using your large stick to determine your size. Now you can fill in your outline with the sticks you've collected. Some may need to be resized, which I find they look the best when you snap them rather than cut them. It keeps the rustic look we're going for.
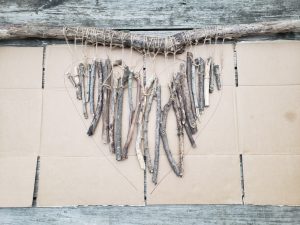 Now, the most difficult and patience testing part (in my opinion) is the part where you attach all the smaller sticks to your big stick. The important thing here is to tie them at a length that will let them hang in your chosen shape. It's easier said than done. Here's another hot tip for you – count your sticks and tie your twine onto your large stick first. Then attach your smaller sticks at the appropriate length and trim off the excess twine. This makes for less jostling of the larger stick and less time spent rearranging your smaller sticks.
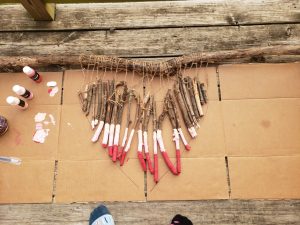 Finally, it's time to paint your project. If you've been doing this inside, I strongly encourage you to paint outside to avoid breathing the fumes. These windy days also help the paint dry faster! I used three shades of paint, attempting to create an Ombré effect. It didn't quite pan out, but I'm still thrilled with my outcome. You will likely want to paint multiple coats, and ensure that you let your paint dry before you paint the opposite side.
Lastly, when you finish, stand back and applaud yourself. This project took patience and time, along with your creativity. Now you can hang your art or even gift it! As we are entering holiday season, gifts like these are perfect due to their low-cost and high-appeal.
Check out these fun DIY books for more ideas for low-cost, high-appeal projects!
