










Artsy Crafty Library: Natural Dyeing Made Easy
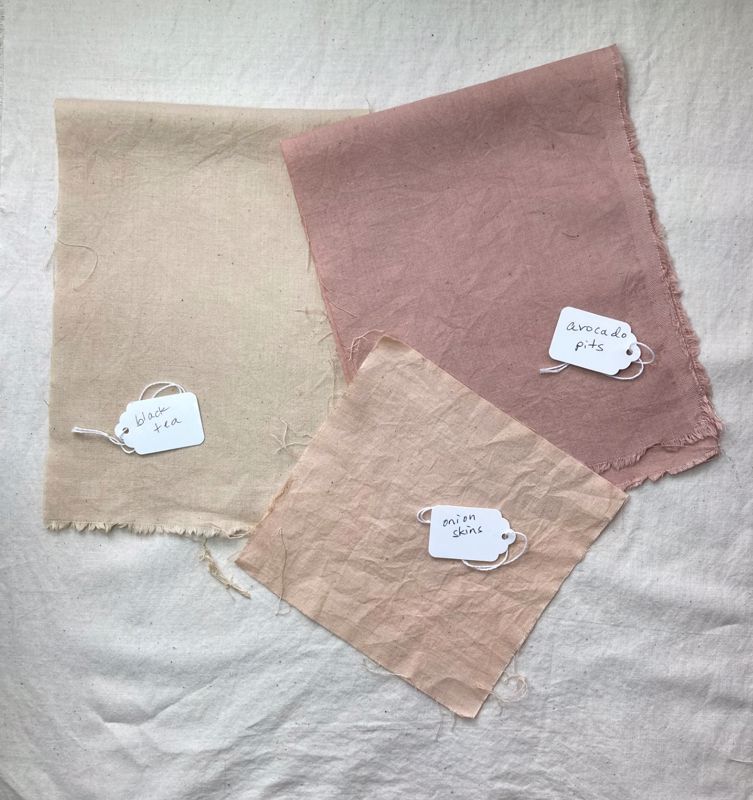 Create unique materials by dyeing fabric and yarn yourself. If you're open to a little experimentation, you can easily create beautiful earth tone dyes with supplies in your kitchen or garden.
Fibers for dyeing
There are two types of fibers you can use for dyeing: protein-based and plant-based. Protein-based fibers come from animals - wool from sheep and silk from silkworms. These fibers take dye readily and even with natural dye materials you can create vibrant colors on yarn and fabric.
Plant-based fibers are made of cellulose. Common types of cellulose fibers are cotton, linen and hemp. While plant-based fibers don't dye as vibrantly, you can still get a range of beautiful muted colors.
Fixing the dye to the fiber
Most natural dyes require a mordant to fix the dye to the fiber material to make it permanent. Common mordants include metallic salts like alum (aluminum sulfate) and aluminum acetate.
A plant-based option is tannic acid. While not technically a mordant, it acts in a similar way to fix the color to the fiber. Tannins are found naturally in several common foods and plant materials, including onion skins, tea and avocado pits.
Solar dyeing
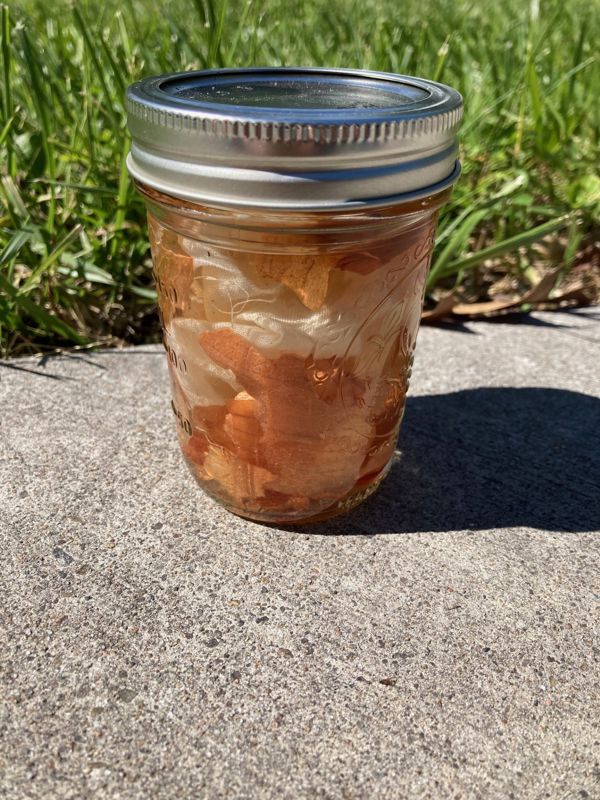 Solar dyeing is the easiest way to get started. You just need fiber, water, dye material and a glass jar with a screw-on lid. I had a lot of unbleached cotton muslin on hand so I started with that. I already had onion skins and black tea so I was ready to go.
I tried onion skins first. I put a layer of onion skins in the bottom of a jar, added a piece of muslin, layered more onion skins on top, filled the jar with water and then screwed on the lid. With solar dyeing the main elements are sunshine and time. I left the jar on a windowsill for five days. Then I took the muslin out of the jar, gave it a quick rinse and hung it up to dry. The result was a beautiful peachy-orange color. Happy with my success I moved on to the next experiment.
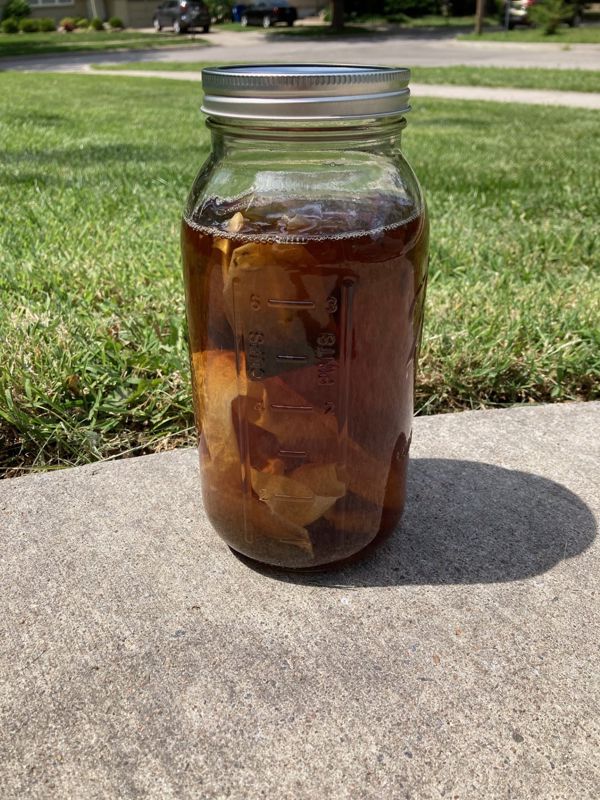 For my second try I used black tea bags. I put the muslin fabric in a jar, filled the jar with water, put in five tea bags and screwed on the lid. I left the jar for five days and the result was a nice dark tan color.
Stovetop dyeing
Since my experiments with solar dyeing went well, I was ready to take the next step by using heat. I read that avocado pits can create a pink color so I tested it.
When dyeing it's important to not use the same pots, spoons and other tools that you would use for food preparation. It's also a good idea to work outside if possible, for good ventilation.
With my brand new stainless steel pot and a hot plate I was ready to add some heat. I put two avocado pits in enough water to cover my fabric, then brought it to a low boil. Once it was boiling, I reduced the heat to a simmer for about 45 minutes. It didn't take long to see the avocado pits were turning the water red. I added the fabric and simmered it all together for another 15 minutes then took the pot off the heat.
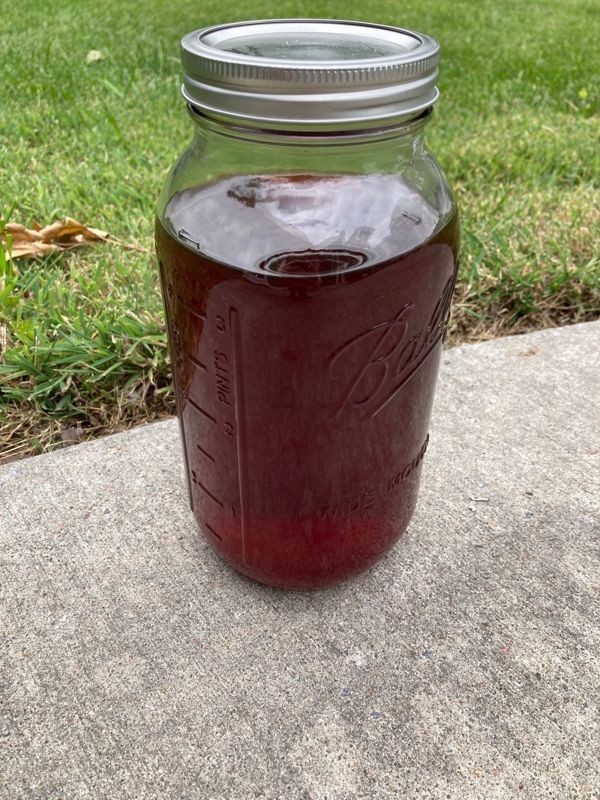 At this point I could've taken the fabric out of the dye pot and been done with it. The color was pretty pale so I took my pot inside and left the lid on it for three days. I checked a few times as the fabric was soaking up the dye and it was turning darker the more time it stayed in the pot. After three days, I hung the fabric up to dry and ended up with a lovely dark pink color.
Next steps
Now that I've learned how easy it is to dye fabric with natural materials I'm ready to try more experiments. There are many different types of plant material that produce beautiful colors and are widely available, sometimes as close as the grocery store. I'm excited to continue my journey in natural dyeing and see what new colors I can create.
The library has some great books on natural dyeing. Check these out to learn more. Creativebug (free with your library card) also has excellent natural dyeing videos including Natural Dyeing with Indigo. Just log into Creativebug with your library card and type dyeing into the search box.