


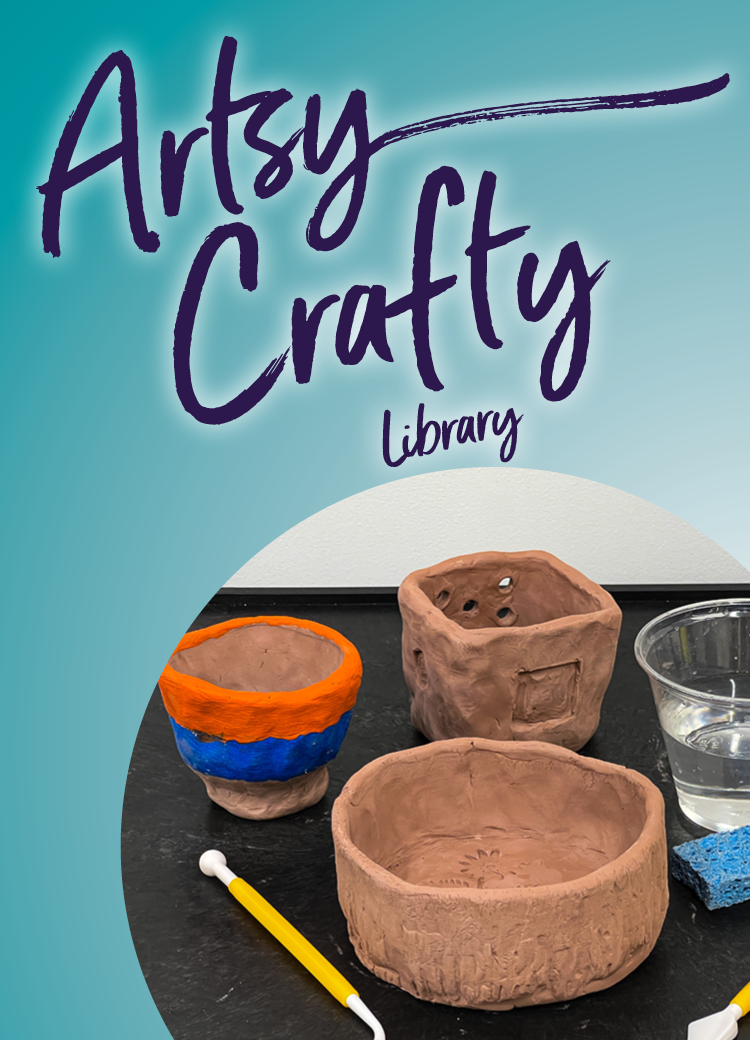
Artsy Crafty Library: Inexpensive pottery for beginners
Have you ever wanted to try creating pottery but felt intimidated by the need for a kiln and other special equipment? You're in luck, there's a simple, incredibly satisfying way to create beautiful, functional art with just your hands and a bit of clay. Welcome to the wonderful world of air dry clay pinch pots!
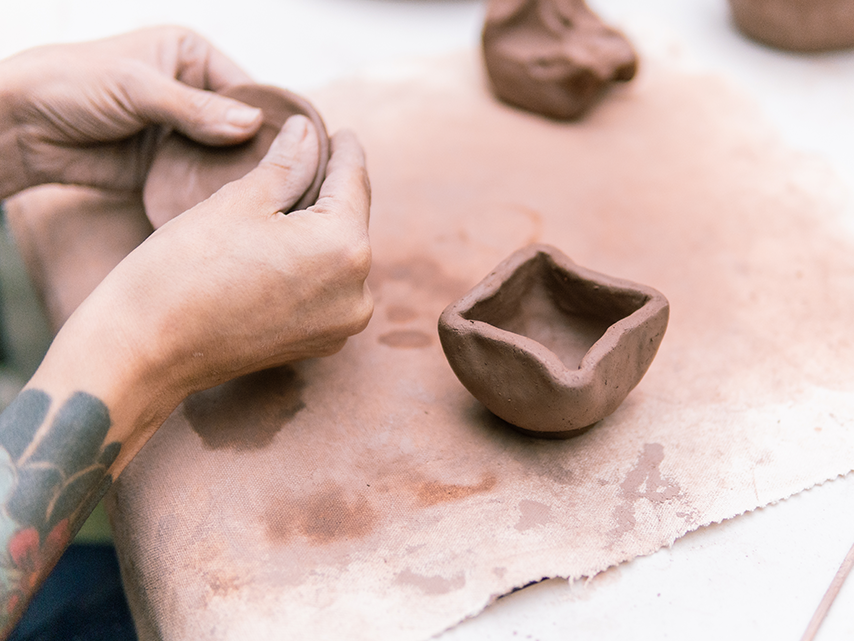
A pinch pot is one of the most fundamental and ancient pottery techniques, created by simply pinching a ball of clay into a pot. It's a fantastic starting point for anyone curious about ceramics and with air dry clay, it's easier than ever to get started right at home.
In this article, you'll learn everything you need to know to craft your very own charming air dry clay pinch pot. I'll cover all the steps from gathering materials to adding those delightful finishing touches. Get ready to unleash your inner artist and discover the joy of creating something beautiful with your own two hands!
Why choose air dry clay for your first pot?
Air dry clay is a dream come true for beginner crafters and seasoned artists alike, especially for projects like pinch pots. Here's why it's the perfect choice:
 Simplicity: No need for expensive kilns, complex firing schedules or specialized tools. You can create stunning pieces with minimal setup.
 - Affordability: Generally air dry clay is much more budget-friendly than traditional ceramic clay.
- Convenience: It dries naturally at room temperature over a few days, eliminating the need for high-heat firing and allowing you to work on your schedule.
- Versatility: Once dry, you can paint air dry clay with acrylics, seal it for durability, and even add texture or carving, offering endless decorative possibilities.
Materials you'll need
Gathering your materials is the first step to a smooth artsy crafty experience. Here’s what you’ll need for your air dry clay pinch pot:
- Air dry clay: Approximately 1 lb (500g) is a good amount for a small to medium-sized pot. You can find this at most craft stores.
- Work surface: A flat, clean, non-porous surface like a cutting board, plastic placemat or even a few layers of old newspaper to protect your table.
- Small bowl of water: Essential for smoothing the clay and keeping your hands moist.
- Clay tools (optional): While your hands are your primary tools, a butter knife for cutting, a toothpick for details or simple plastic sculpting tools can be helpful.
- Sponge or cloth: For smoothing the clay surface and cleaning up.
- Plastic wrap or airtight container: To store any unused clay and prevent it from drying out.
- For Finishing:
- Acrylic paints
- Paintbrushes: Various sizes for different details.
- Clear sealant: Products like Mod Podge, clear varnish, UV resin or matte/gloss spray sealant will protect your finished piece.
Step-by-step guide to crafting your pinch pot
Now, let's get our hands messy and start creating!
Preparation
- Set up your workspace: Lay down your protective covering. Ensure your work area is clean and dry. Have your small bowl of water close by.
- Condition the clay: Take a portion of your air dry clay and knead it gently, just like you would dough. This makes it more pliable and helps work out any hidden air bubbles, which can cause cracks during drying.
Starting the Pot
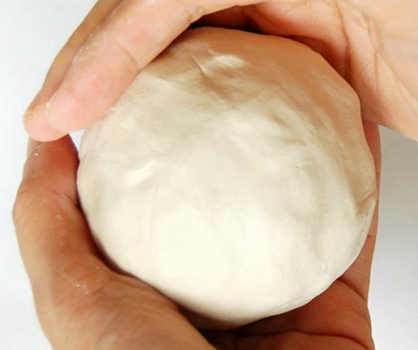
- Roll a smooth ball: Take a chunk of conditioned clay and roll it firmly between your palms until you have a round sphere. This ball will be the starting point for your pot.
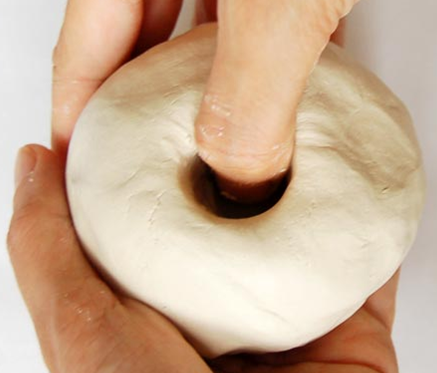
- Make an indentation: Hold the clay ball securely in one hand. Using your dominant thumb, gently but firmly press an indentation into the exact center of the ball. Press down only about halfway through the thickness of the ball – you don't want to go all the way through!
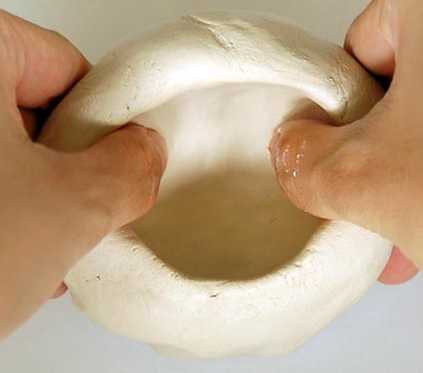
Pinching outwards and upwards
- Rotate and pinch: With your thumb inside the pot and your fingers cupped around the outside, gently pinch the clay. Rotate the pot slowly with one hand while continuously pinching with the other. Focus on applying even pressure.
- Even thickness: As you pinch and rotate, aim for a consistent thickness in the walls of your pot. For beginners, a thickness of about 1/4 to 1/2 inch (0.6-1.2 cm) is ideal – thick enough to be sturdy but thin enough to dry without excessive cracking.
- Building height: Subtly direct your pinching pressure upwards as you work your way around the pot. This will gradually raise the walls and give your pot its height. Take your time, making small pinches and rotations.
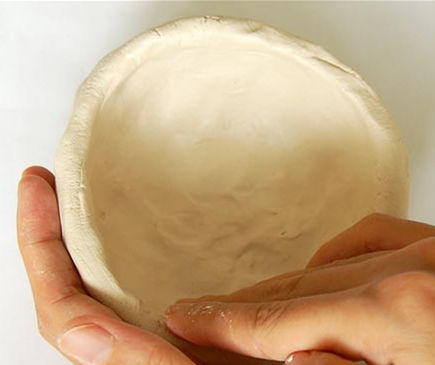
Shaping and smoothing
- Refine the shape: Once you've achieved your desired wall height and thickness, gently mold the pot to its final shape. You can keep it perfectly round, give it an oval shape, or even embrace a charmingly irregular, organic look.
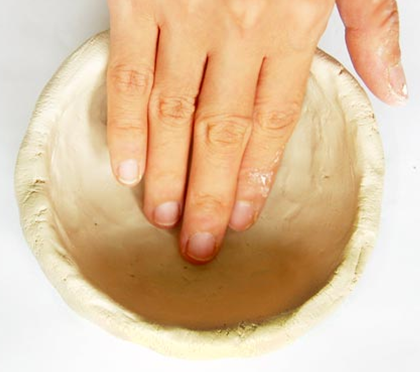
- Smooth the surface: Dip your fingers or a sponge lightly in water and gently rub away any cracks, prominent finger marks, or rough textures on both the inside and outside of your pot. Don't add too much water, as it can make the clay sticky.
- Check for stability: Place your pot on your work surface to ensure the base is flat and stable. Gently press down on the bottom if it wobbles to flatten it out.
Adding details (optional)
Once your pot shape is complete, you can add personal touches:
- Texture: Press various items into the wet clay to create textures, such as fabric, leaves or textured rolling pins.
- Carving: Use a toothpick, a sculpting tool or a blunt pencil to gently carve designs or patterns into the surface.
- Appliques: Create small shapes from additional clay and attach them to your pot. For best adhesion, use the "score and slip" method: scratch both surfaces where they will join, add a tiny bit of water to create a "slip" (a clay paste) then press firmly together.
Drying your pinch pot
Drying is a critical stage. Patience is truly a virtue here to prevent cracking.
- Slow and even drying: Air dry clay needs to dry slowly and evenly. Rapid drying, especially with heat, can cause the clay to shrink too quickly and crack.
- Placement: Place your finished pot on a porous surface like a piece of cardboard, a paper plate or ideally, a wire drying rack. This allows air to circulate around all sides.
- Patience is key: Drying times vary significantly based on the thickness of your pot and the humidity in your environment. A small pot might dry in 24 hours, while a thicker one could take 72 hours or even longer.
- Full dryness check: You'll know your pot is completely dry when it feels lightweight, is hard to the touch, and has a uniform color throughout (it will typically lighten as it dries).
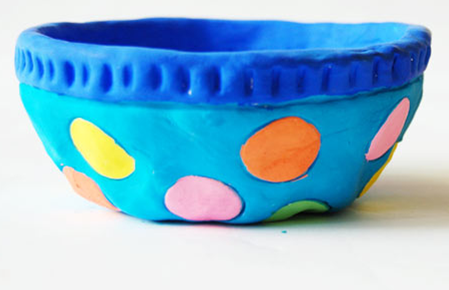
Finishing Touches
Once your pinch pot is thoroughly dry, it's time to bring it to life with color and protection!
- Sanding (optional): If there are any rough spots or sharp edges, you can gently sand them down with fine-grit sandpaper once the clay is completely dry.
- Painting: This is where your creativity shines! Use acrylic paints to add colors, patterns or intricate designs to your pot. Let each layer of paint dry completely before adding more or moving to the next step.
- Sealing: To protect your painted surface and add a touch of durability, apply a clear sealant. Products like Mod Podge (matte or gloss), a clear spray varnish or a brush-on clear coat are excellent choices. Follow the product's instructions for application and drying times. While sealing adds protection and makes it water-resistant, remember air dry clay pots are not food-safe or fully waterproof for holding liquids long-term. I would not recommend using them to hold liquids.
Tips for Success
- Work in small sections: If your clay starts to feel dry and stiff while you're working, mist your hands with a little water or gently spritz the clay.
- Keep unused clay wrapped: Always tightly wrap any unused air dry clay in plastic wrap and store it in an airtight container to keep it from drying out.
- Thickness matters: Avoid making the walls too thin (they'll be fragile) or too thick (they'll take forever to dry and be prone to cracking).
- Don't rush drying: Forced or rapid drying is the number one cause of cracks.
- Embrace imperfections: Your first pinch pot won't be perfect and that's the beauty of it! Each unique imperfection adds character and tells the story of your handmade creation.
Care and Maintenance
To ensure your air dry clay pinch pot lasts, keep these care tips in mind:
- Not food safe: Air dry clay is porous and not designed for direct contact with food or prolonged exposure to liquids. Use them for decorative purposes, storing dry items, or as plant pot covers (with a drainage layer for real plants).
- Cleaning: To clean your pot, gently wipe it with a slightly damp cloth. Avoid submerging it in water or using harsh cleaning agents.
- Indoor use: Air dry clay is best suited for indoor use. Outdoor humidity and elements can degrade the clay over time.
- Not dishwasher safe: The heat and high moisture of a dishwasher would not be good for your pot.
Start creating
You've now learned the simple yet rewarding process of making an air dry clay pinch pot! From transforming a humble ball of clay into a unique vessel with your personal artistic flair, this craft offers a wonderful creative outlet.
Ready for your next clay adventure? Consider making air dry clay coasters, small trinket dishes or even simple sculptural figures! The possibilities are endless.