

Artsy Crafty Library: Discovering Cyanotype
content
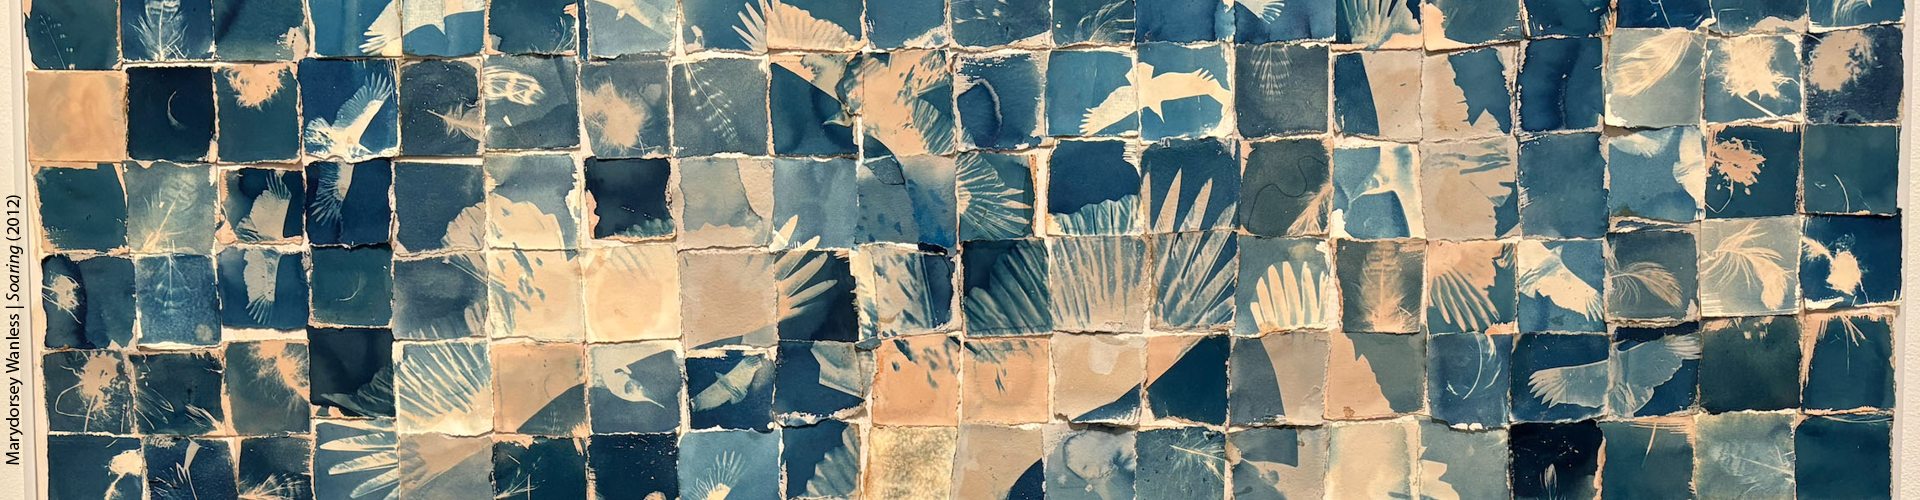
We’re diving into the fascinating world of cyanotypes, a historic photographic printing process that produces stunning blue images. Whether you’re an art enthusiast or just looking for a new creative outlet, cyanotype printing is an accessible and rewarding activity. Let’s get started! (Featured image above is a portion of the artwork: Marydorsey Wanless | Soaring | 2012)
What is Cyanotype?
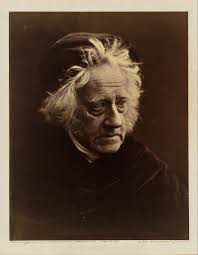 Cyanotype is an early photographic process that dates back to the 1840s, invented by Sir John Herschel (pictured). It uses a simple chemical reaction to create striking blue prints. The process involves two main chemicals: ferric ammonium citrate and potassium ferricyanide. When these two are mixed and exposed to UV light, they react to form the iconic blue color.
In its earliest days, cyanotype prints (also called sun prints), were used to preserve the image of plant specimens. By placing the flower onto the coated paper and exposing it to UV light, an impression of the specimen remained on the paper. Today the blue coated paper prints are most popularly associated with architectural blueprints.
What You’ll Need
- Cyanotype solution (can be purchased online or made at home)
- Watercolor paper or heavy cotton paper (this will be your print surface)
- Brush or sponge (for applying the solution)
- Transparency sheets or natural objects (like leaves, flowers, or even lace for creating your designs)
- A flat surface for exposure (a piece of glass or acrylic works well)
- Sunlight or UV lamp
- Water for rinsing
- A container for rinsing the prints
- Safety Gear: Gloves (to protect your hands) & an apron or old clothes (to avoid stains)
Step-by-Step Instructions
1. Prepare your workspace
Set up your workspace in a well-ventilated area and cover surfaces that could get stained with the cyanotype solution. A flat table with good lighting is ideal.
2. Mix the cyanotype solution
Follow the instructions on your cyanotype kit to mix the ferric ammonium citrate and potassium ferricyanide in equal parts. Wear gloves to avoid contact with the chemicals.
You can purchase Premixed liquid and pre-coated paper from photography supply stores. Using premixed materials can help a lot if you are not comfortable working with raw chemistry or don’t have all the tools to mix chemistry. It will also save a lot of time for beginners, and you will have results much faster. Here's an excerpt from The Book of Alternative Photographic Processes if you want to take on the raw chemistry
3. Coat your paper 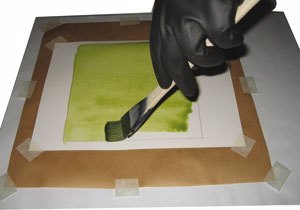
Using a brush or sponge, evenly coat your watercolor or cotton paper with the cyanotype solution. Ensure you cover the entire surface without leaving any drips. The paper should be completely dry before moving on. You can do this in normal lighting conditions, however, lower light would be better. It's best to let your paper dry in darker conditions. (image from Alternative Photography website)
4. Arrange your design
Once the paper is dry, place your chosen objects or transparency sheets on top of it. Feel free to experiment with different arrangements. The areas covered by the objects will remain white after exposure.
If you use a negative or digital negative you need to use a contact print frame. You may not need to buy a special contact print frame if you have an old picture frame the right size. Sandwich the negative and cyanotype coated paper between a glass plate and a backing.
5. Expose your print 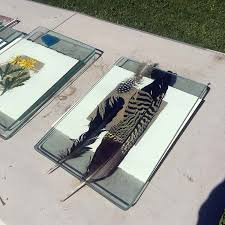
Place the paper and objects in direct sunlight or under a UV lamp. Exposure times can vary. Typically, it takes about 2-20 minutes depending on the light conditions that day. Using direct sunlight will produce the quickest times. You’ll know it’s ready when the paper turns a bright yellow-green.
6. Rinse the print
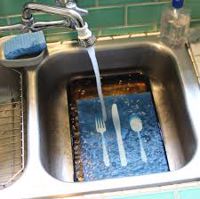
Once exposed, carefully remove the objects and rinse the paper in water for about 5-10 minutes. This step stops the chemical reaction and reveals the blue print. You’ll see your design emerge beautifully!
7. Dry and display
Hang your print to dry, preferably in a dark place to prevent fading. Once dry, you can frame it or use it in your next art project.
Tips for Success
- Experiment with different objects and arrangements to see what produces the best contrast.
- Try varying exposure times for unique effects—longer exposures yield darker blues.
- If you’re using transparency sheets, remember the clearer the image, the better the final print.
More Options to Explore
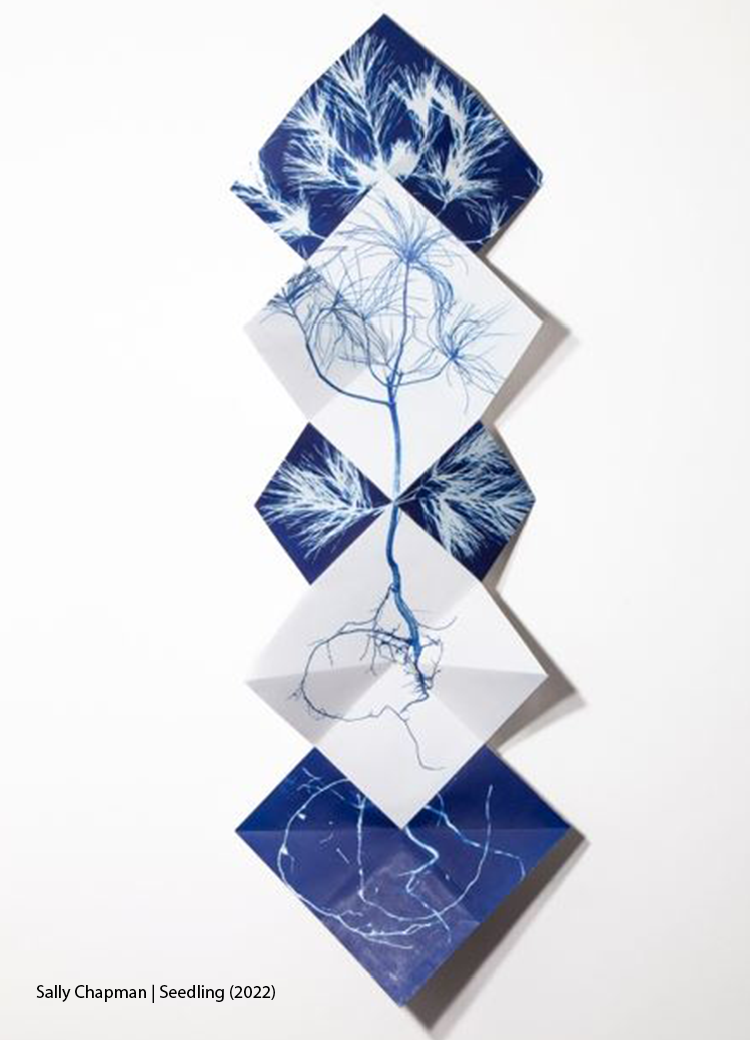
You can explore this unique art form and discover the beauty of cyanotype printing in the current exhibit Through the Lens in the library's Alice C. Sabatini Gallery. You'll find wonderful examples of cyanotypes from very talented artists! The featured images for this article are pieces from the exhibit.
Cyanotype Photography Craft | Mon, Oct 28 | 7-8pm | Reed Studio
Create your own cyanotype photographs with us in the gallery's Reed Studio. Today the blue coated paper prints are most popularly associated with architectural blueprints.