


Adventures in making a Coptic bound book
Introduction
Coptic binding is a unique form of bookmaking where folded sheets of paper, called signatures, are sewn together in a chain-like pattern. This technique creates books with open spines and pages that stay flat when you open them.
Historically, Coptic binding started with the Copts, an early group of Egyptian Christians, around the 2nd century AD. From there it spread to different cultures in the eastern Mediterranean, the Middle East, and North Africa.
Today, artists and bookbinders often choose to work with Coptic bindings for a variety of reasons including:
- Durability: Coptic bound books are strong, perfect for books that get a lot of use.
- Historical Charm: Its roots in early manuscripts give Coptic binding a sense of history and craftsmanship.
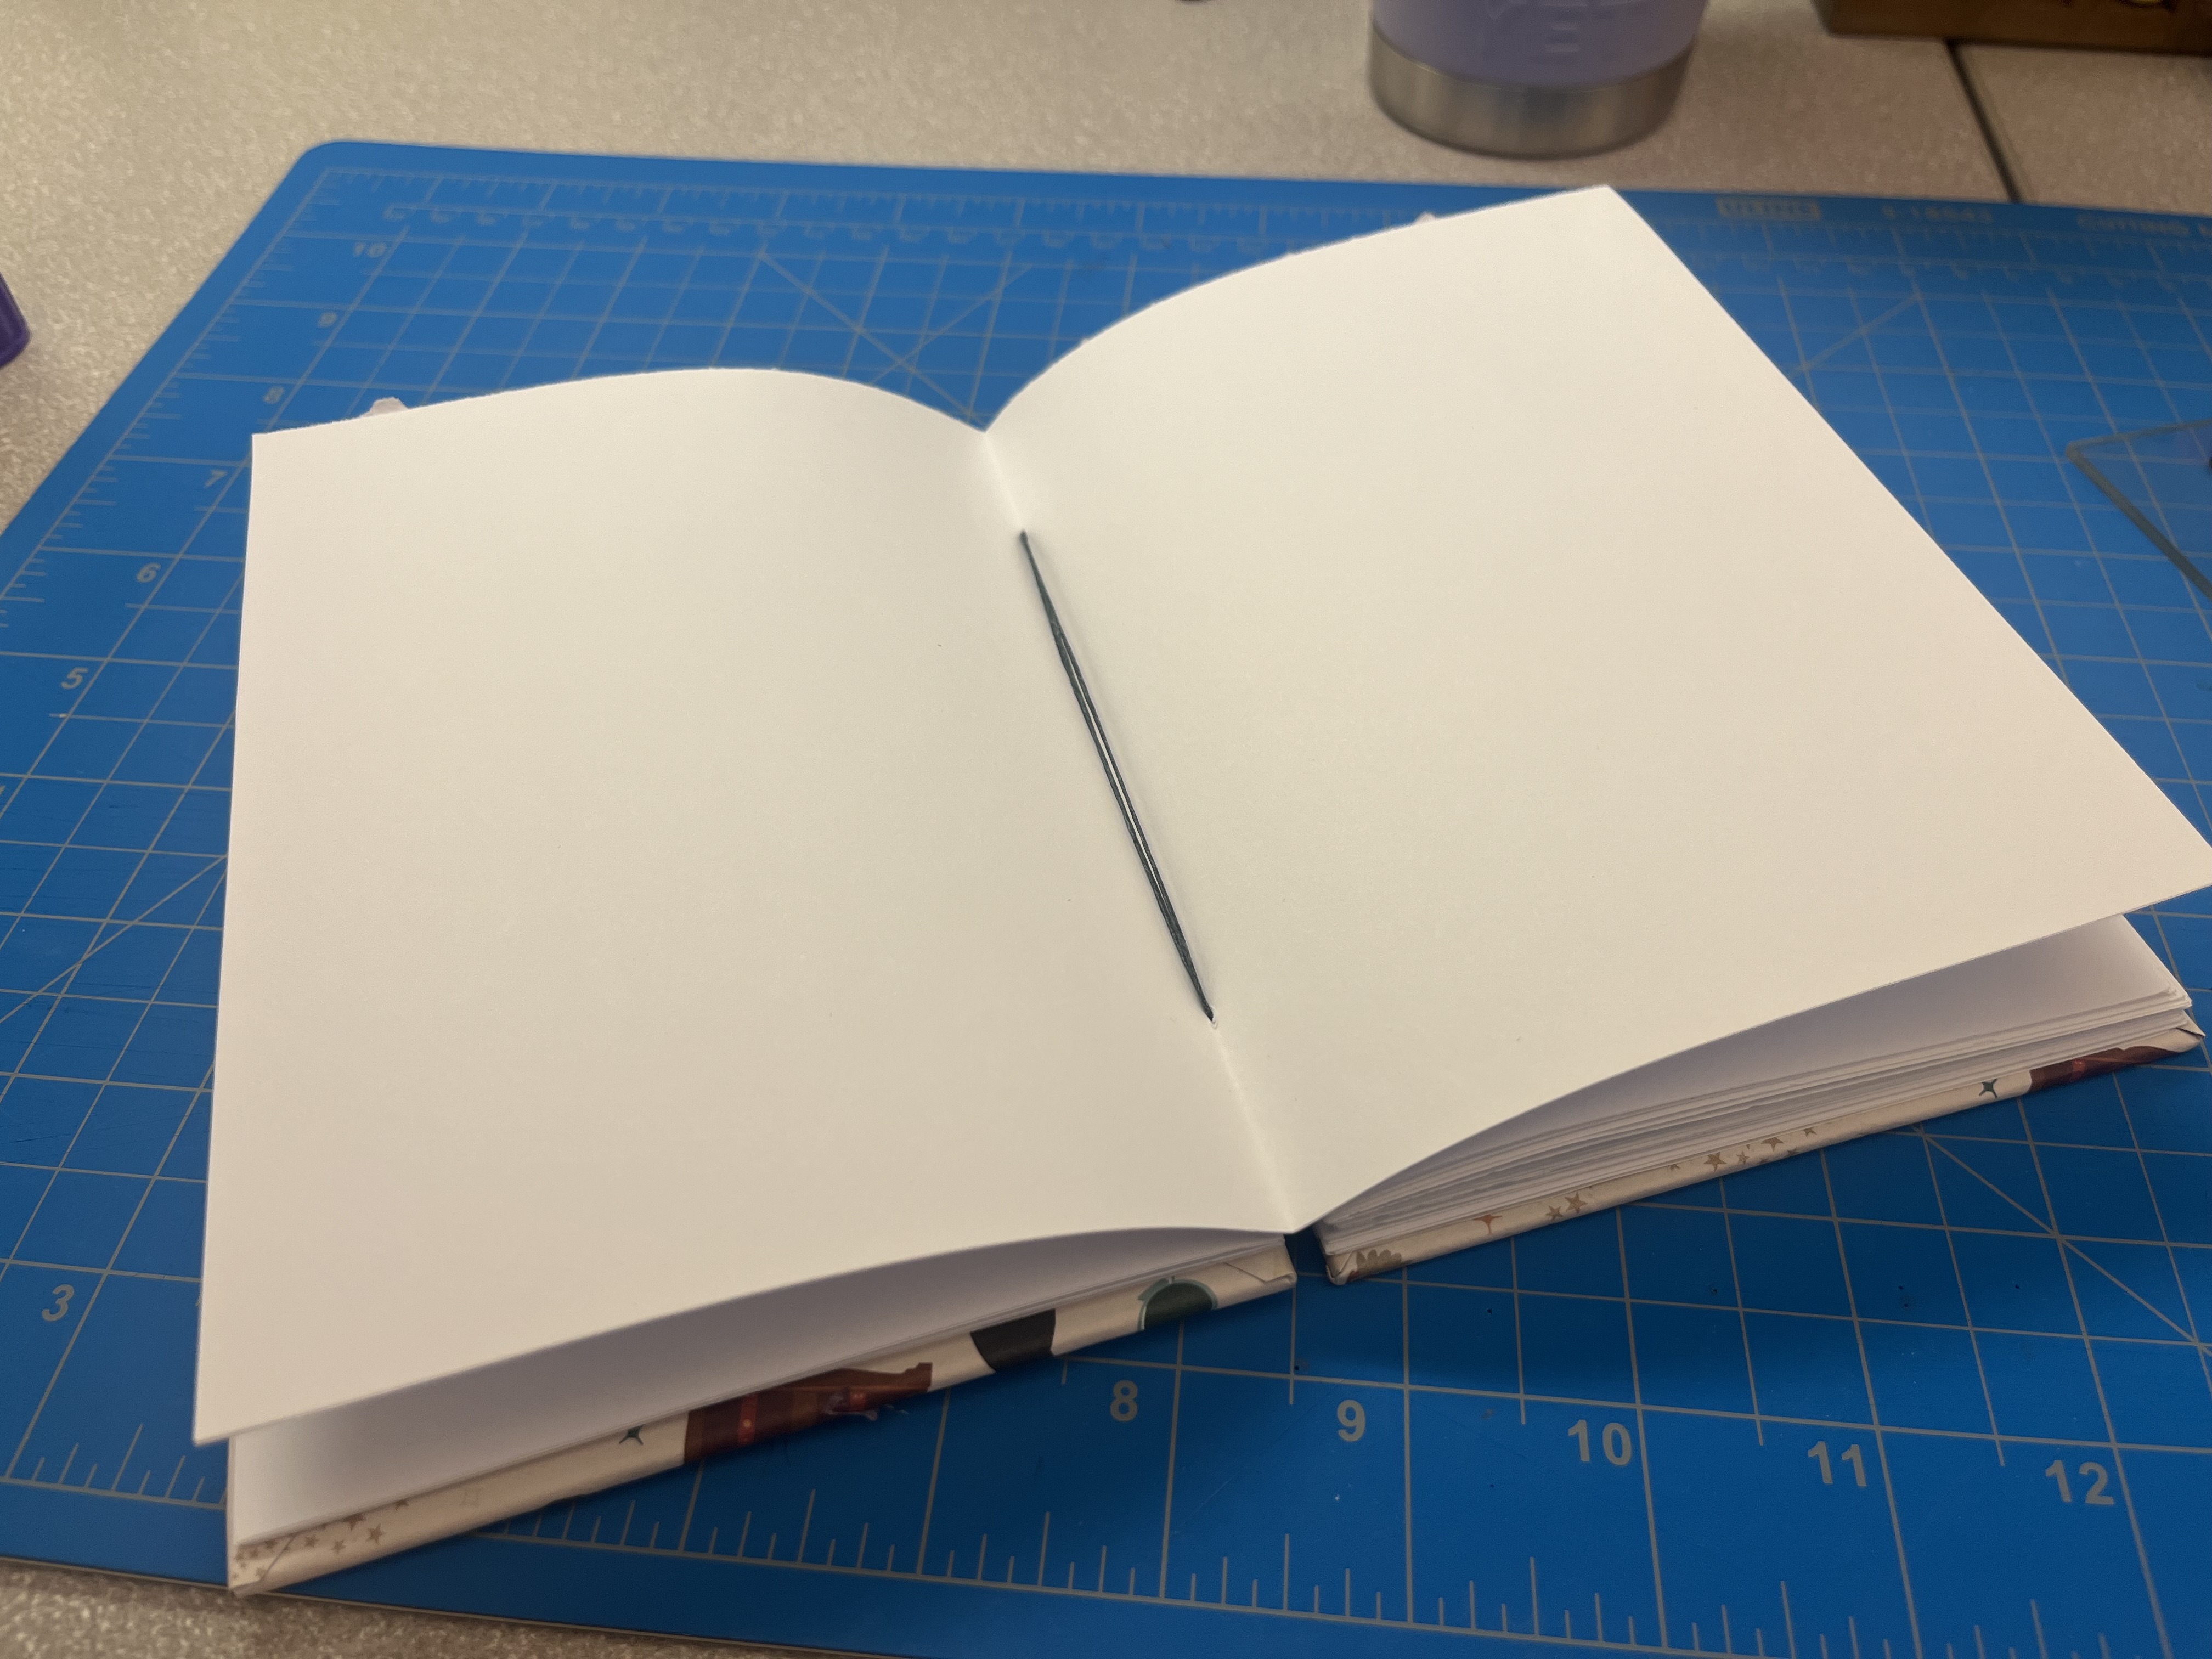
- Visual Appeal: The exposed spine makes Coptic binding stand out visually. The binding's ability to lay flat when open also makes it a popular choice for art books and journals.
The Library's Collection
We have several examples of Coptic binding in the library's collection. Here are a few of my favorites:
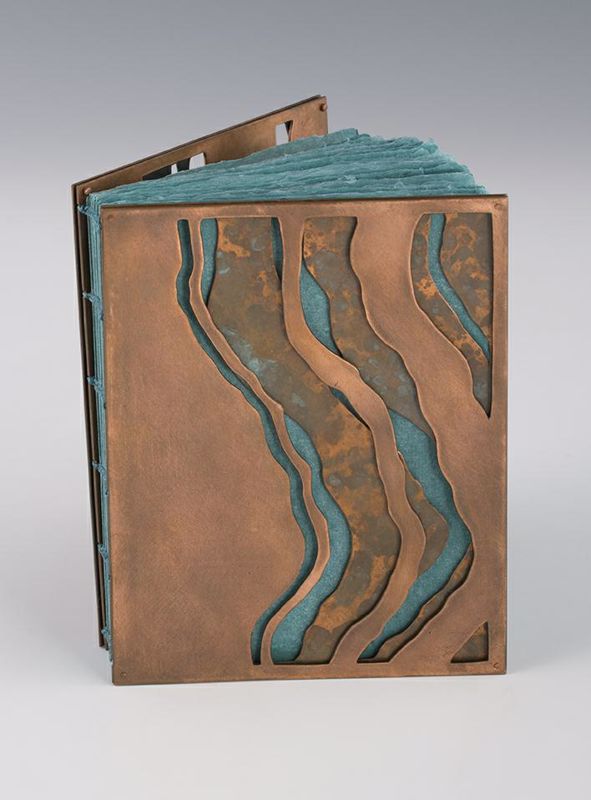 Undertow, Karen Hardy
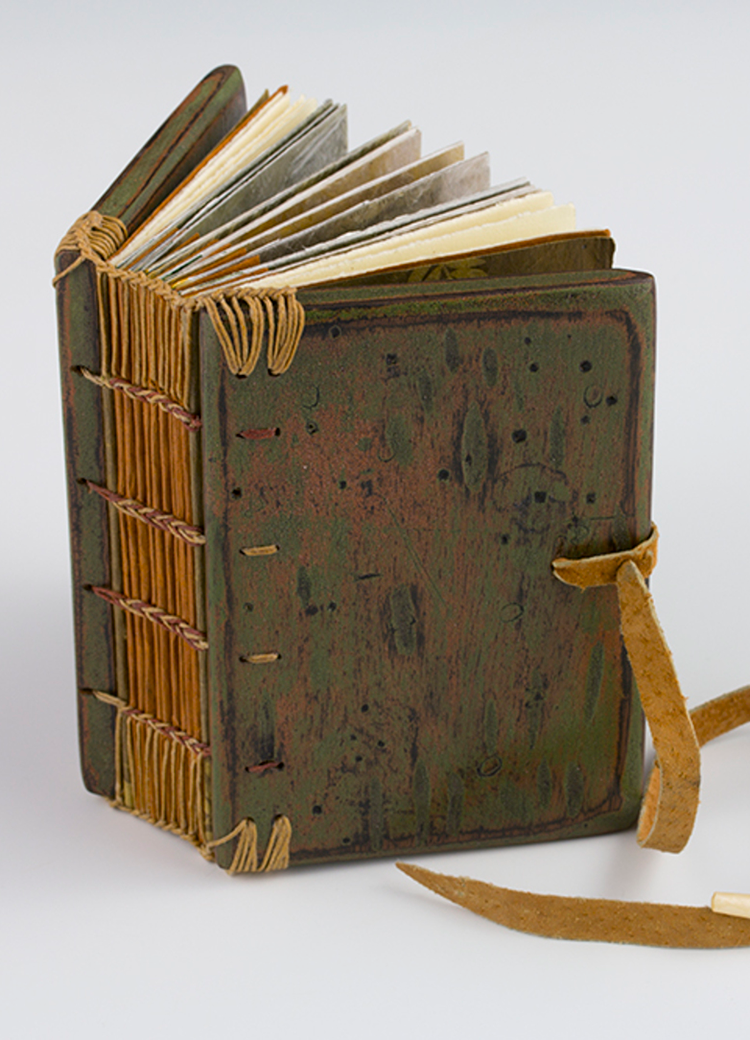
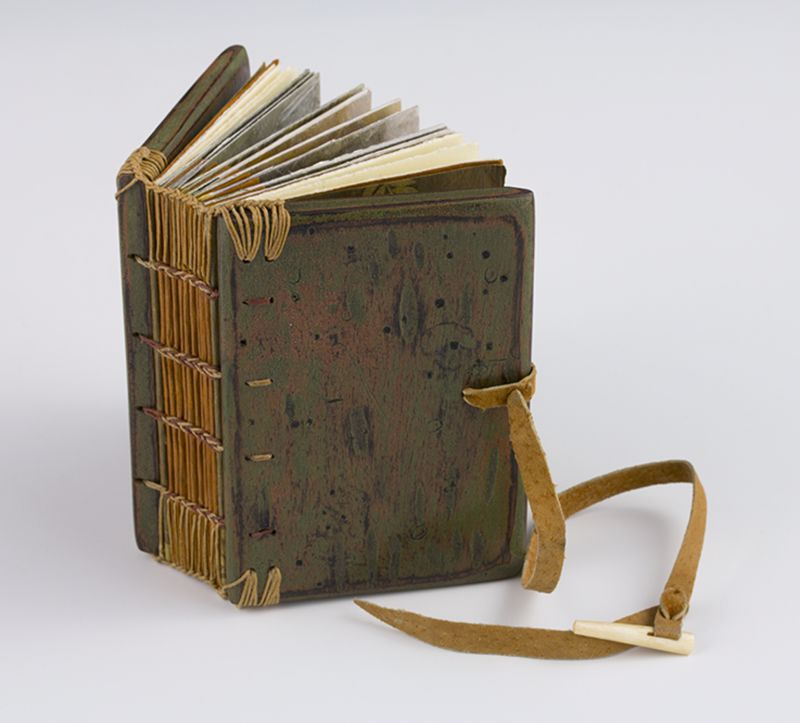
 Spirit of the Times - 4th Century, Daniel Essig
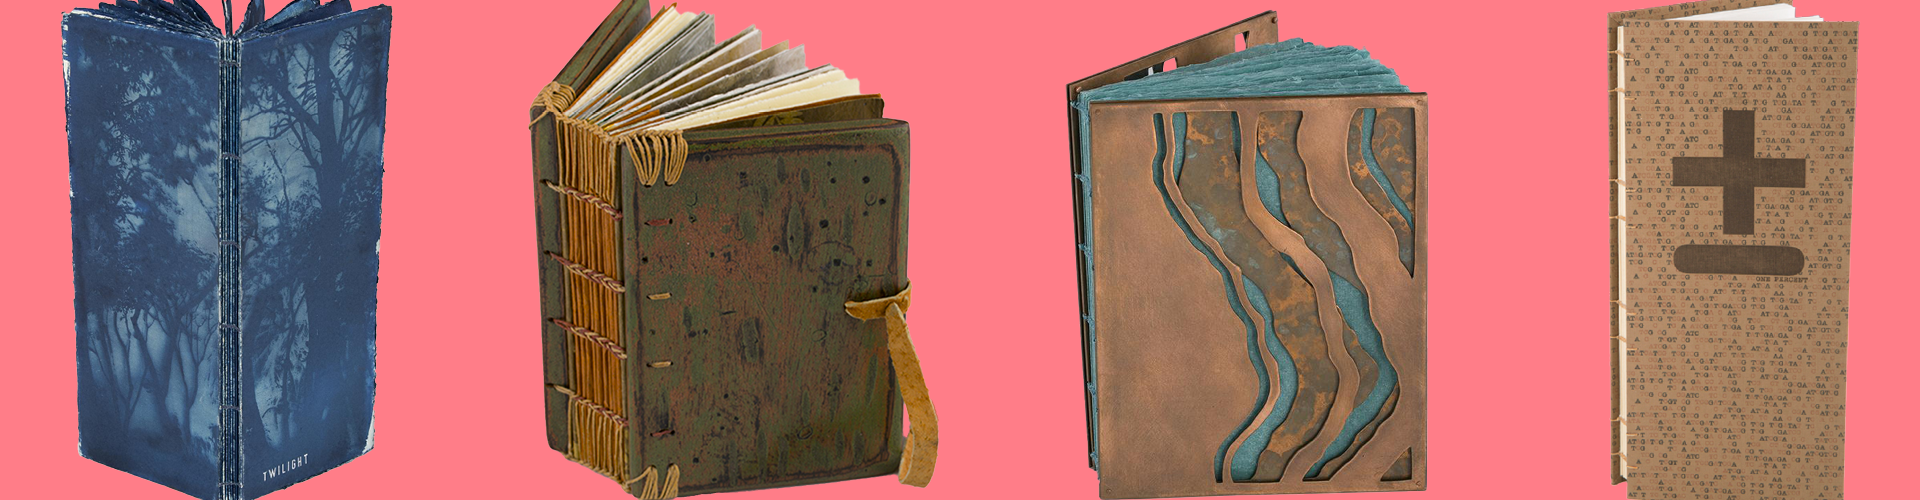
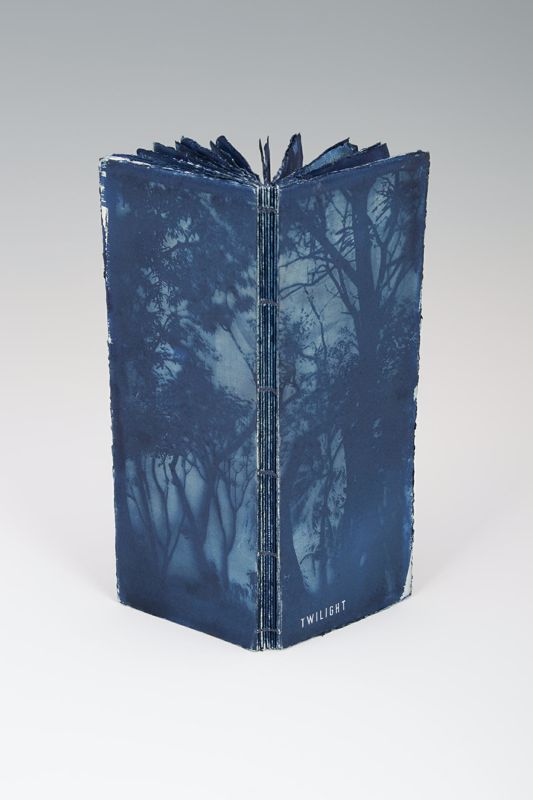 Twilight, Evangelia Biza
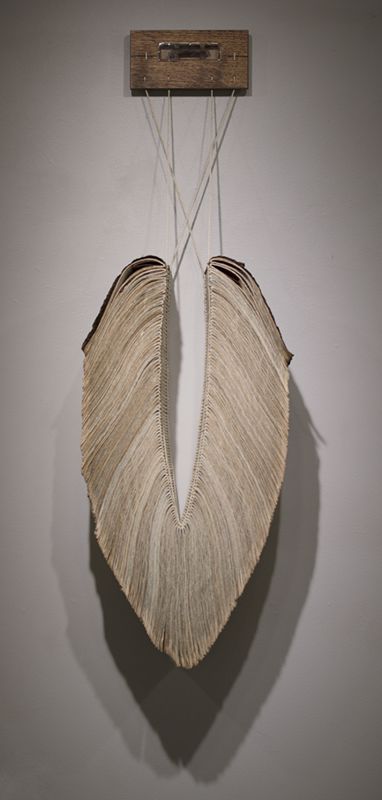
 Cultivating a Gardener, Cynthia Colbert
Making your own Coptic bound book
For this project I used a Creativebug lesson as a guide. Creativebug is available to you for free with your library card. If you want to make your own Coptic bound book, I recommend watching the video Coptic Binding taught by Jody Alexander.
Supplies
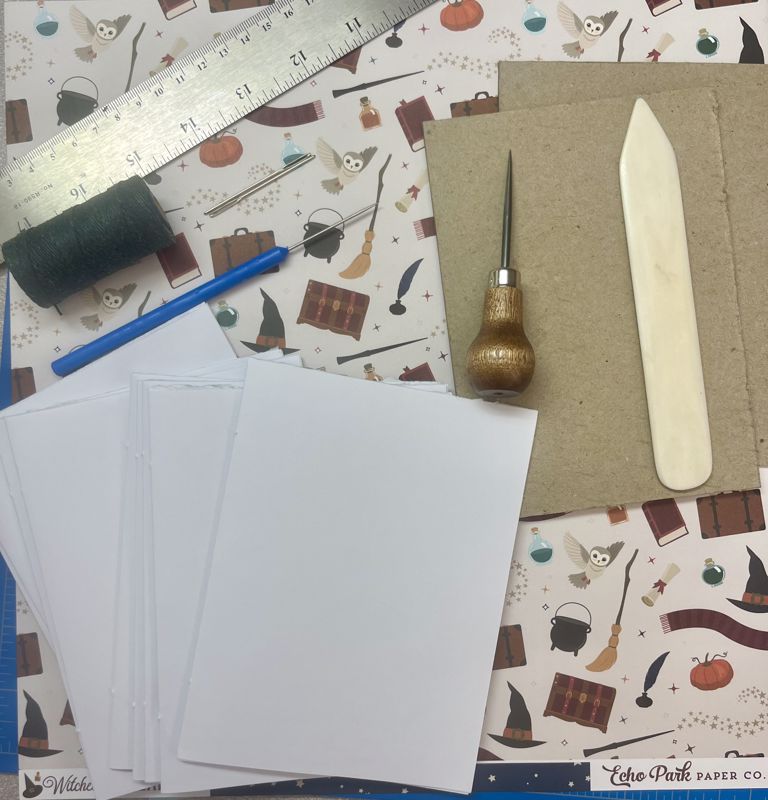
- Craft Knife – For cutting the book board to size.
- Paint Brush – Used to help apply glue evenly.
- Awl or Pin Tool – Needed for puncturing holes.
- Flat Edged Tool – Such as a bone folder, spoon or butter knife. Used for folding paper and creating crisp edges.
- Scissors
- Ruler
- Binding Thread – The Creativebug video recommends linen thread for strength. I recommend using waxed thread for Coptic binding.
- Sewing Needle
- Decorative Paper – This is optional for covering the book board.
- Book Board – For the front and back covers of the book.
- Paper for Interior Pages – I used copy paper.
- PVA Glue – I used Elmer’s craft glue. Avoid school glue as it lacks flexibility.
- Heavy Object – Only necessary if you are covering the book board. It helps prevent warping while the glue dries.
- Optional Supplies:
- Triangle – Useful for aligning and ensuring straight edges during measuring and cutting.
- Cutting Mat – Protects work surfaces and aids in cutting.
- Wax Paper – Helpful when gluing, prevents pages from sticking to each other and other objects.
Abbreviated Instructions
For more detailed visual guidance and tips, watch the Creativebug video I mentioned earlier.
-
Prepare the Book Board and Cover It:
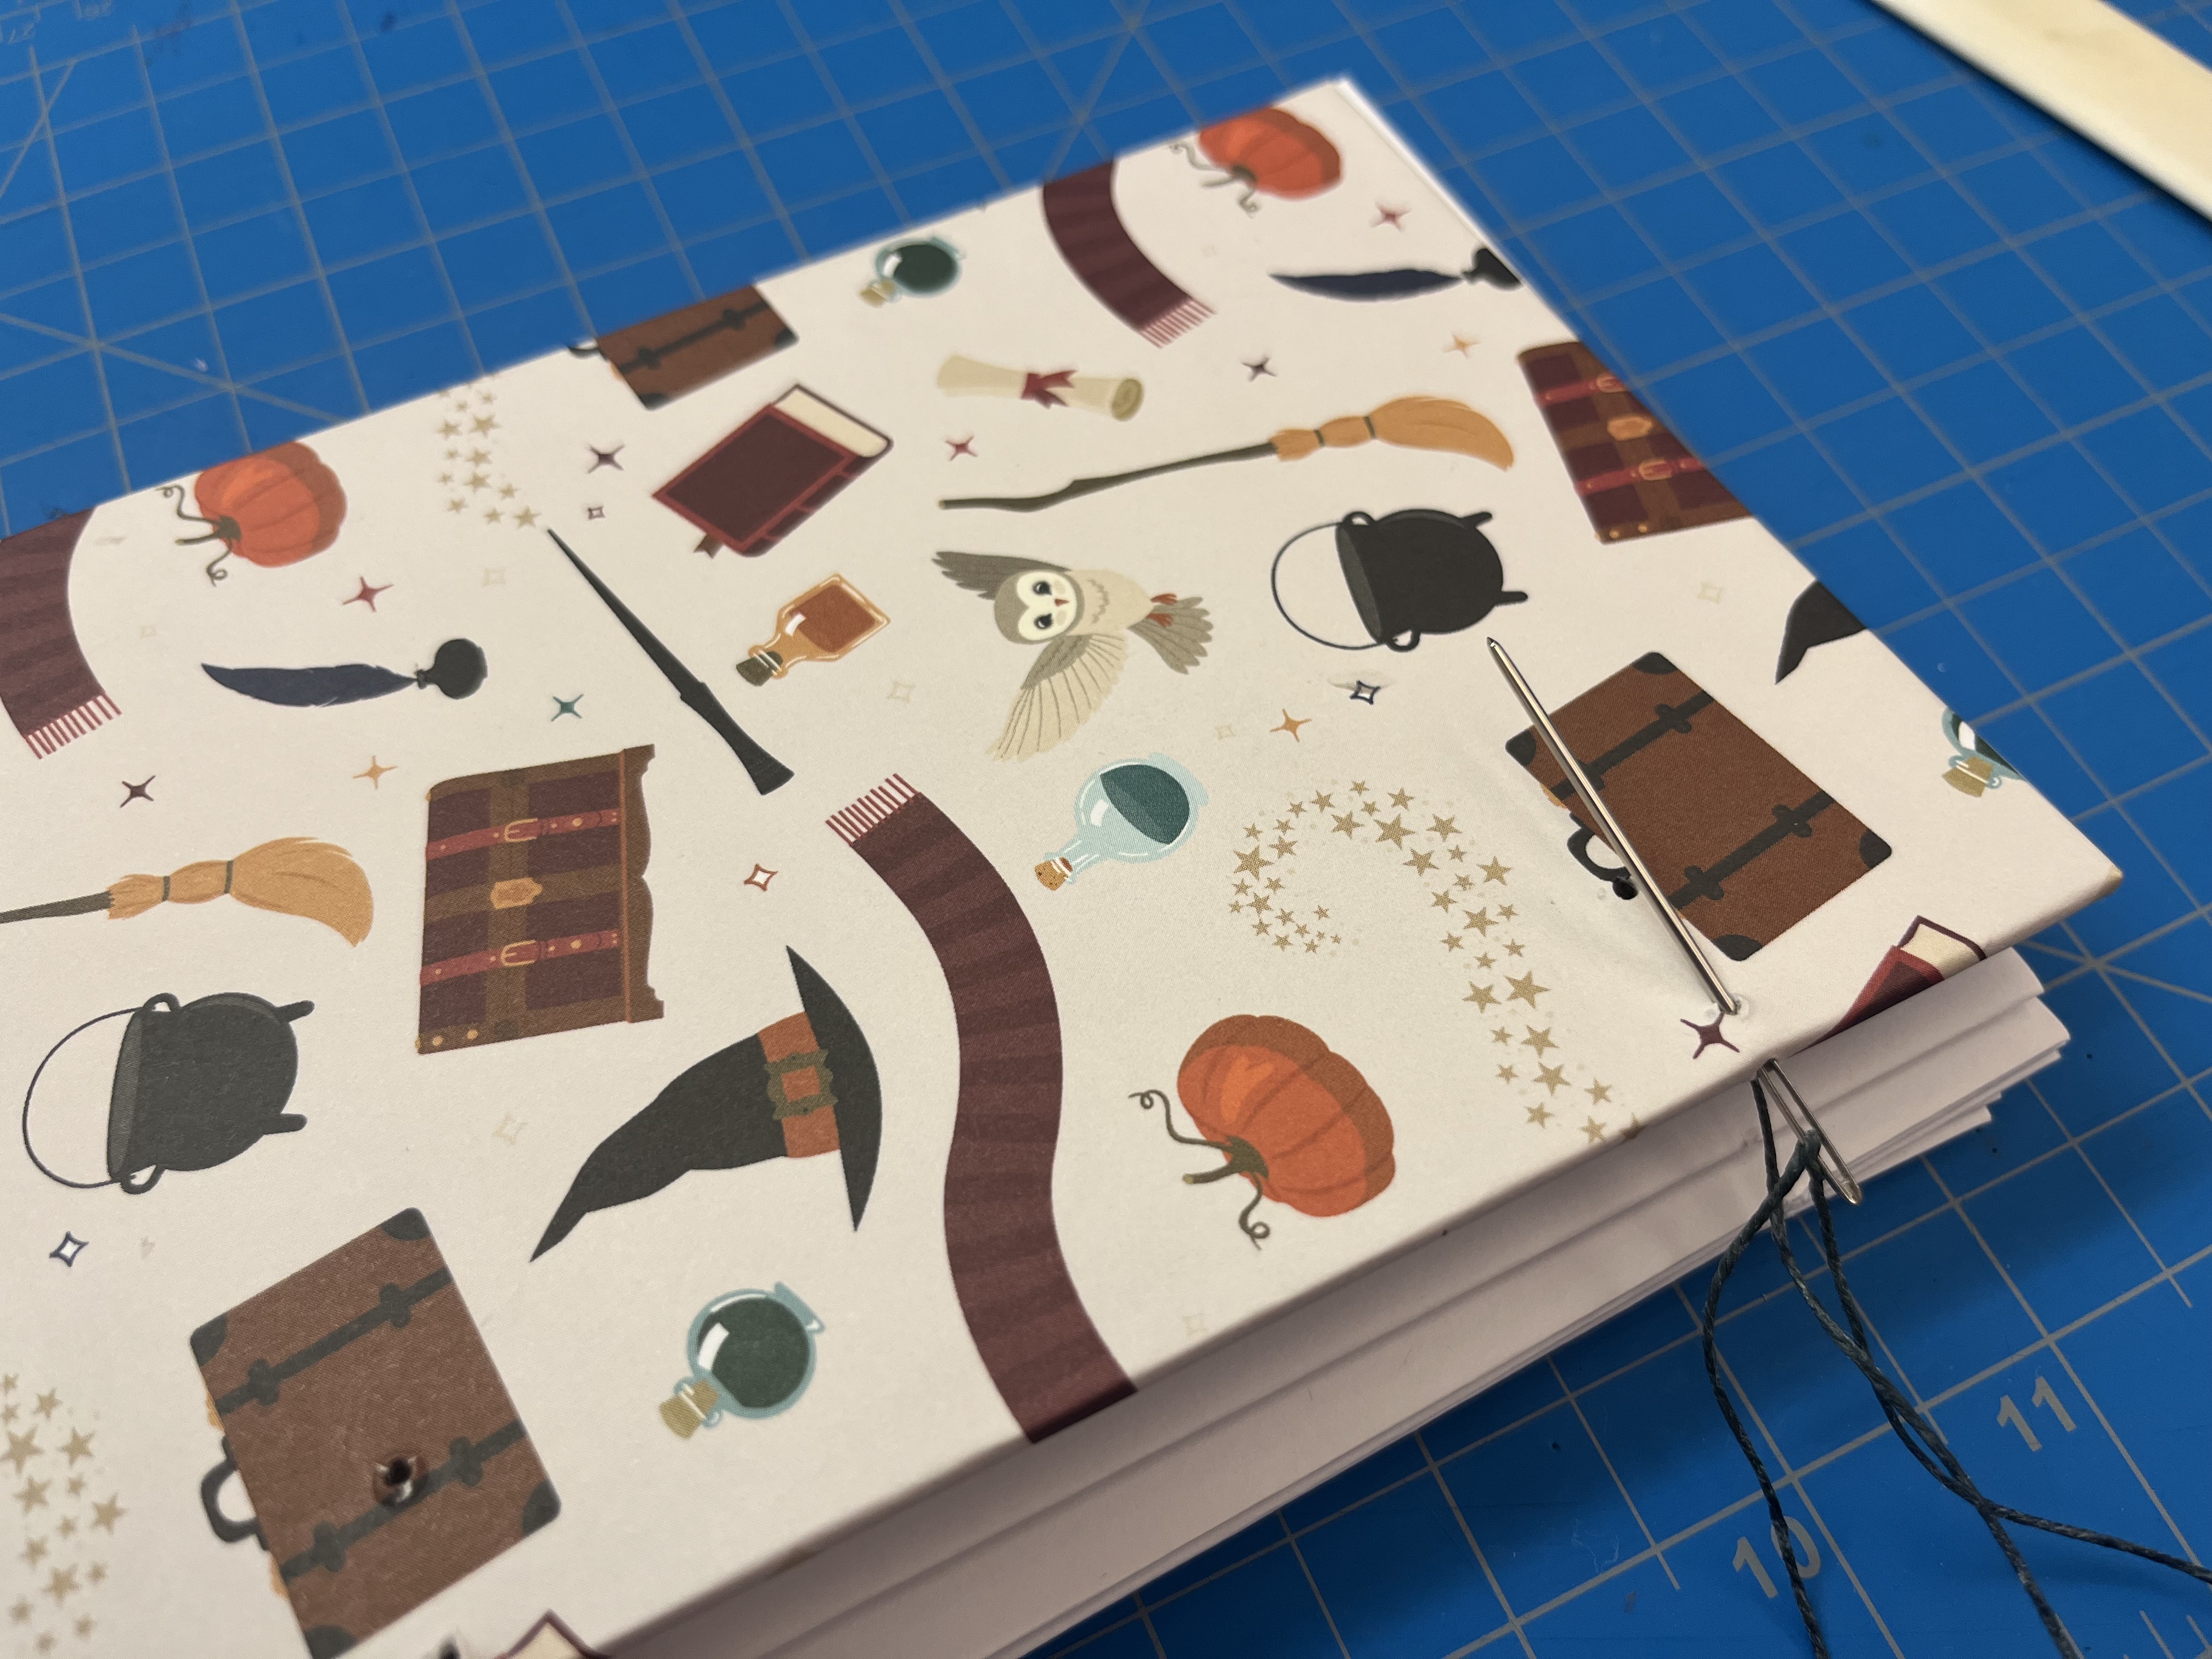
Start by cutting the book board to your desired size. Cover it with your chosen paper, I used a wizard-themed paper I had saved for a special project. To prevent warping, place a heavy object on top while the glue dries. Insert wax paper between the object and board to prevent sticking.
-
Prepare the Signatures:
While waiting for the glue to dry, I tore the copy paper in half and then folded those halves to make the signatures. I folded 4 pieces of paper in half to create 8 pages for each signature and I had 5 signatures. Total I used 20 sheets of copy paper for a total of 40 pages in my book.
-
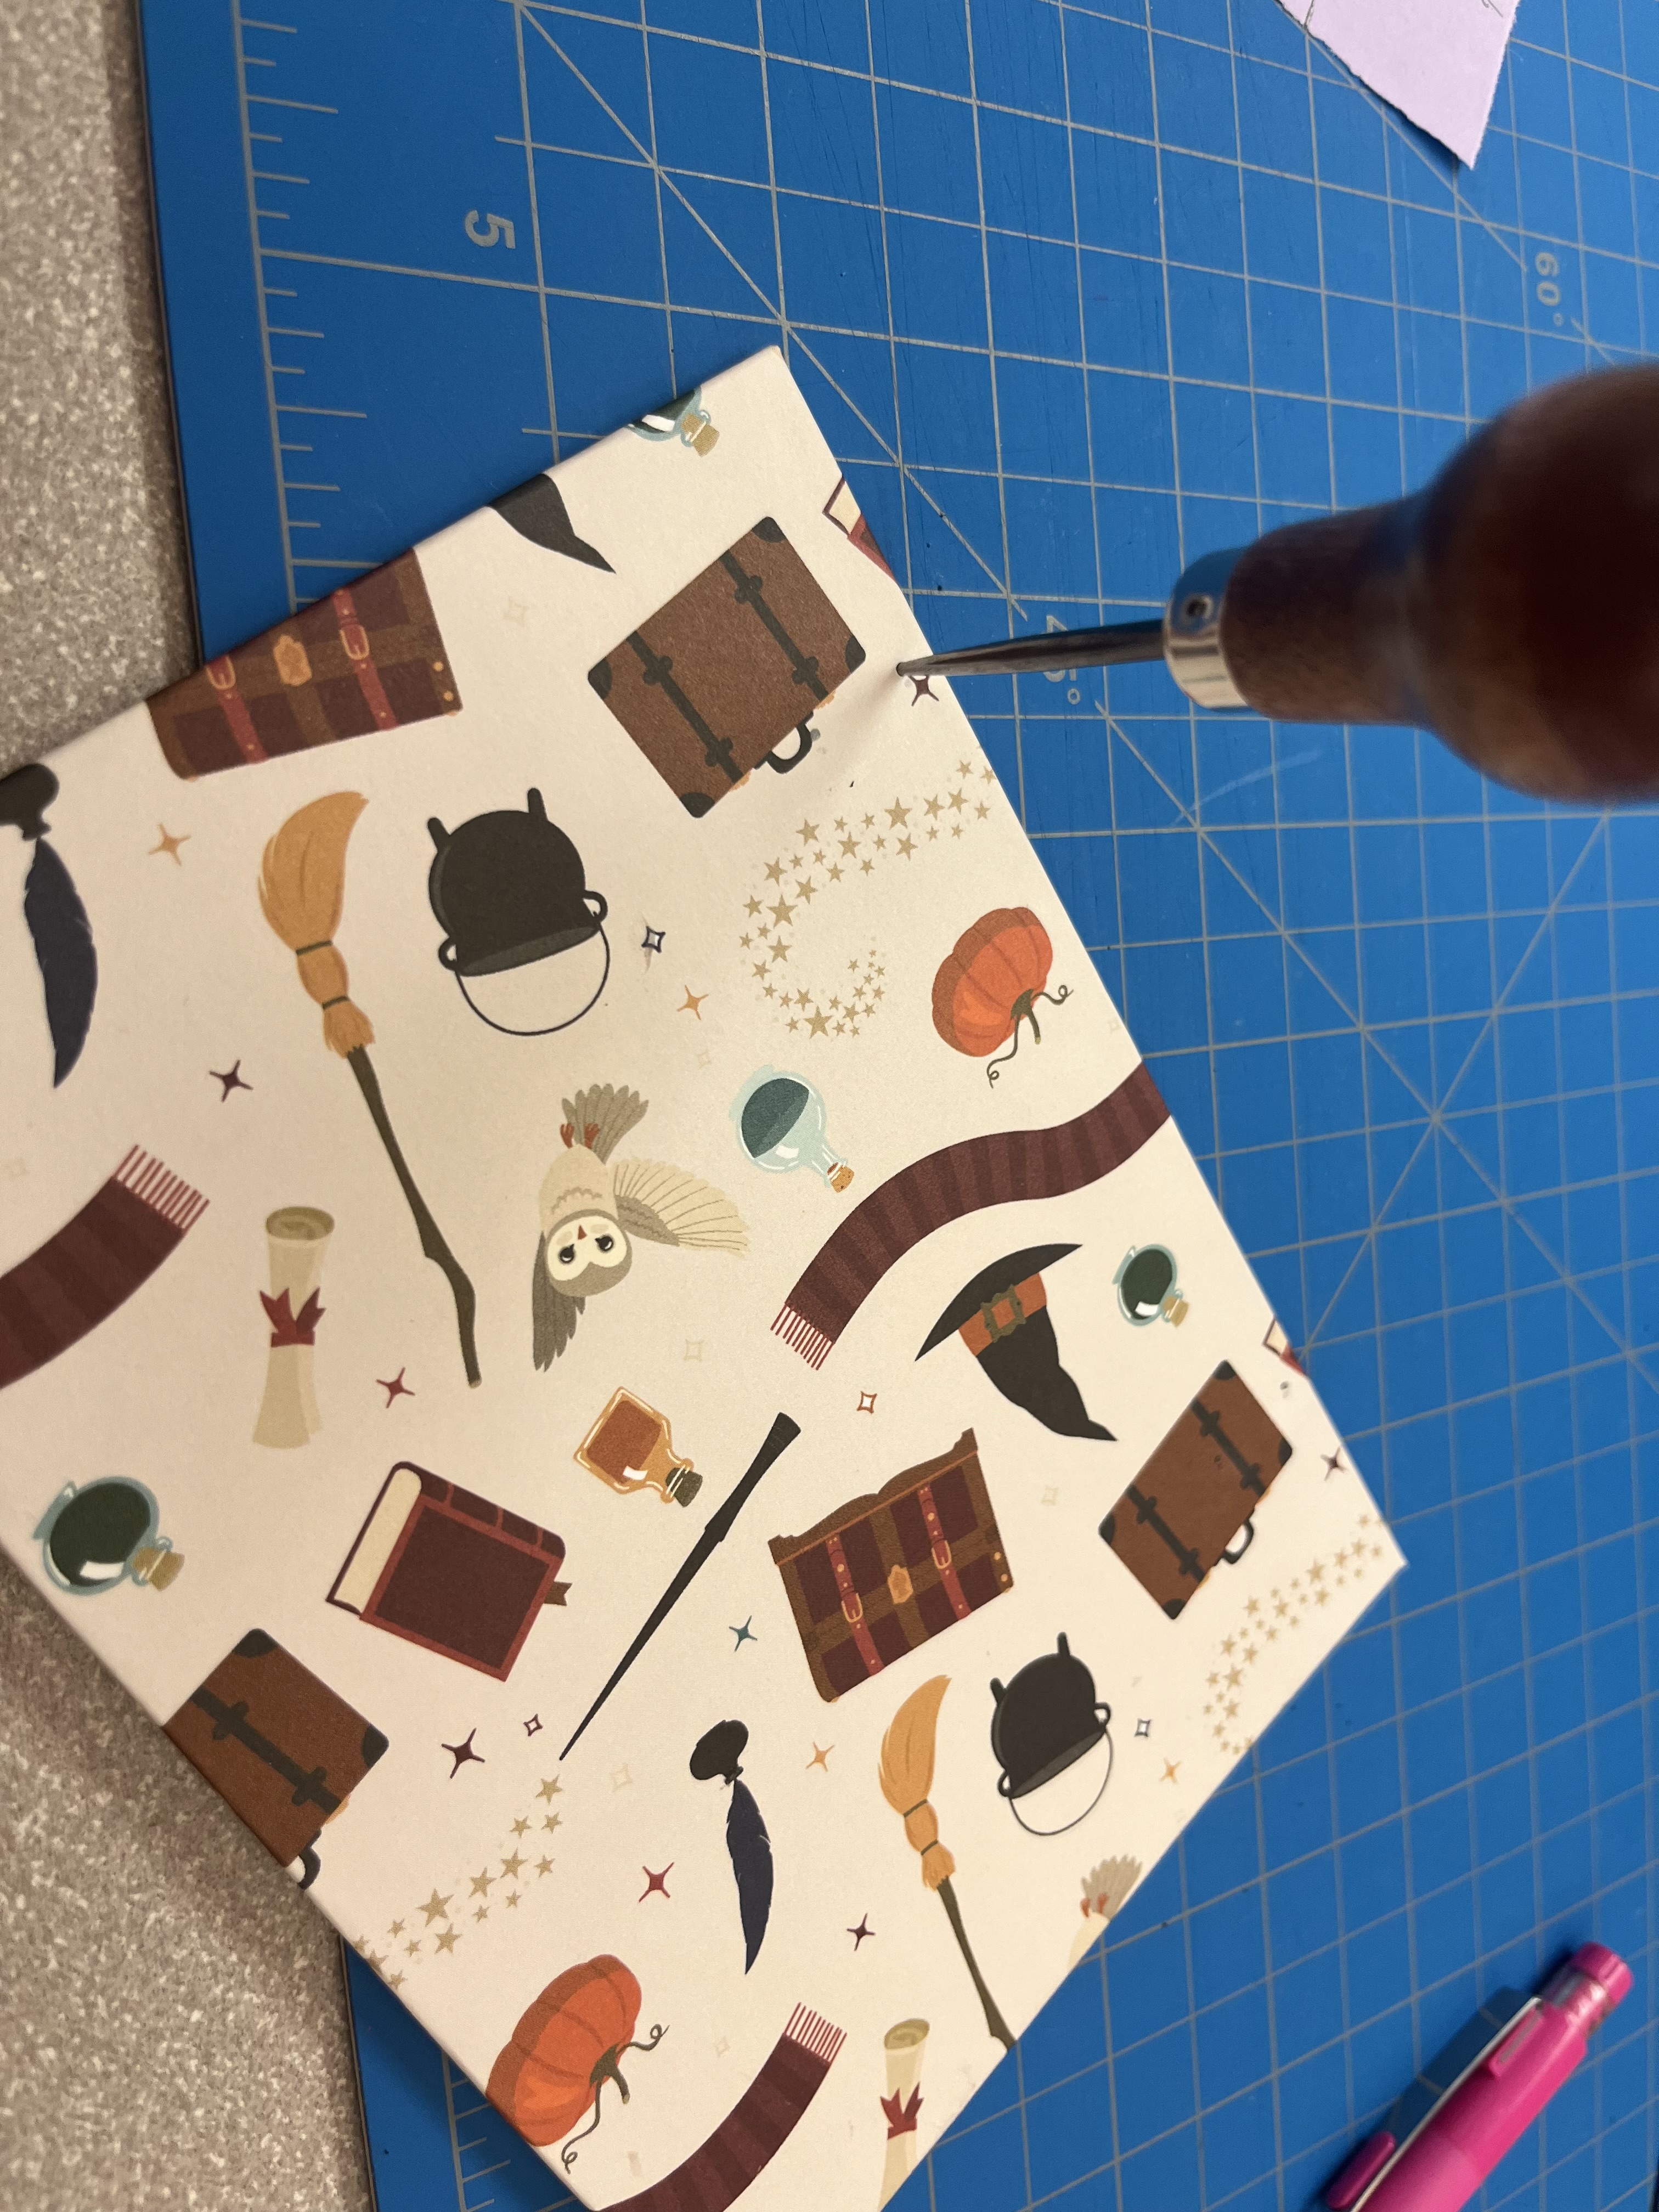
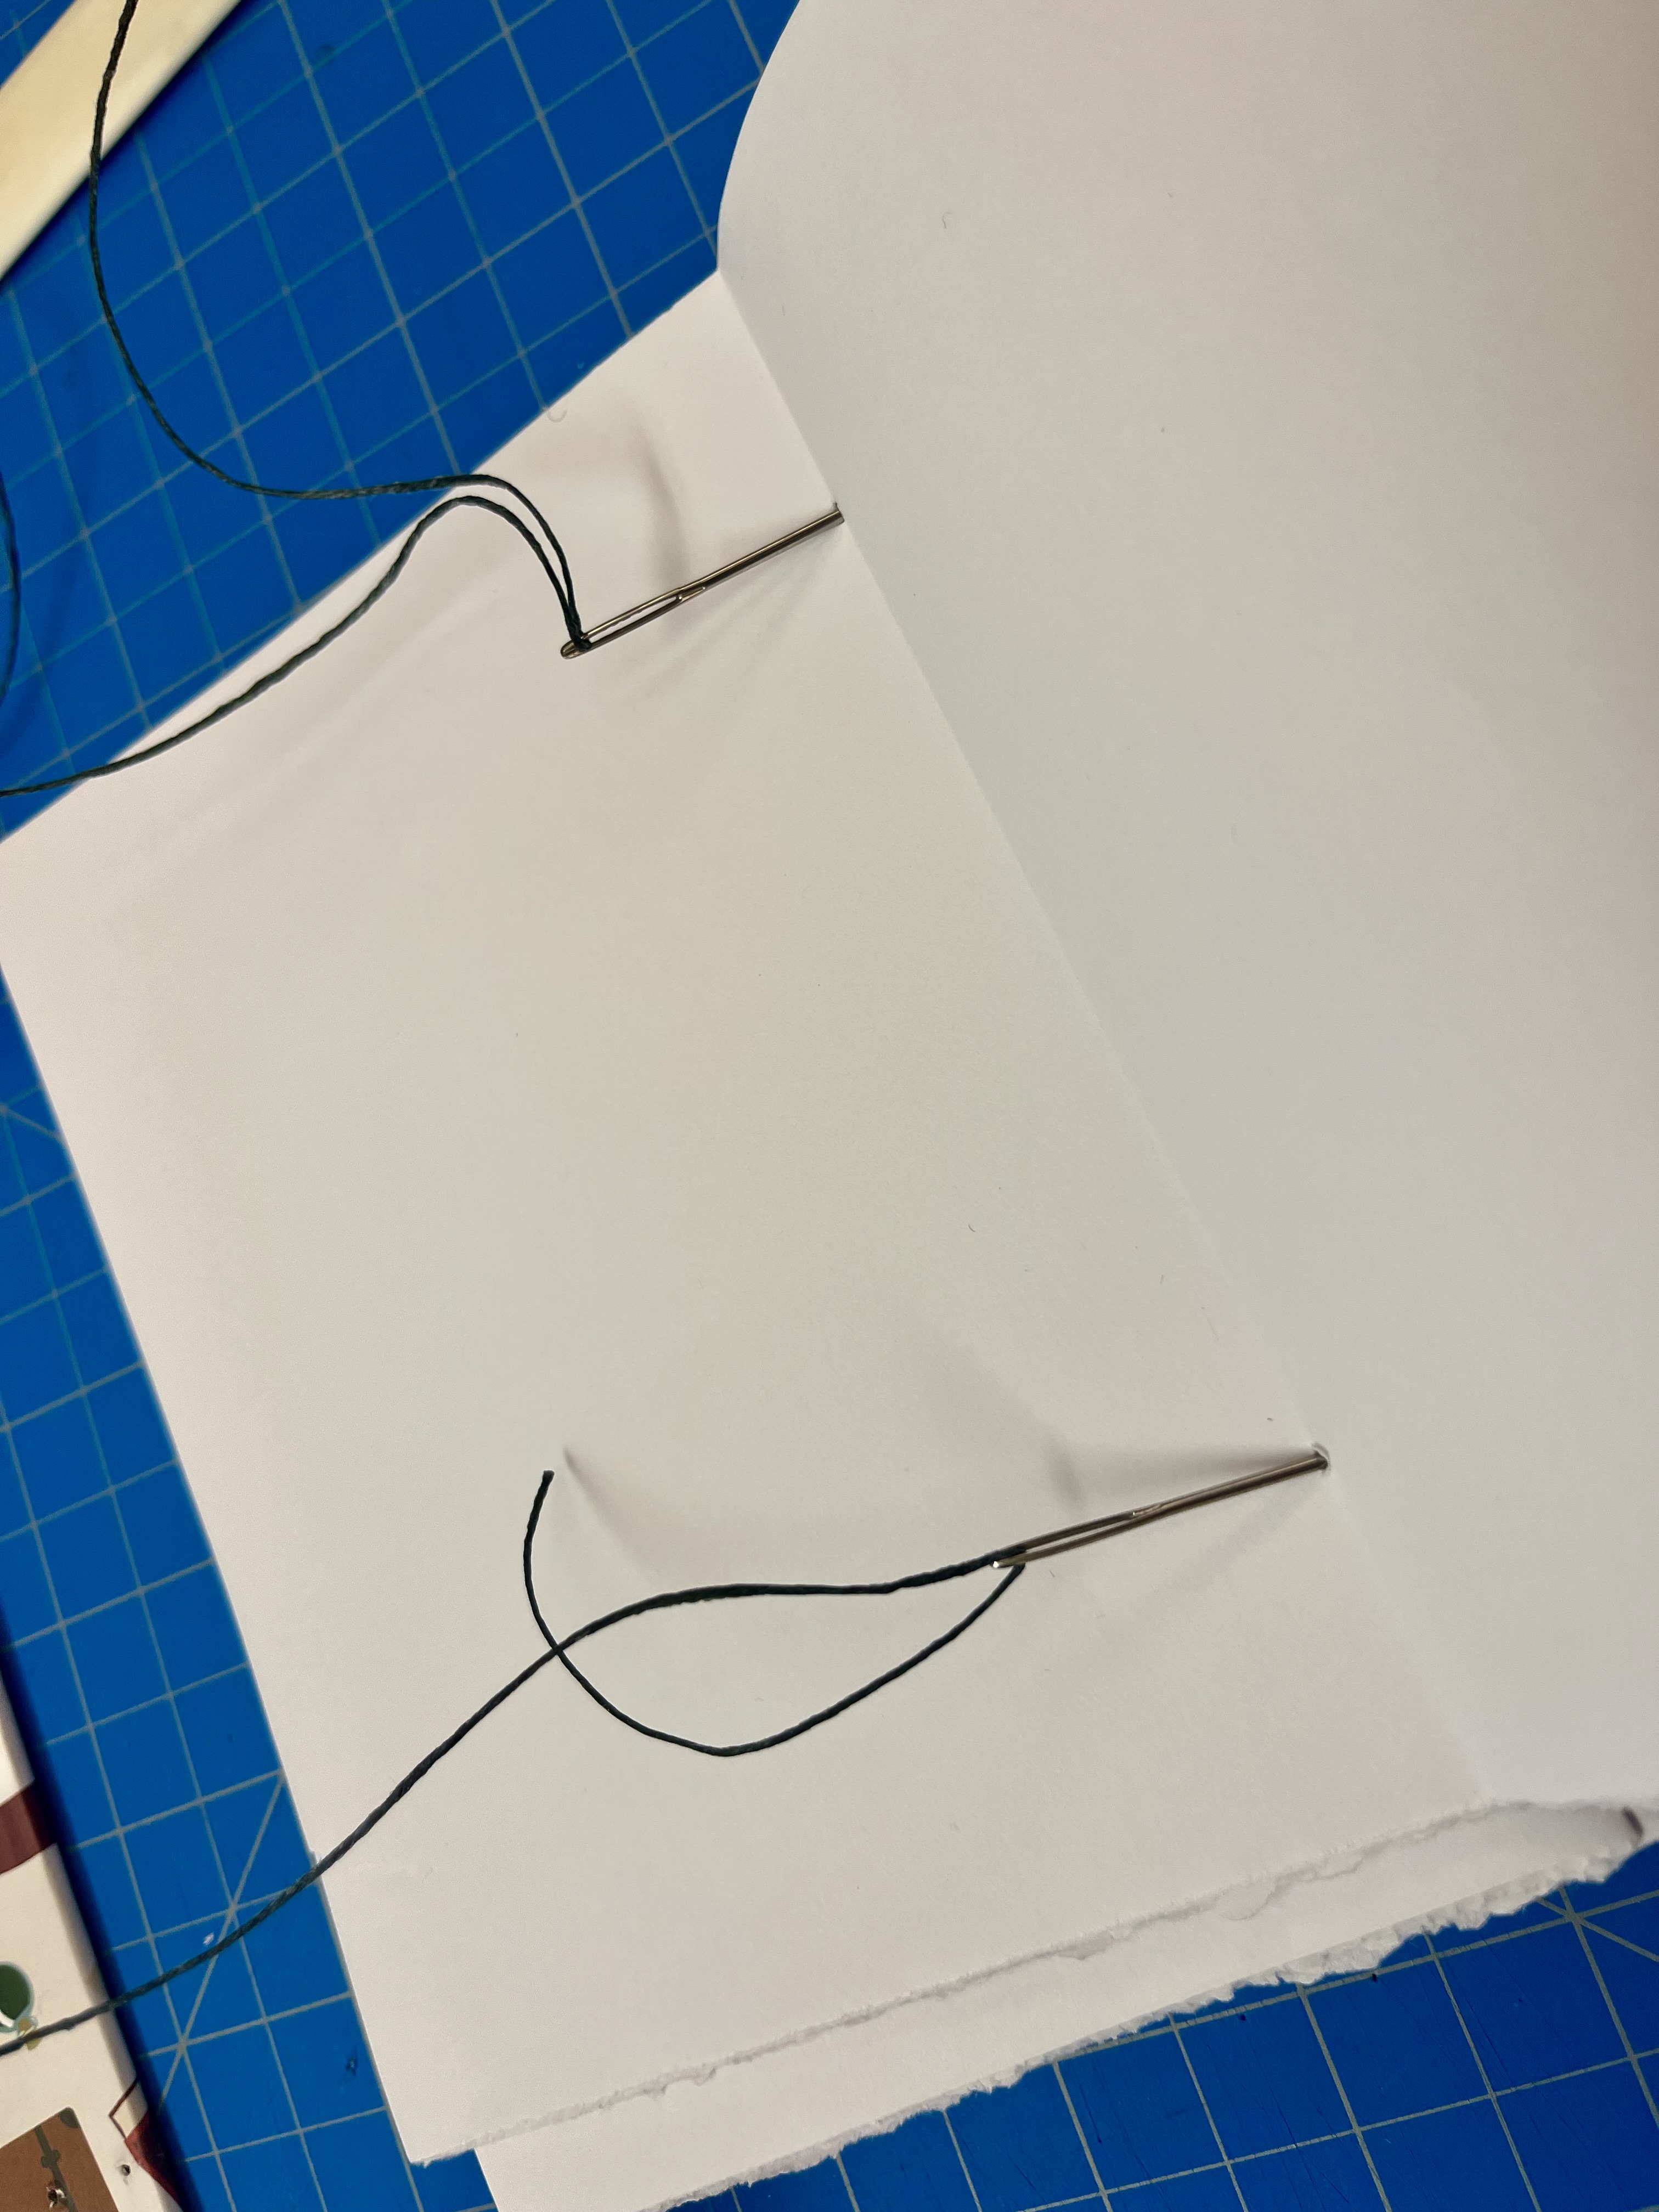
Create the Sewing Stations:
Once the glue on the book board has dried, mark and create the the holes (sewing stations) through which you’ll sew the book together.
-
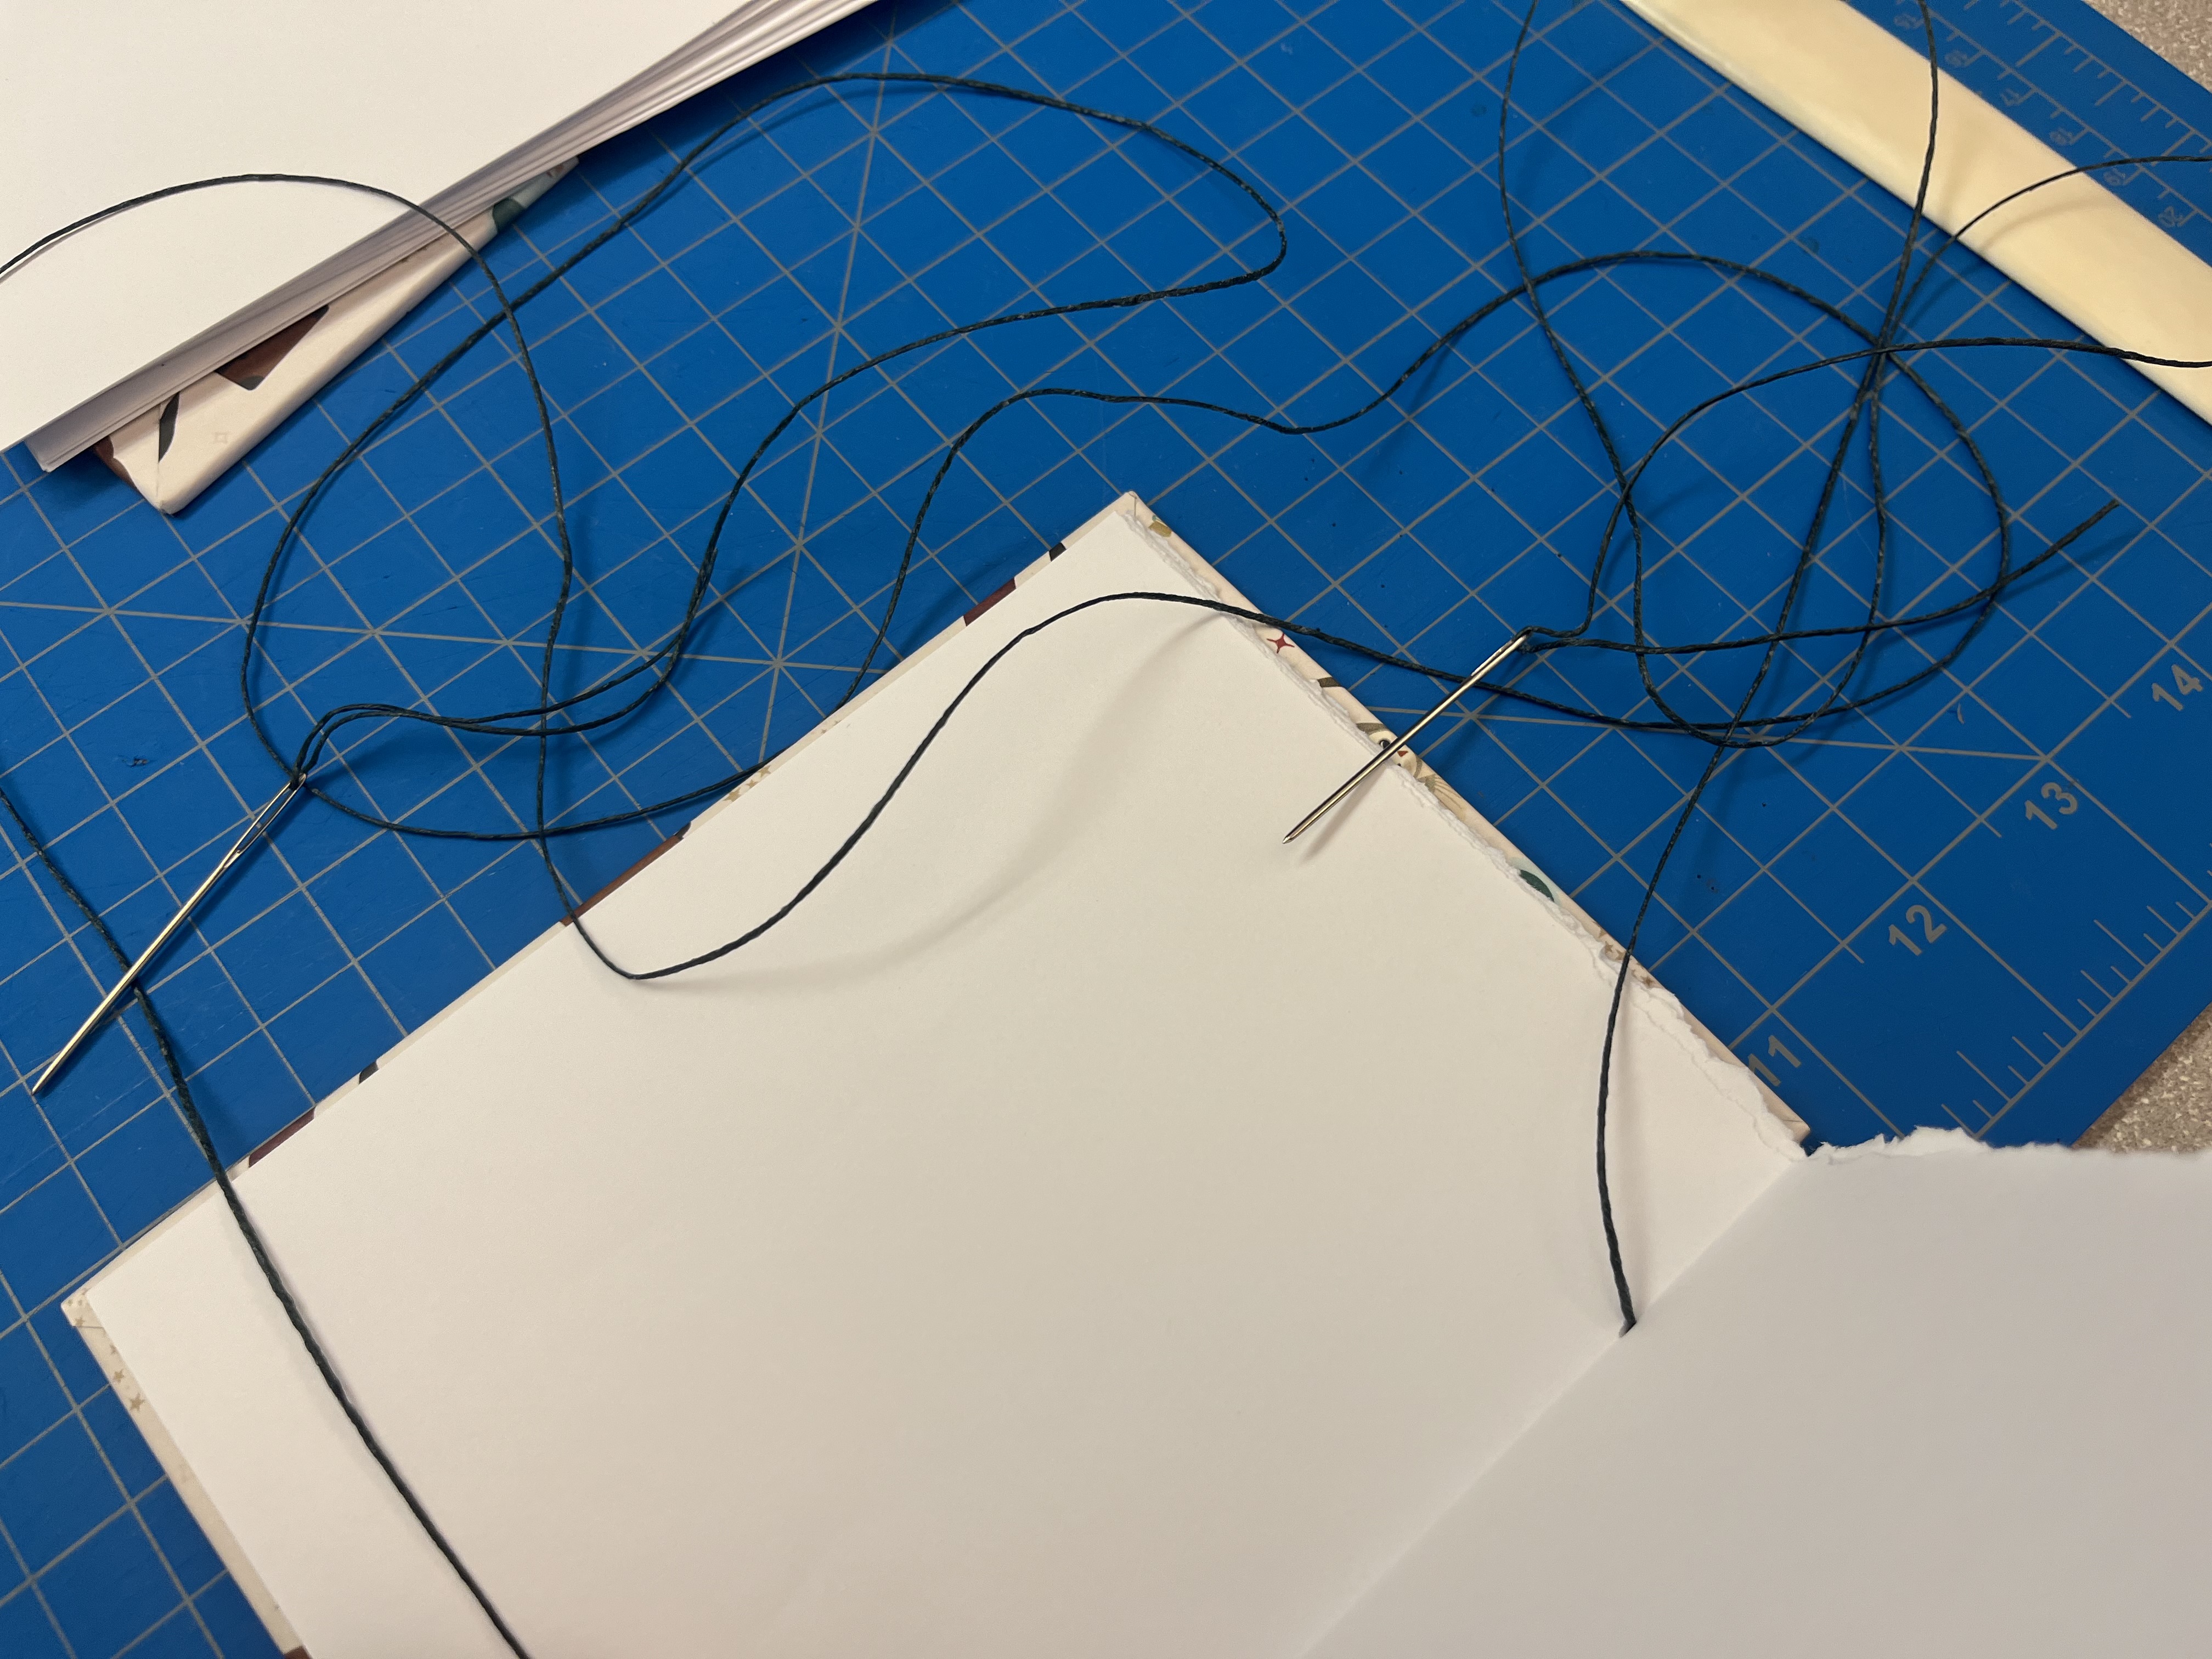
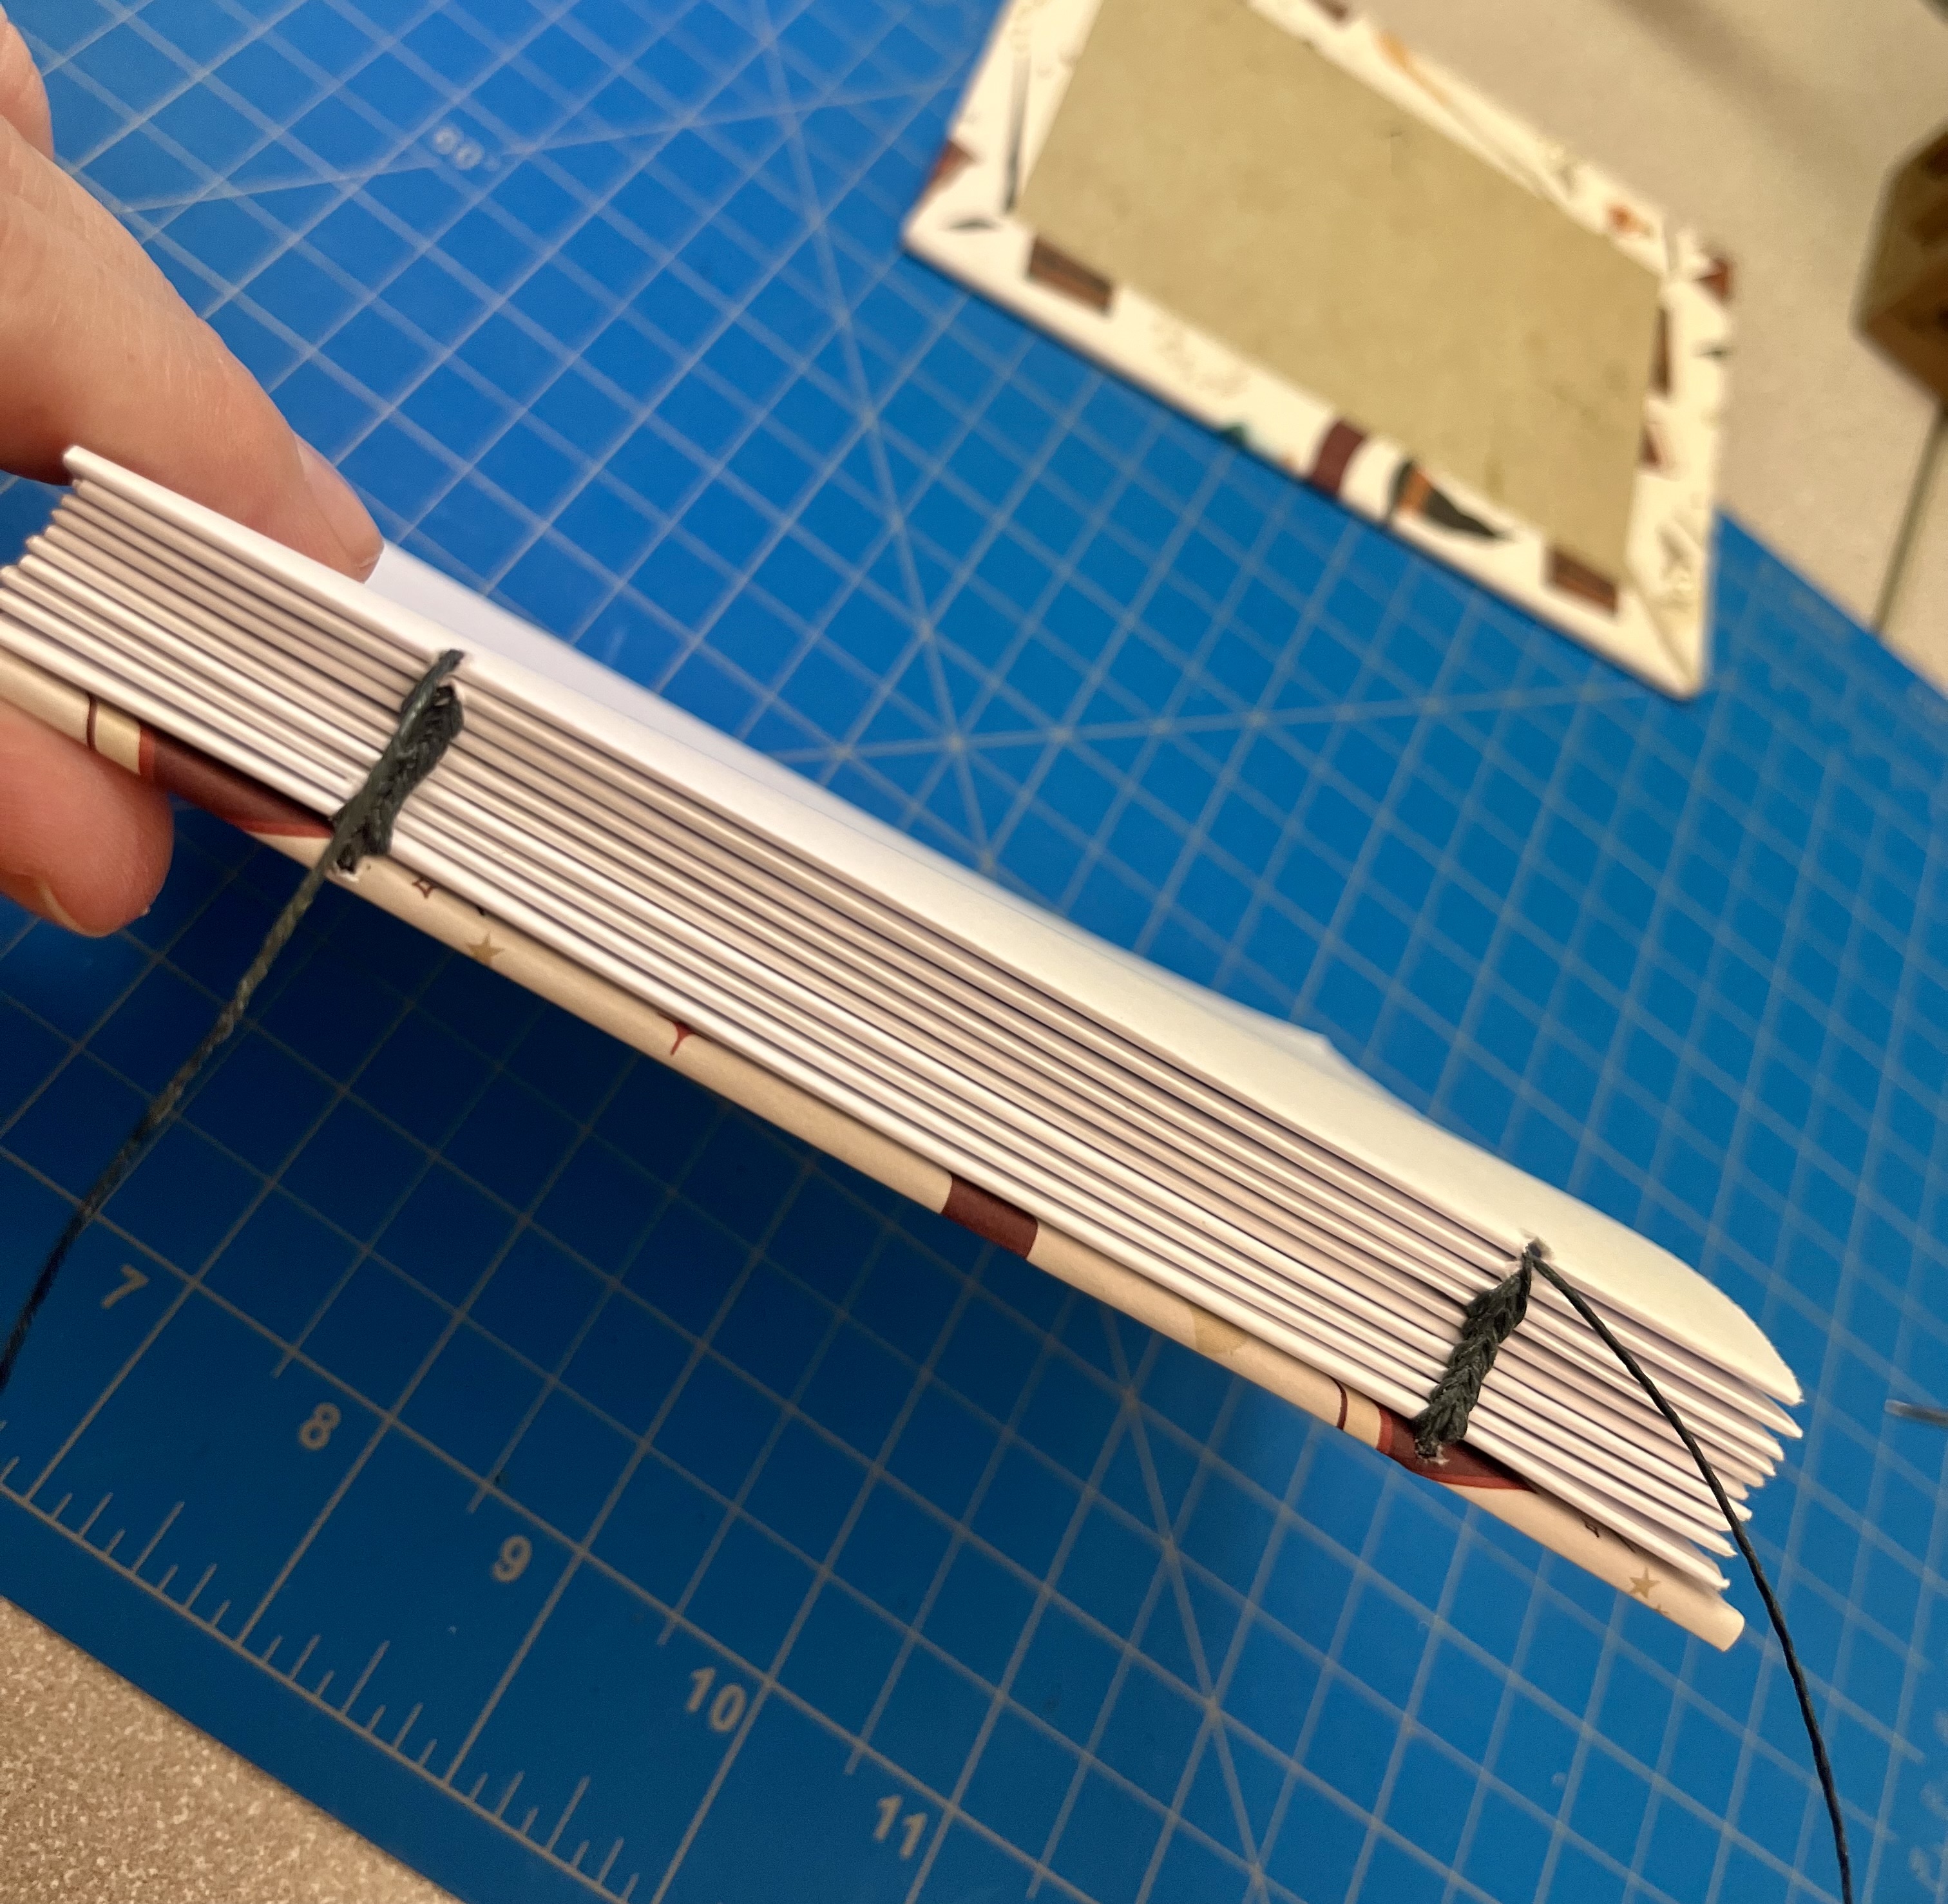
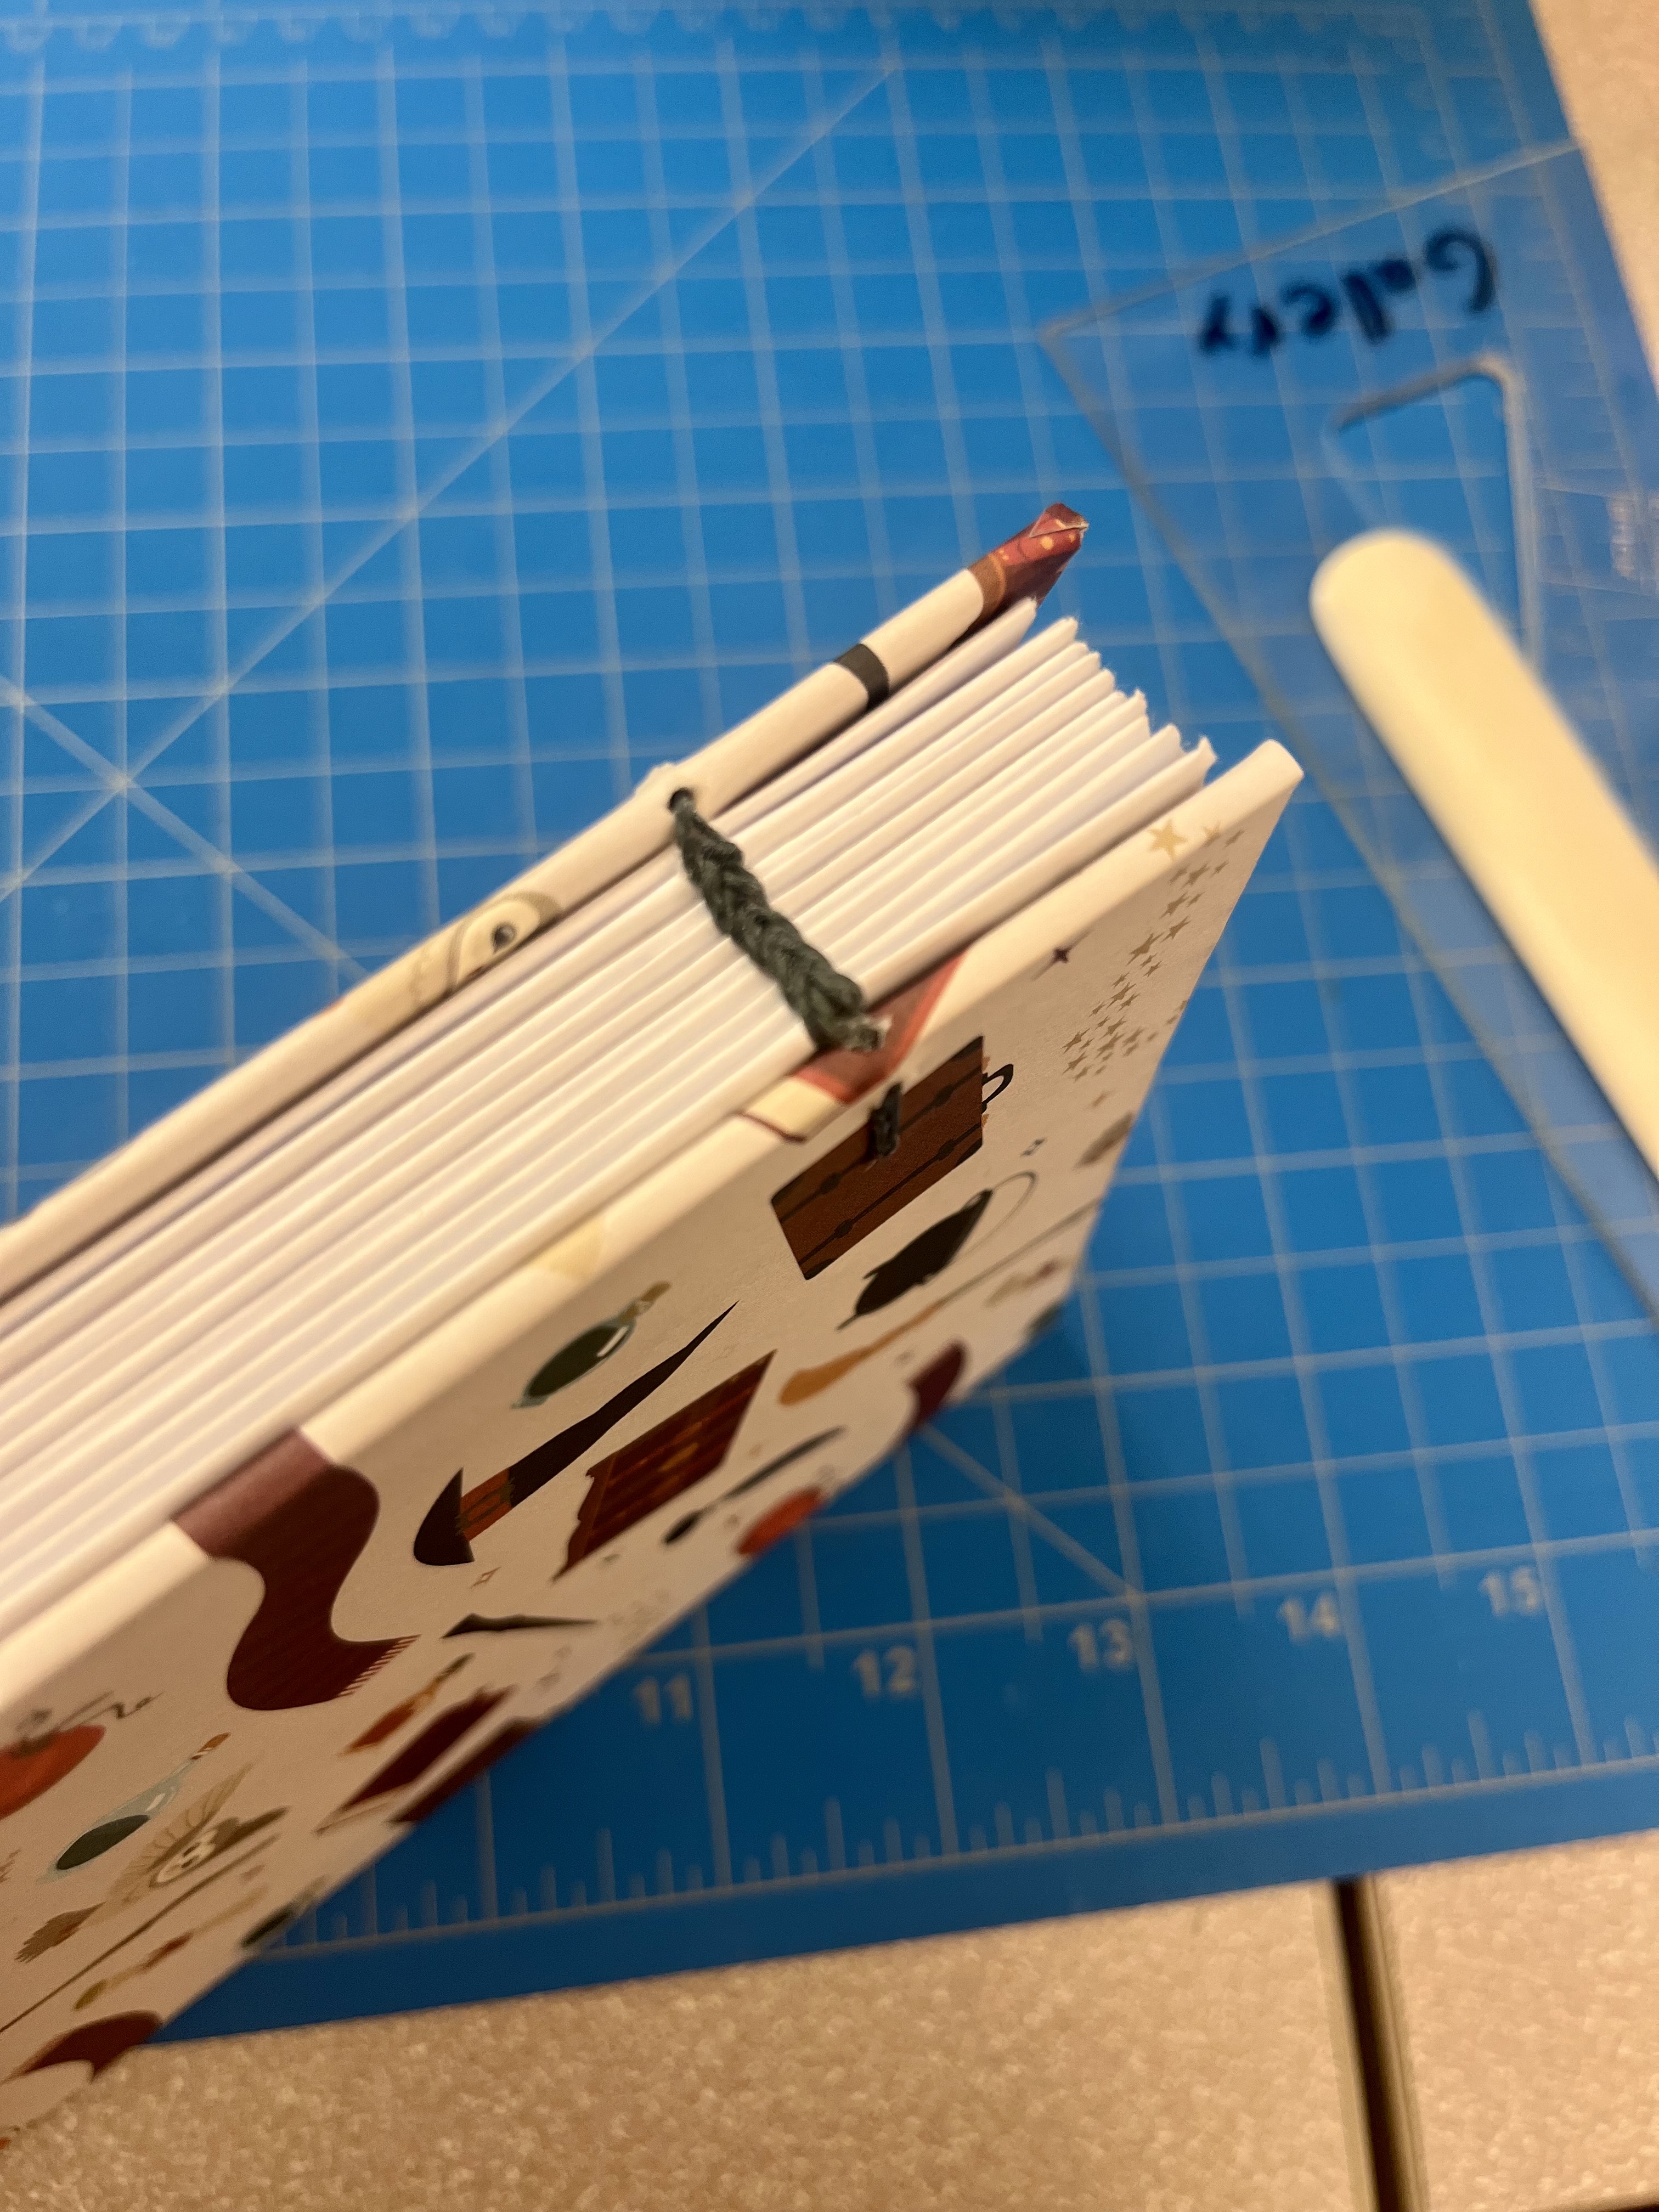
Sewing Together the Book:
Following the detailed instructions from Jody Alexander’s Creativebug video, sew the first signature to the cover using waxed thread and two needles, which allows you to sew two separate sections simultaneously. This not only speeds up the process but also ensures the tension and stitching pattern remain consistent throughout. The video provides clear guidance on the sewing process. Repeat this for the remaining signatures, including attaching the back cover using the same method as the front cover.
-
Finish Attaching the Book Board:
Glue the first page of the first signature and the last page of the 10th signature to the inside covers of the book board. Allow sufficient time for the glue to dry completely. I waited 2 hours for my glue to dry.

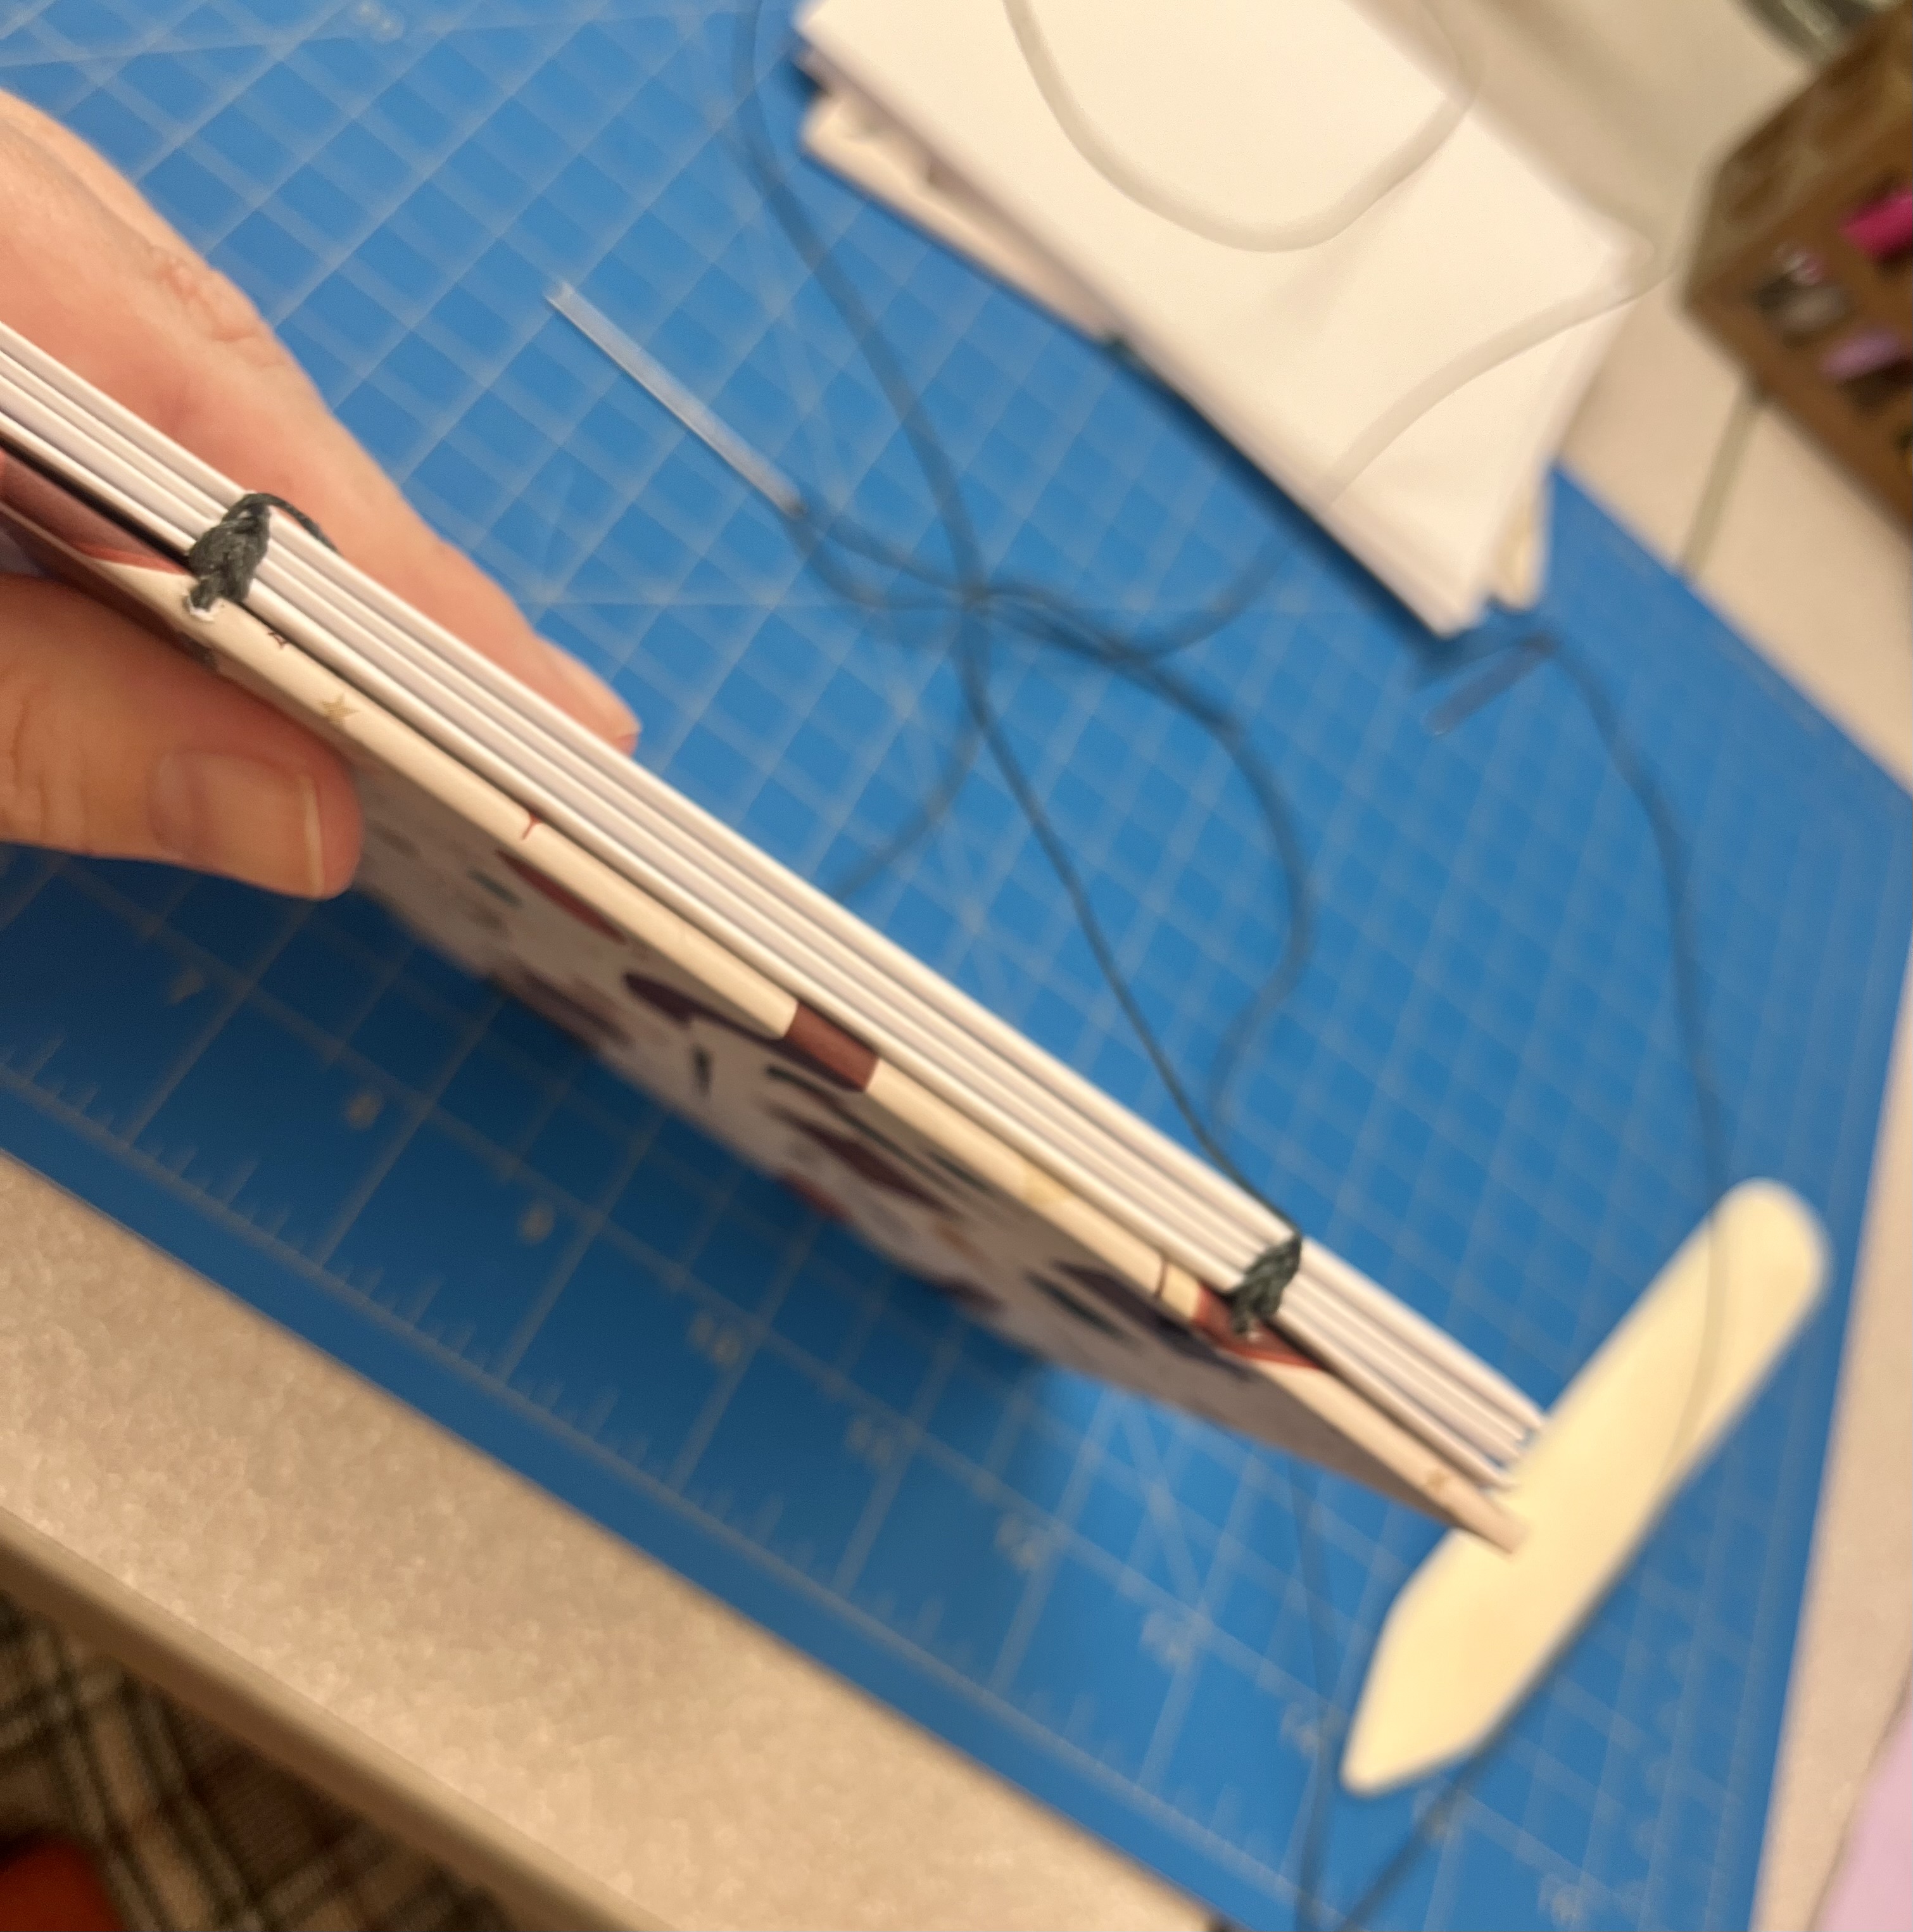
In the end, I really enjoyed this project, but I would've been lost without the Creativebug video. Making a Coptic bound book isn't hard, but it's a process that needs guidance. The video from Creativebug was super clear and easy to follow, which made all the difference. With this resource you can also create your own Coptic bound book.
