Quick & Easy Printmaking
When you hear the word "printmaking," you probably think of works of art hanging in a museum. While it's true that making prints can involve expensive materials and equipment, they can also be made using supplies you may already have at home.
What is a print?
A print is an image made by transferring ink or paint from one surface to another. There are several methods of printmaking, but the following are the most common:

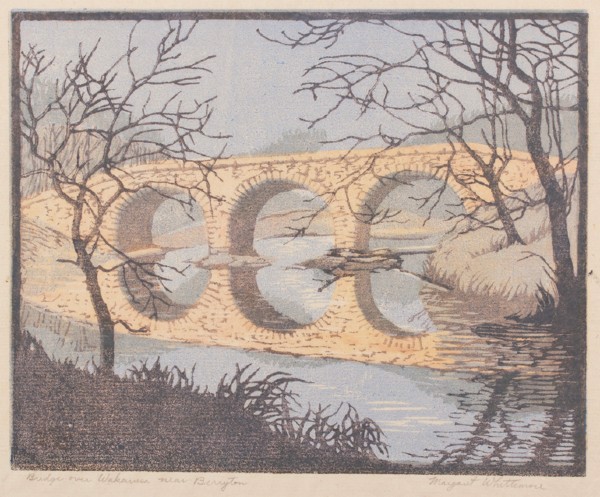
"Bridge Over Wakarusa Near Berryton," Margaret Whittemore, woodcut, 1976.016.144
Relief printing: the image is raised above the surface of the block. The ink on the raised surface will create the print. A press can be used but isn't always necessary. Examples are woodcuts and rubber stamps.
Intaglio printing: the opposite of relief because you're carving below the surface of the plate. It requires a press to force the paper into the carved lines to absorb the ink. Examples are etchings and engravings.
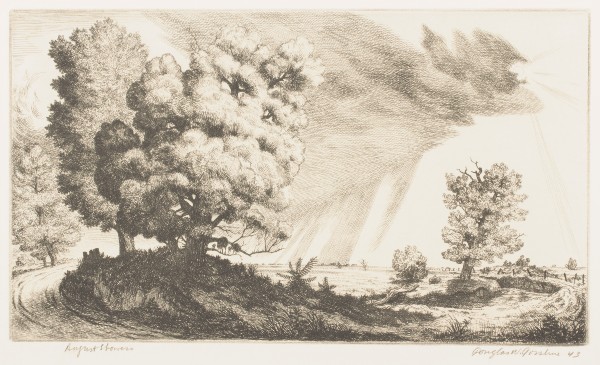
"August Showers," Douglas Warner Gorsline, engraving, 1963.328
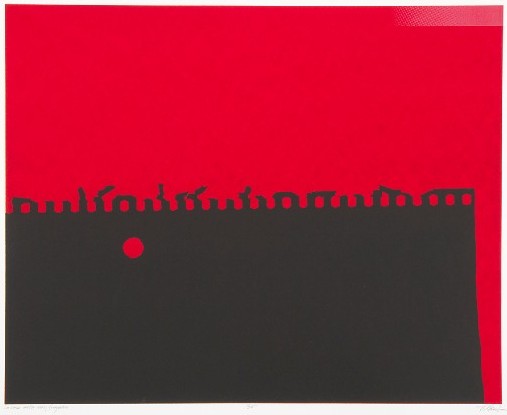
"La Cosa Esta Muy Fregada," Randy Clark, 2012.001
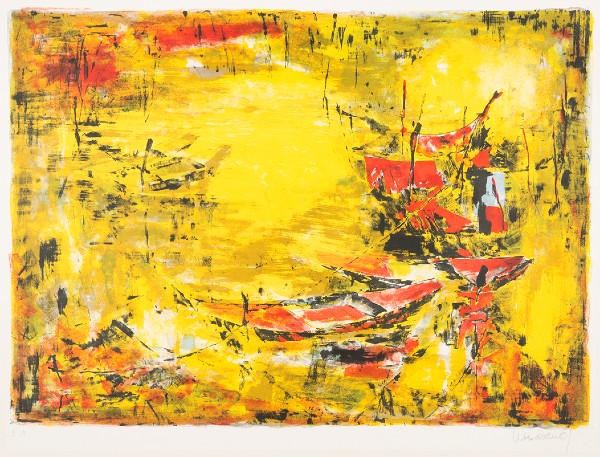
"Bateaux Rouges," W. Leba-dang, lithograph, 1963.610
Around the House
You can make relief prints at home with only a few basic supplies. To get started, you'll need something to print with, some acrylic paint and something to print on.
Think back to your childhood. Did you ever use potatoes to make prints? While our efforts as kids might not have been very sophisticated, as adults we get to use knives (carefully!) to make more detailed carvings.
The steps are simple:
- Cut a potato in half.
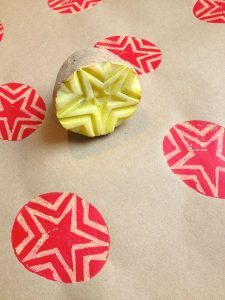
- Decide on the design you want and use a knife to cut around the shape. Simple shapes are easiest to begin with.
- Use the knife to remove the parts of the potato that are around your design. Remember that anything left at the surface level will print.
- Blot the potato dry on a paper towel.
- Use a paintbrush to spread paint across the design.
- Use the potato as a stamp to print your design.
Some other common household items that can be used to make prints are bubble wrap, scrunched up plastic wrap and kitchen sponges cut into shapes.
Beyond Potatoes
While potato prints are inexpensive and easy to make, the potatoes themselves don't last very long. There are several options for more durable materials that don't cost a lot of money.
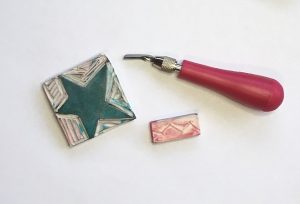
A rubber block stamp, a linocut tool, an eraser stamp
You can use peel and stick foam sheets to make prints. Use scissors to cut out your design, then stick the foam to a surface that you can hold for stamping. Scraps of foamcore or cardboard will work. As long as the foam sticks up above the surface it's stuck to, you can print with it.
White vinyl erasers are a more permanent option that food or foam. They're easy to find and easy to carve. You can also create more detailed designs by drawing on them in pencil first, then cutting out the design.
Erasers are great but your prints are limited to the size of the eraser. If you want larger prints, you can buy rubber carving blocks and cut them to the size you need.
Tools
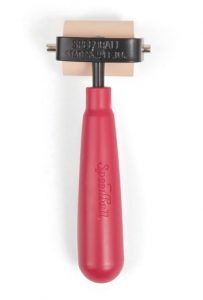
soft rubber brayer
Since a kitchen knife won't cut it (ha!), you'll probably want to invest in a linoleum cutting tool. You can buy these at most craft stores for around $10-$15. They usually come with several different gouges for cutting different types of lines.
Another good tool to have is a brayer. With a soft rubber brayer, you can roll your paint onto your carved stamp. It gives you a nice even layer of paint to print with and will give you more consistent results.
The Really Easy Way
The easiest way to create prints is by using pre-made rubber stamps and ink pads. In the library's Arts and Crafts Neighborhood you'll find a variety of rubber stamp kits to check out. The kits include cardstock and a stamp pad to get you started. You can find a full list of stamp kits in the booklist below.
If you're a visual learner, log in to Creativebug with your library card and PIN to watch a variety of videos on all types of printmaking. Here are some good videos to help you get started:
Check out these books for more printmaking fun. Happy printing!