Papermaking from plant to page
When most of us think of paper, we think of trees. While the majority of the paper we use everyday is made from trees, trees are certainly not the only raw materials for papermaking. I attended a three-day workshop in Colorado recently where we gathered plants in the field, brought them back to the studio to process them, then made beautiful sheets of paper with the different types of fibers.
Day 1 - Rocky Mountain Land Library
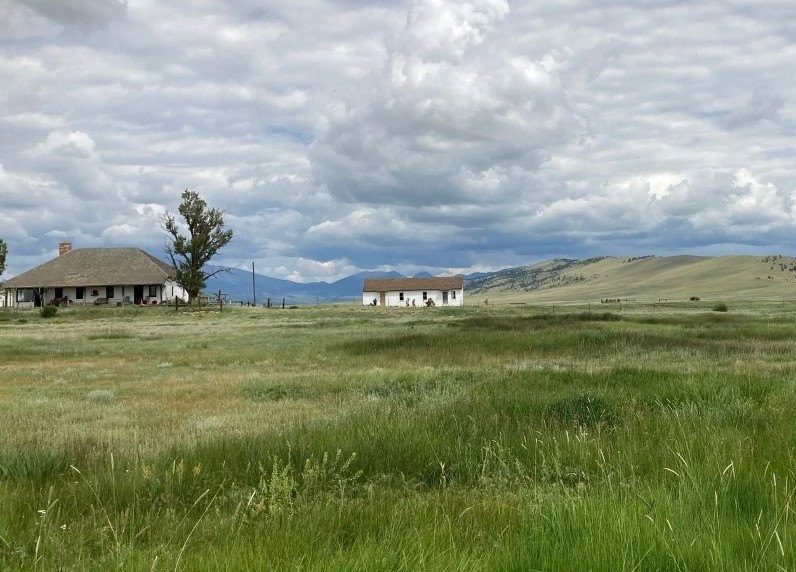
Part of what made this workshop so appealing to me was the opportunity to learn the papermaking process from harvesting plants to making finished sheets of paper. The first day we went to the Rocky Mountain Land Library near Fairplay, Colorado, about an hour and a half southwest of Denver.
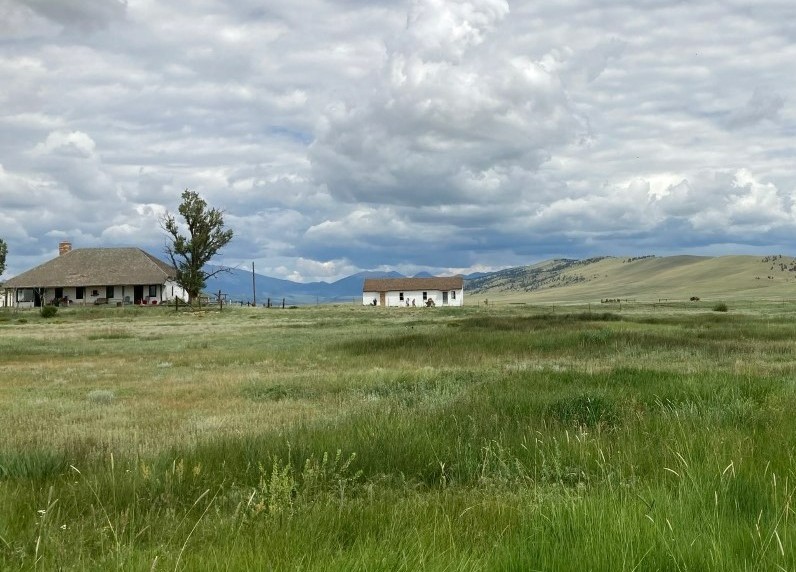
Rocky Mountain Land Library
The mission of the Land Library is to connect people to nature and the land. The land in this instance is the Buffalo Peaks Ranch on the banks of the South Platte River, and the library part is an actual library of more than 50,000 books on all aspects of natural history. The Land Library partnered with InterOcean Studio in Englewood, Colorado, who offered the papermaking workshop, to allow us access to the ranch lands.
At the ranch we split into pairs and started gathering plant material. While flowering plants might seem appealing for raw material, we weren't looking for the flowers and the leaves, we were after the stalks and stems. The stems' long fibers are good for papermaking. The leaves contain too much water and tend to turn things mushy, while the flowers often end up brown, rather than the bright colors we see in the field.
We harvested over a large area, only taking a few plants from each section to make sure we made the smallest environmental impact possible. After we got back to InterOcean Studio, we started processing our plant fibers by cutting the stems into one inch pieces.
Day 2 - Papermaking at InterOcean Studio

Cooked plant fiber (in bag) and the fiber blended with water
InterOcean Studio is the legacy of Denver paper artist Ray Tomasso. After Tomasso passed away in 2020, his wife Diane honored his memory by opening his studio as a collaborative workspace. Our papermaking class took place outside surrounded by his metal sculptures, colorful flowers and the buzzing of his beehives.
Our first task for the day was to cook the plant fibers we collected and cut. We boiled each type of fiber in water and soda ash. Soda ash (calcium carbonate) is an alkaline substance that helps dissolve the parts of the plant fibers that aren't useful for papermaking. After cooking we rinsed each batch three times to remove any residual soda ash.
Next, we took our fibers to the blender. Since the fibers had already been softened by cooking, it didn't take very long to blend them with water to create paper pulp.
Putting it together
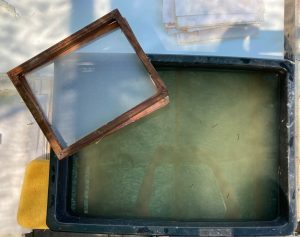
Vat of paper pulp and mold and deckle for forming sheets
Now for some papermaking! We filled our vats with the different pulps, mixed in some abaca fiber to help support the plant fibers and make the paper stronger, and formation aid to help the sheets of paper form smoothly. For each sheet of paper, we dipped a mold and deckle into the vat to create our sheets. The mold and deckle holds the paper fibers in place while the water drains out.
Once most of the water is drained out, we transfer the sheet of paper to a felt. We stack the wet paper sheets on the felts with a layer of pellon (a thin synthetic fabric used in place of felt) between them to prevent them from sticking together and making one super thick sheet of paper.
Once we had a stack of felt/paper/pellon we moved to the hydraulic press to get even more water out of our sheets. The last step was the dryer, which is basically a press with a fan blowing through it. By the time the paper went in the dryer we were exhausted, but really excited to come back for day three to see how our papers turned out.
Day 3 - Papermaking in the rain!
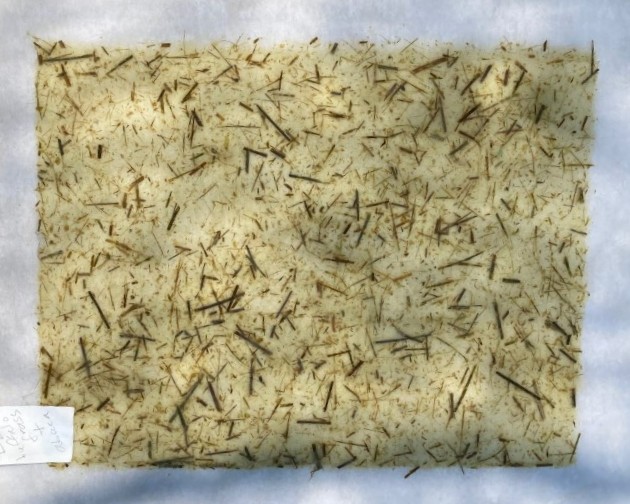
Fresh sheet of buffalo grass and abaca paper on a piece of pellon
Now that we were basically expert papermakers, on day three we got right back to work. We cooked the fibers we hadn't cooked yet, blended them, made up the vats, and made more sheets of paper. We had a surprise rain shower in the afternoon that left us a little soggy but we still managed to keep making sheets.
The best part of day three was the reveal of the papers we'd made on day two. Even though several of us were making paper for the first time, our sheets all turned out beautifully. It was so satisfying to know we had done the whole process from the beginning - harvesting, processing and papermaking. It really made our finished sheets much more meaningful.
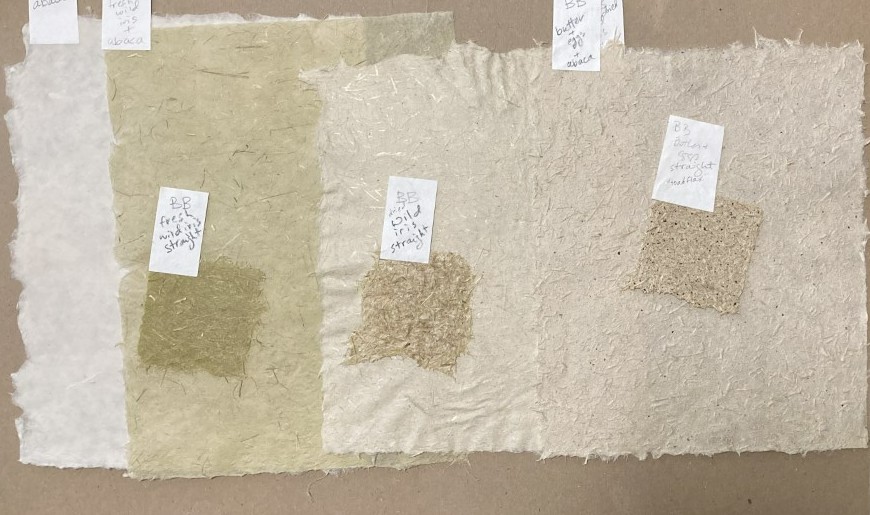
Papers from left to right: abaca, fresh wild iris and abaca, dried wild iris and abaca, toadflax (also called butter & eggs) and abaca. Small papers are fibers only without abaca.
If you want to try papermaking for yourself, the library has plenty of resources to help you get started. Check out the booklist below for some great how-to books on making paper. Once you've made your paper, head on over to Creativebug, log in with your library card, and search "paper" for tons of ideas on different paper crafts.


