Flow Into the Art of Pouring
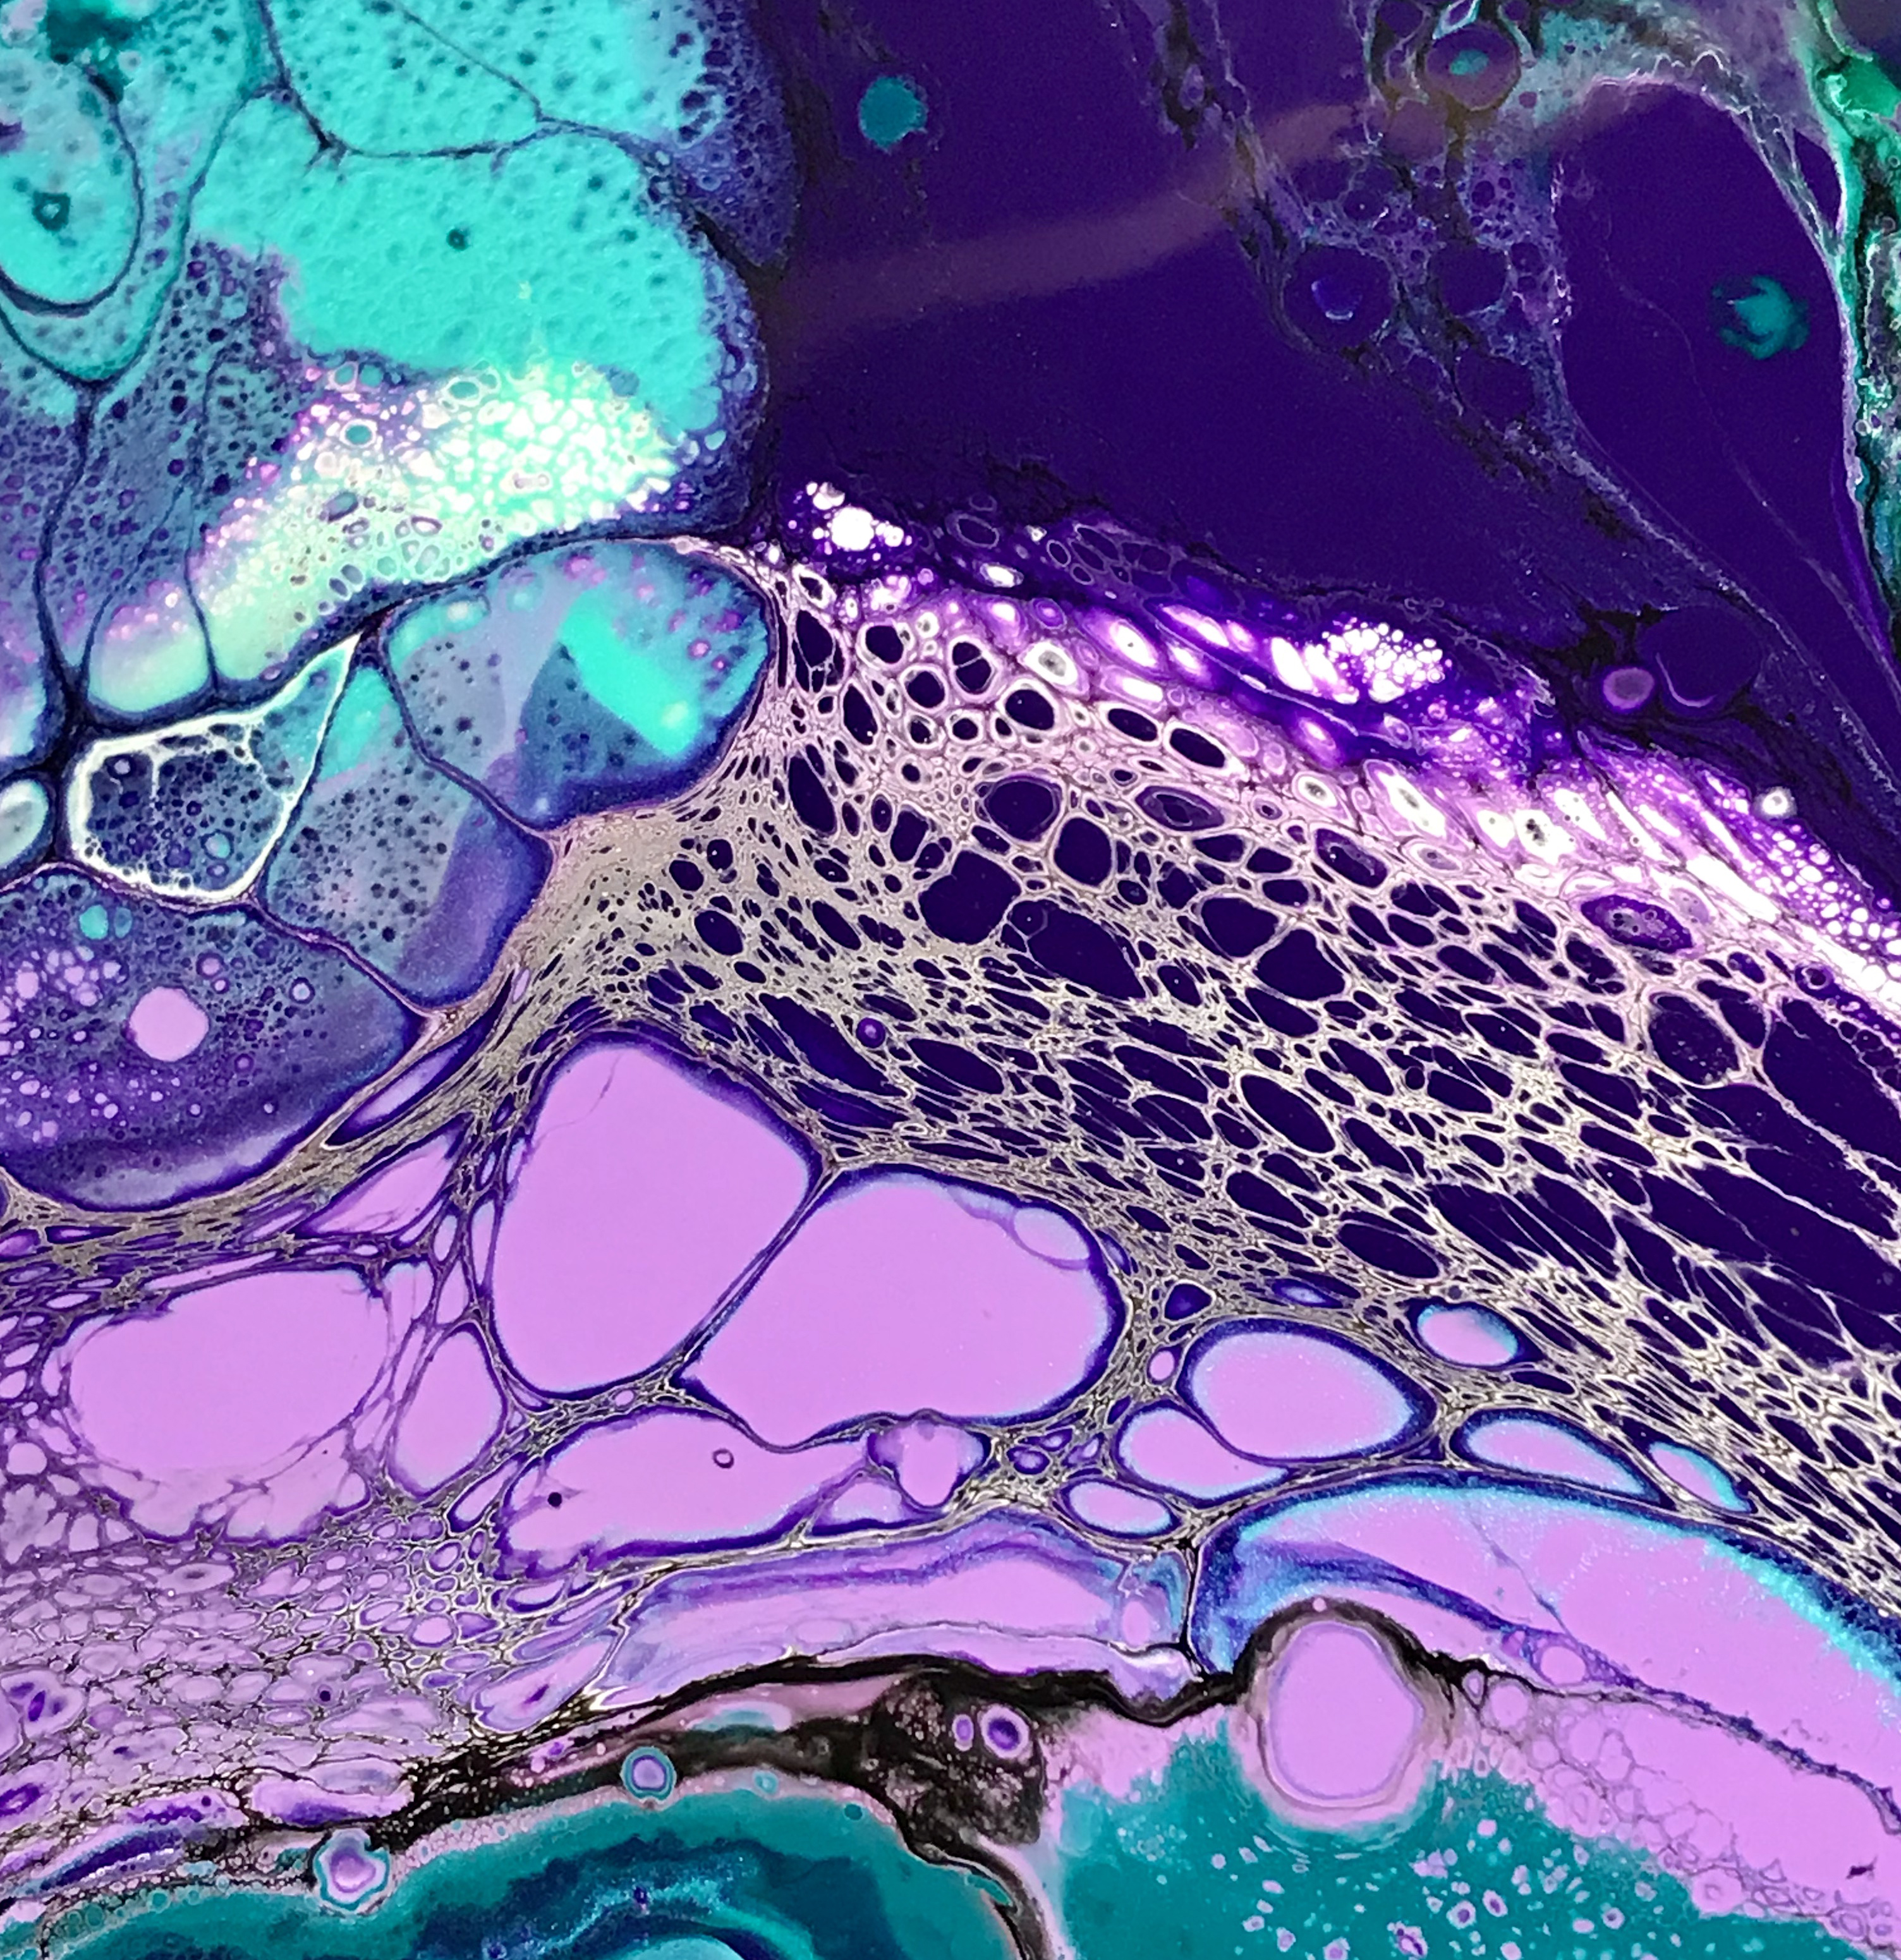
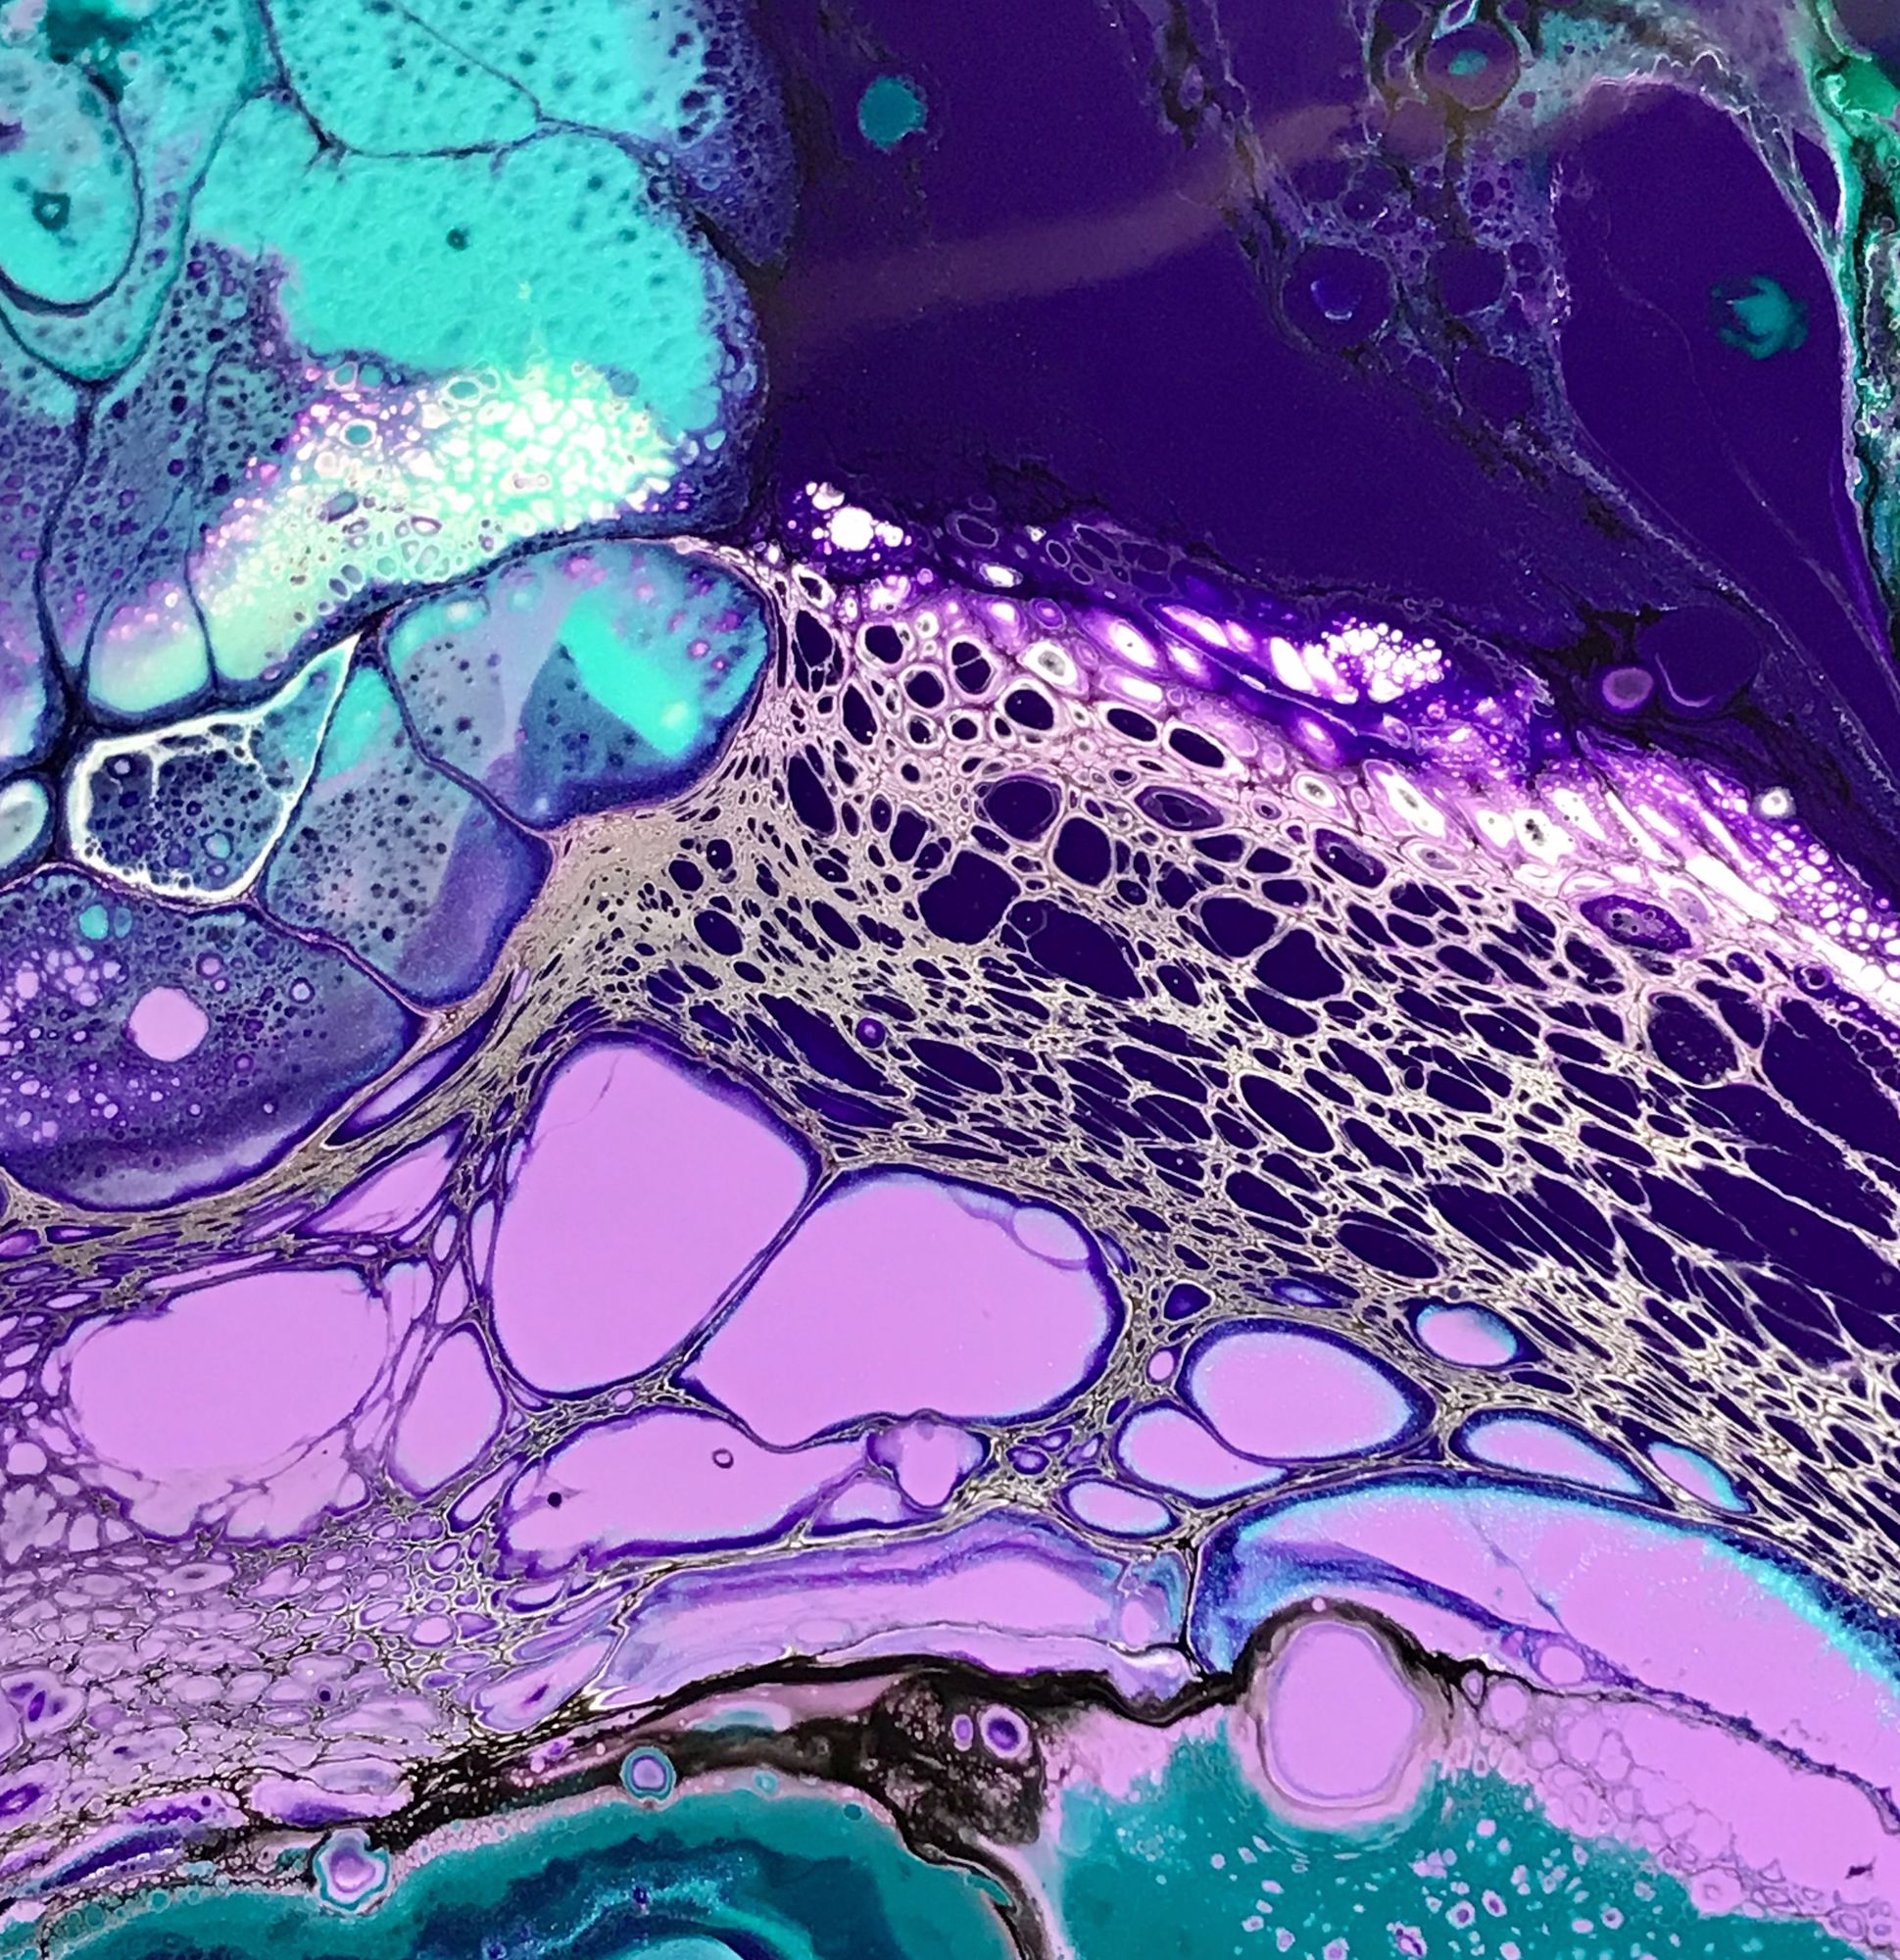
An example of paint "cells"
Try acrylic pour painting to create fun, unique and colorful art. Pour painting (also known as "fluid art" or "dirty pouring") can be a relaxing solo project or an exciting group activity. The best part is that the technique is fairly simple so even if you don't consider yourself an artist, you can be successful.
If you’ve been to any artsy events this summer, there’s a good chance that you’ve come across pour paintings. Read on to learn how to do this on your own. Pour painting is an engrossing project for just about any group you need to entertain.
What you'll need
- Acrylic paint (Craft paint or artist quality paint)
- Canvases
- Pouring medium (Gesso acrylic primer is generally used, but a 50/50 mixture of Elmer’s glue and water works well also, especially if you’re just starting out)
- Disposable gloves
- Plastic tub, aluminum pan, etc. (basically anything that will contain excess paint)
- Empty metal can (soup cans work well)
- Plastic cups
- Wooden craft sticks (for stirring)
Optional supplies
- Glitter
- Painter’s tape
- Straws (for spreading paint and creating/enhancing cells)
- Apron or smock
- Plastic tarp
- Silicone oil or WD-40
- Clear topcoat/varnish
The Pouring Process
Once all of your supplies are in order, you can start prepping for the fun part. Set out your tub/pan/lid (something to contain the excess paint from pouring) and tarp (if you decide to use one). Then set your empty metal can (or several, depending on the size of your canvas) inside the tub or lid, and lay the canvas on top. The can(s) will keep your canvas elevated and prevent sticking.
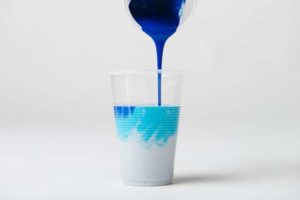
Once you mix all of your colors separately, you can combine as many as you want into one cup.
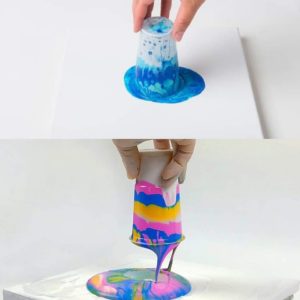
Pouring in action!
Next you’ll need acrylic paint. Include as few or as many colors as you like – I typically use 4-6. Pour a small amount of acrylic paint into a plastic cup with your pouring medium (Gesso or mixture of Elmer’s glue & water). Repeat this process for each color you want to use. If you want your painting to have cells (small circular shapes), add a little bit of silicone oil or WD-40 before you pour.
Now you can do one of two things. The first option is to pour a bit of each color onto the canvas separately (and spread them around by slowly moving the canvas). The second option is to combine all of the colors into one cup and pour them onto the canvas (see an example here). I prefer this method, because I enjoy the color explosion that happens when I lift the cup. Don't forget to slowly move your canvas around until the surface is completely covered.
Mastering Your Craft

These mini paintings were made at one of the library's summer learning programs. I love how no two paintings are exactly alike.
The final step is to marvel at your masterpiece (and once it's dry to add a clear topcoat if you choose). Glitter is also optional because, let's face it, glitter makes everything better. Pour paintings can take anywhere from one to three days to dry completely and one to two weeks to cure. If you decide to add a topcoat, make sure your piece is completely dry first.
Whether you're a newbie to crafting or a seasoned pro, paint pouring is an excellent method to express yourself and release your creative streak! Or sparkle?