Create something interesting with polymer clay
 Looking for a craft where you don’t have to spend a ton of money, doesn't take up a lot of space or get super messy? When I asked my colleague who works with the arts and crafts books for recommendations about what’s popular, she mentioned polymer clay. I got a big old cartoon light bulb over my head. A while back I bought polymer clay for a project I never started. Since I already have the supplies, why not try it?
Benefits of polymer clay
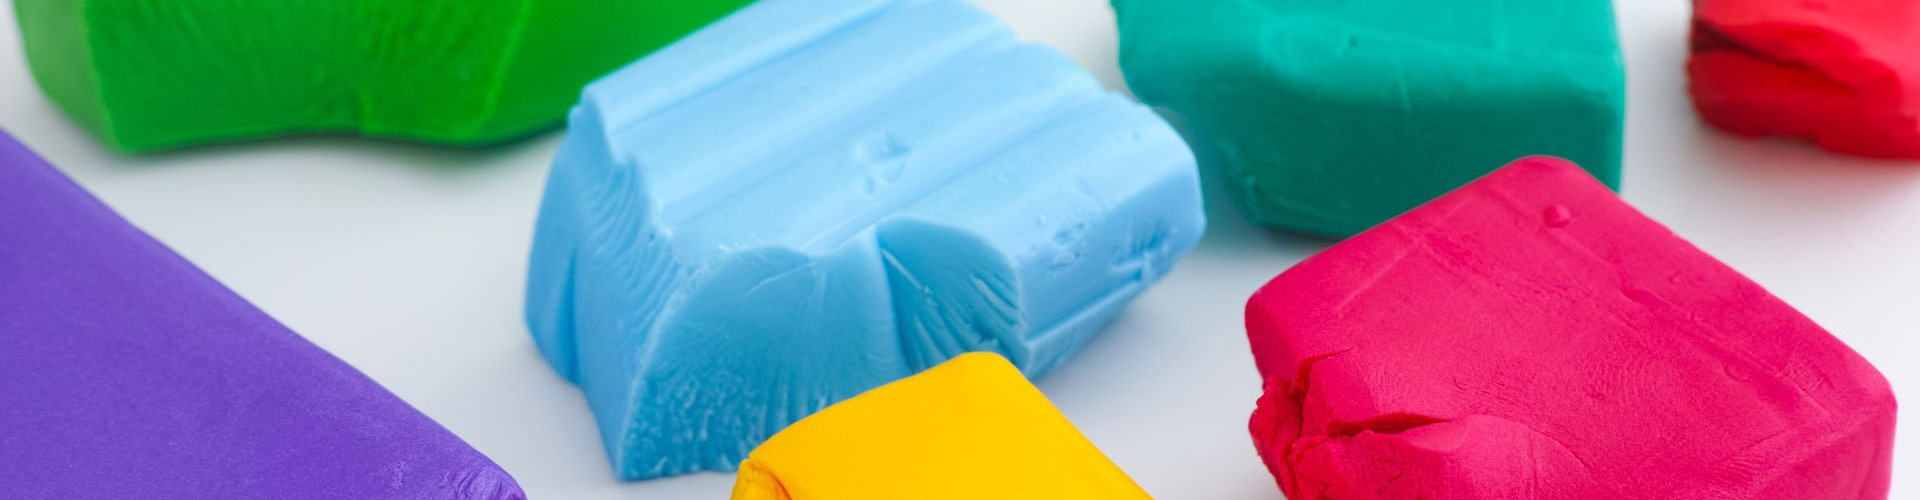
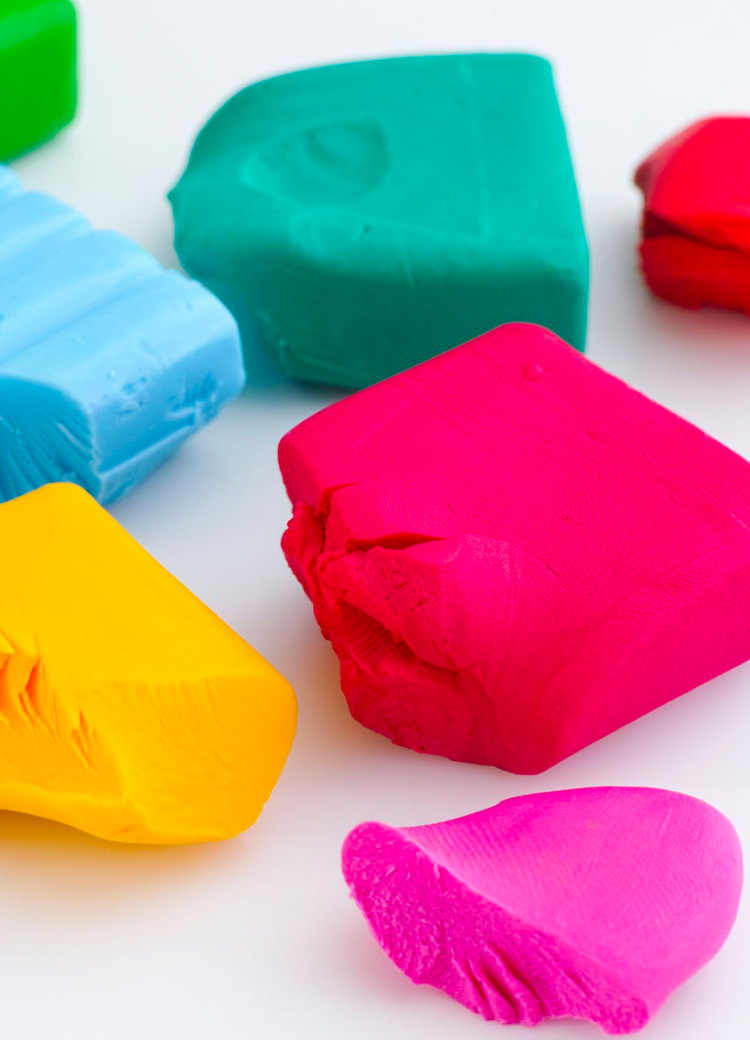
The clay usually used for pottery comes from the earth and it's made of minerals and water. This clay needs to be kept wet, it’s very messy and creating something with it takes multiple long steps. The biggest problem of all is you need a kiln that heats to 2000 degrees Fahrenheit to finish it. Traditional clay pottery not an easy craft to do at home.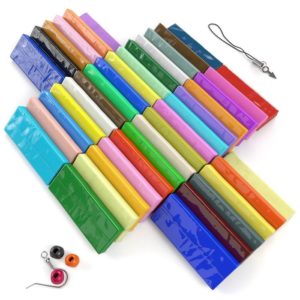 Polymer clay is essentially soft plastic that can be hardened at a low temperature in a home oven. It comes in a rainbow of colors, metallics and other finishes. You don’t need to paint, glaze or varnish it, but you can if you want. Instead of needing a kiln to make it sturdy, you bake it at 250 degrees Fahrenheit. You can buy individual two-ounce blocks at a local art supply store or a craft store for about $3 each. I ordered online and got 30 colors plus a set of plastic tools for around $20. You can buy tools specifically for crafting with polymer clay. Instead of buying tools I used things I had around my house as tools.
Safety first
Most books about polymer clay have a section with important information about how to use and store your clay, as well as other basic tips. It's a good idea to take a few minutes to read about it.
Important things to know before you get started.
-
Polymer clay is non-toxic, but like many non-toxic things, it’s still not a great idea to eat it or give it to young children who will put it in their mouths. It’s recommended for ages 8 and up.
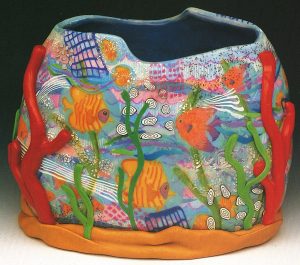
Aquarium Vase, 1997, by Debbie Krueger from 400 Polymer Clay Designs. Photo by George Post.
- Don’t eat or drink off your polymer clay creation. The clay can't be washed in soap and hot water. Food can absorb into the clay and oils from the clay can absorb into your food. Yuck.
- Work with polymer clay on a non-porous surface. The clay contains oils that can damage and be absorbed by wood, paper, fabric or any other porous surface. Working on a porous surface may damage your clay and lead to problems with your finished piece. You can work on your kitchen counter if it’s made of laminate (Formica) or tile. I used a glass baking dish to set down the pieces when I wasn’t working on them.
Techniques
To start I looked through 400 Polymer Clay Designs: a Collection of Dynamic & Colorful Contemporary Work. This gave me a good idea of the huge variety of things I could make. The only limitation seems to be the size of your oven.
Items you can make
 beads and other jewelry;
- all kinds of decorative sculptures, wall hangings and mobiles;
- figurines of people and animals - realistic or fantastical;
- planters, boxes, small dishes and other containers.
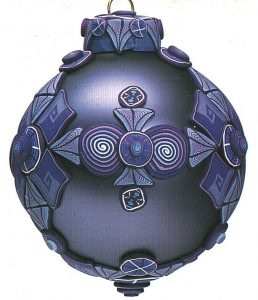
Holiday ornament, 2002 by Cynthia Seiwert from 400 Polymer Clay Designs. Photo by Chuck May.
Once you decide what to make, you need to decide what will it look like. You can use solid colors, blend your own custom colors or twist colors together. Create texture with anything from a lace doily to rubber stamps to a rock. If you use the mica shift technique with polymer clay with mica (a shiny mineral), it will make it look like there’s a raised pattern on your clay that's actually flat. You can also combine colors to create a picture or pattern. If you can think of it, you can probably do it with polymer clay.
My creation
I got most of my basic information and inspiration from Creative Polymer Clay: Over 30 Techniques and Projects for Contemporary Wearable Art by Heidi Helyard. For my creation I combined two projects from the book to make a trinket dish using “canes,” which I’ll describe in a second. The first step to working with polymer clay is the same no matter what you're creating. You must “condition” the clay. This means you need to warm it up and knead it so it’s soft and flexible. I conditioned by hand, but you could also use a rolling pin, or a pasta maker to condition and roll out even pieces of clay.
I made some very simple canes using these steps:
-
Rolled blue and green clay into short, fat, cylinders.
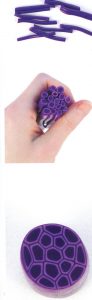
Canes example image from 400 Polymer Clay Designs.
- Rolled lighter blue and lighter green flat and wrapped them around the blue and green cylinders.
- Wrapped those cylinders with a thin layer of black clay.
- Cut the finished canes into thirds, then squished them together in a bundle.
- Sliced the bundle into slices about a half inch thick and laid them out on my kitchen counter.
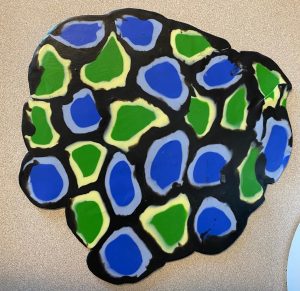 Then I started rolling out the stuck-together canes to form a single flat piece of clay. It was about this time I remembered to take a picture. I rather like the irregular shapes of the spots! After I rolled it out big enough, I draped it over the small glass bowl and verrrrrry carefully pulled, pressed, nudged and smoothed it into place.
Baking my creation
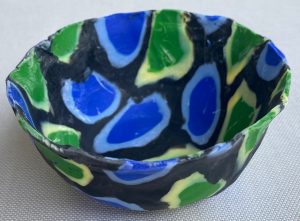 Finally, I baked the bowl. I left it on the glass mold. Regular glass won’t break in the oven at the low temperatures used for polymer clay. Unfortunately, I didn’t wrap the bowl in aluminum foil first to make it easy to separate the mold from my bowl. So my end product is messy around the edges and scratched inside and a bit cracked. However, I learned a lot about how to do this better next time! I’m a big fan of the spots and I’m happy with the results for my first try. If you’d like to try it, check out some of the books below for inspiration, or log into Creativebug free with your library card to access video classes for polymer clay projects.