

Be a Maker with 3D Printer & Cricut
content
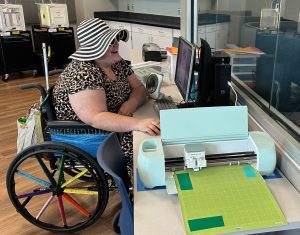
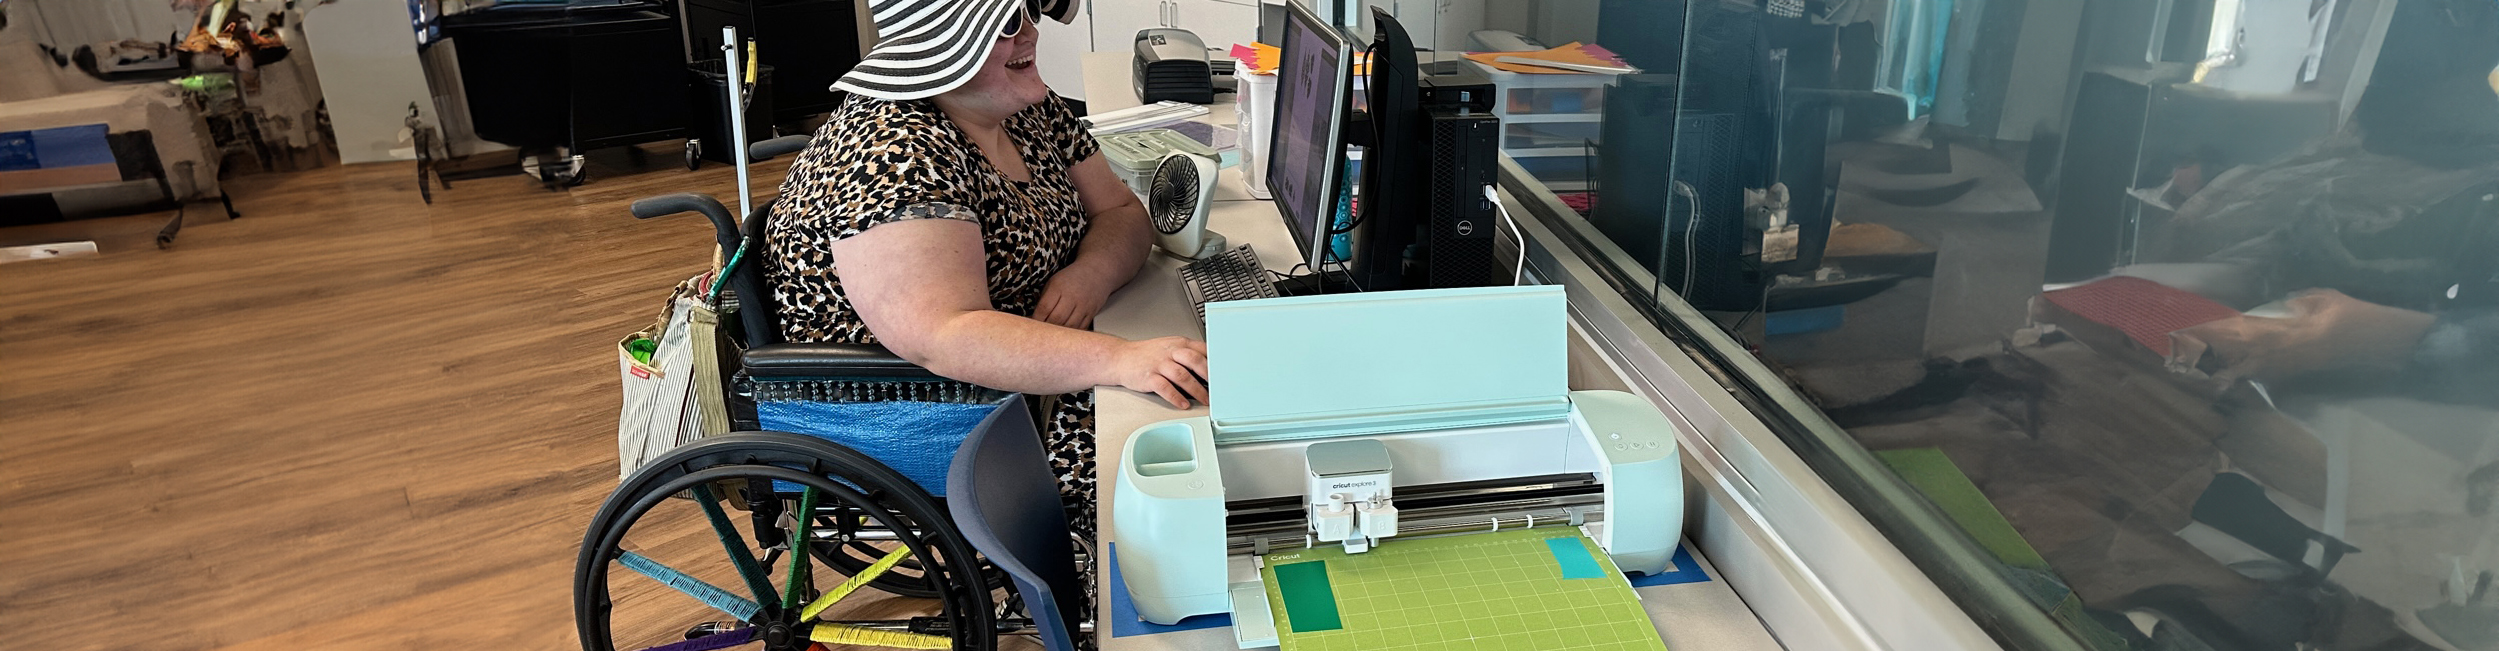
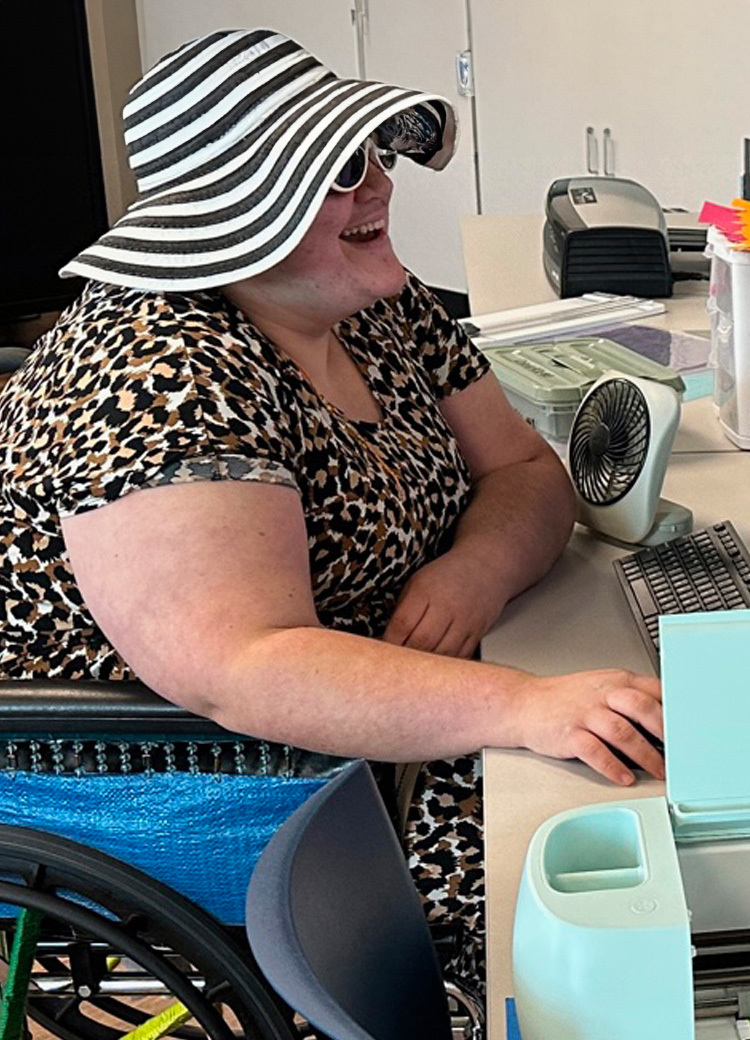
Kirstianna using the Cricut
in the Digitial Art Studio.
There are lots of ways to get artsy crafty with technology tools. The best way to start with crafty tech tools is in the library's Level 2 Tech Center Digital Art Studio. With your library card and a little training you can use a Cricut, a 3D Printer and Adobe creative software. Read on for some options to get started.
Digital Art Studio Open House
Check out this new opportunity to get crafty with tech. In May we're offering an Digital Art Studio Open House – “Be a Mother's Day Maker with 3D Printer & Cricut - Create Colorful Flowers in Vinyl, Cardstock & 3D Plastic” Sat, May 13 and Sun, May 14. You'll learn the equipment and then practice hands on with a fun project. We have five project options for you to choose from. We'll walk you through your project to create a small gift item for a mother or for yourself.
A brief orientation is required before using the 3D printer or the Cricut at the library to make sure you can use it safely. During these open house days we'll have computer stations set up with online orientation. You can complete the training and then practice hands on with the equipment. You will need a library card to participate.
Children 8-11 are welcome in the Digital Art Studio if they are accompanied by an adult. Children under 8 are not allowed in the Digital Art Studio.
Individual projects after orientation
If you've already taken an orientation class for the Cricut and 3D printer, here are some projects you can practice with on your own.
Cricut Design Space & Cricut Explore 3
- Log in to Cricut Design Space, or create an account if you don't have one.
- Choose to optimize your experience for the Cricut Explore 3 from the pull-down menu, and choose "New Project"
Cardstock or vinyl flower using Cricut Explore 3
Add images, select the check box "Free" and search for these floral images:
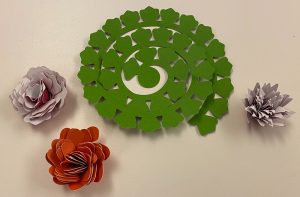
cardstock flowers
- Lily
- Lotus
- Poppy
- Sunflower
- Tulips
- Mandala Leaf
- Tropical Leaf
- African Marigold
-
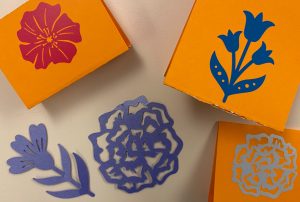
vinyl flowers
Add the images you choose to the canvas. Resize, duplicate or otherwise manipulate the images, pay special attention to the size.
- Choose a color of cardstock or vinyl and choose which designs you want to cut on that color.
- Use the "Make It" feature, following the online instructions for loading your material on the mat and completing the cut.
- If you are using cardstock, remove the cardstock design from the cutting mat, and remove the excess cardstock material from the mat to throw away.
- If you are using vinyl sticker, remove the vinyl, weed out the excess vinyl, and use transfer tape to transfer the design to a card or other surface.
Personalized vinyl sticker with Cricut Explore 3
-
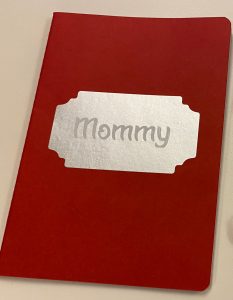
vinyl sticker on notebook
Add images, select the check box "Free" and search for "labels" and choose one of the teal label designs, like Quatrefoil Label or similar.
- Add text, type in the name, change the font and choose system font. Select a font that will be bold enough to weed easily or transfer well.
- One option is to center the name within the label, select both elements, and choose combine-subtract to remove that text from the label.
- Another option is to cut the label in one color and cut the text in a contrasting color and apply the text on top of the label, then apply the label to the gift item.
- Choose a color of vinyl and choose which designs you want to cut on that color.
- Use the "Make It" feature, following the online instructions for loading your material on the mat and completing the cut.
- If you are using vinyl sticker, remove the vinyl, weed out the excess vinyl, and use transfer tape to transfer the design to a card or other surface.
3D printing
- Cura is the free software to slice 3D designs into instructions (.gcode files) that can be interpreted by the Ultimaker3 3D printers.
- Cura is available on the reservable workstations in the Digital Art Studio at the library, or you can download it at home.
- Set up Cura for an Ultimaker3 printer and size 0.4 nozzles.
3D print a plastic flower pendant
-
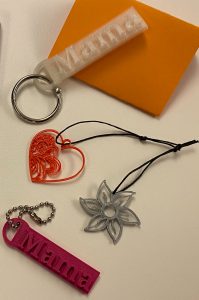
3D keychains and
flower pendantsDownload a simple and flat design file from thingiverse.com like Heart Flower Pendant or flowers for mother's day or birthday or Flowers Pendant.
- Extract the zipped file and open the .STL file in Cura.
- Resize, duplicate or otherwise manipulate the object. Pay special attention to the size.
- Adjust the resolution. Be sure that Support and Adhesion are NOT enabled.
- Slice the file and "Save to Disk" to use a USB memory stick to transfer your .gcode file to the 3D printer.
3D print a plastic personalized keychain
- Log in to Tinkercad.com, or create a Personal Account if you don't have one.
- Under 3D Designs, click +New
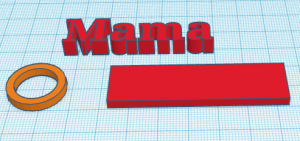 To make a personalized keychain, you only need three basic shapes from the options. Add a red "Box" and an orange "Tube" and red "TEXT" to your design and resize them so that they assemble into a keychain or charm about 6-8 centimeters long and 2 centimeters wide. So the text is raised up from the base, the text height should be between 8 and 10, and the base height should be 3 or 4.
- Export your design as .STL and open in Cura.
- Adjust the Resolution. Be sure that Support and Adhesion are NOT enabled.
- Slice the file, and "Save to Disk" to use a USB memory stick to transfer your .gcode file to the 3D printer.